The Best Homemade English Muffins (Paul Hollywood’s Easy Recipe!)
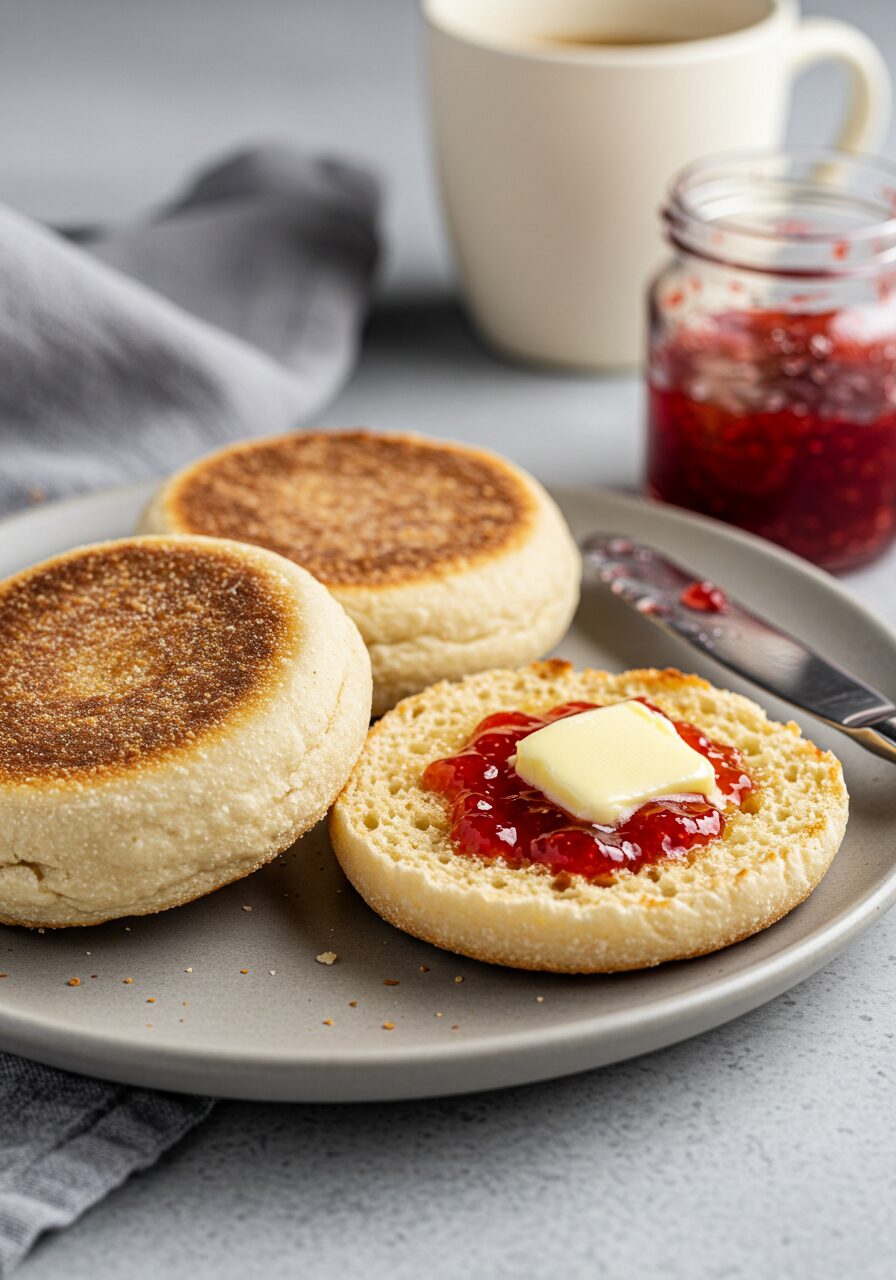
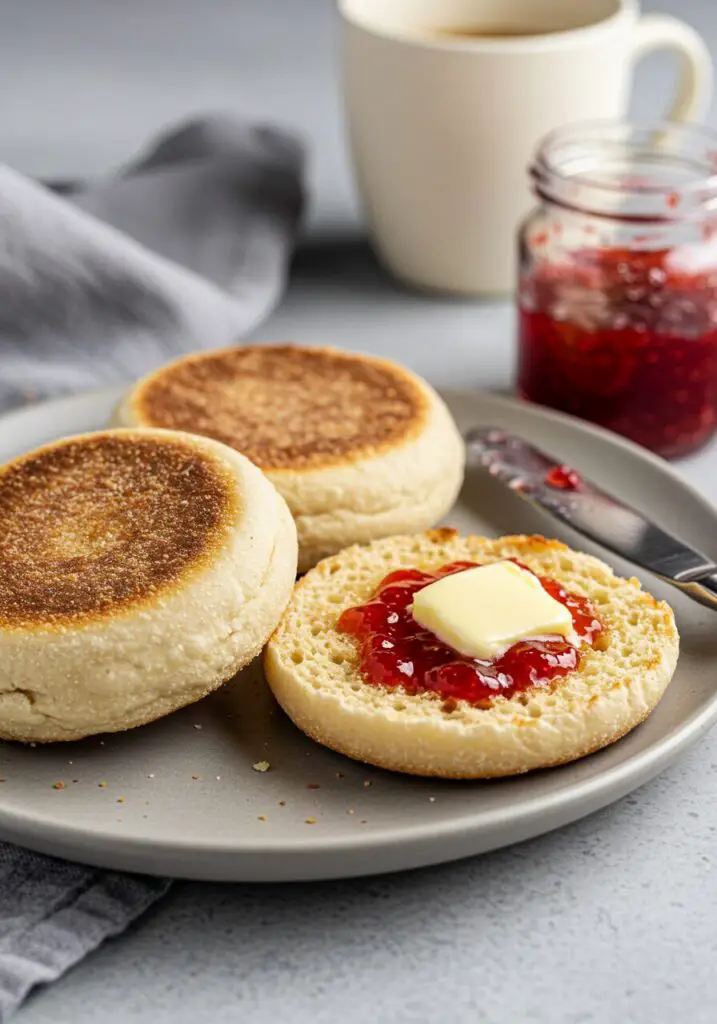
Hello, my baking friends! I want you to think about the perfect English muffin. It’s not just a piece of bread; it’s a masterpiece of texture. It’s soft and slightly chewy, with a beautifully crisp, cornmeal-dusted exterior. And when you split it open with a fork, it reveals that iconic, glorious honeycomb of “nooks and…
Hello, my baking friends! I want you to think about the perfect English muffin. It’s not just a piece of bread; it’s a masterpiece of texture. It’s soft and slightly chewy, with a beautifully crisp, cornmeal-dusted exterior. And when you split it open with a fork, it reveals that iconic, glorious honeycomb of “nooks and crannies,” just waiting to catch pools of melted butter and jam. If you think that kind of perfection can only be found in a plastic sleeve at the grocery store, I am so incredibly excited to tell you that you are wrong.
Today, we are diving into the wonderful world of yeasted dough to create our own, far superior, homemade English muffins, using a brilliant and Easy English Muffins Recipe from the master of bread himself, Paul Hollywood. I know that working with yeast can seem intimidating, but I am going to walk you through every simple step, from kneading the soft dough to cooking them on the griddle. Once you taste one of these warm from the pan, I promise you, you will never want to buy them again.
Why You Absolutely Must Make Your Own English Muffins
This is more than just a recipe; it’s a genuinely rewarding baking project that will make you feel like a star baker.
- The Flavor is Unbeatable: There is simply no comparison between a fresh, homemade English muffin and a store-bought one. The flavor is richer, the texture is softer, and the satisfaction is immense.
- Those Famous “Nooks and Crannies”: This recipe is specifically designed to create that light, airy internal structure that is the hallmark of a perfect English muffin.
- Easier Than You Think: While it requires some time for the dough to rise, the actual hands-on steps are very simple and straightforward. It’s a fantastic introduction to working with yeasted dough.
- The Magic of the Griddle: Unlike most breads, these aren’t baked in the oven. They are cooked on a griddle or in a frying pan, which gives them their unique, flat-topped shape and tender texture.
- You’ll Feel Like a Baking Champion: There is a special kind of pride that comes from creating a staple like this from scratch. It’s a fun and incredibly gratifying experience.
Gather Your Simple Baking Ingredients
You only need a handful of basic baking ingredients to create these beauties.
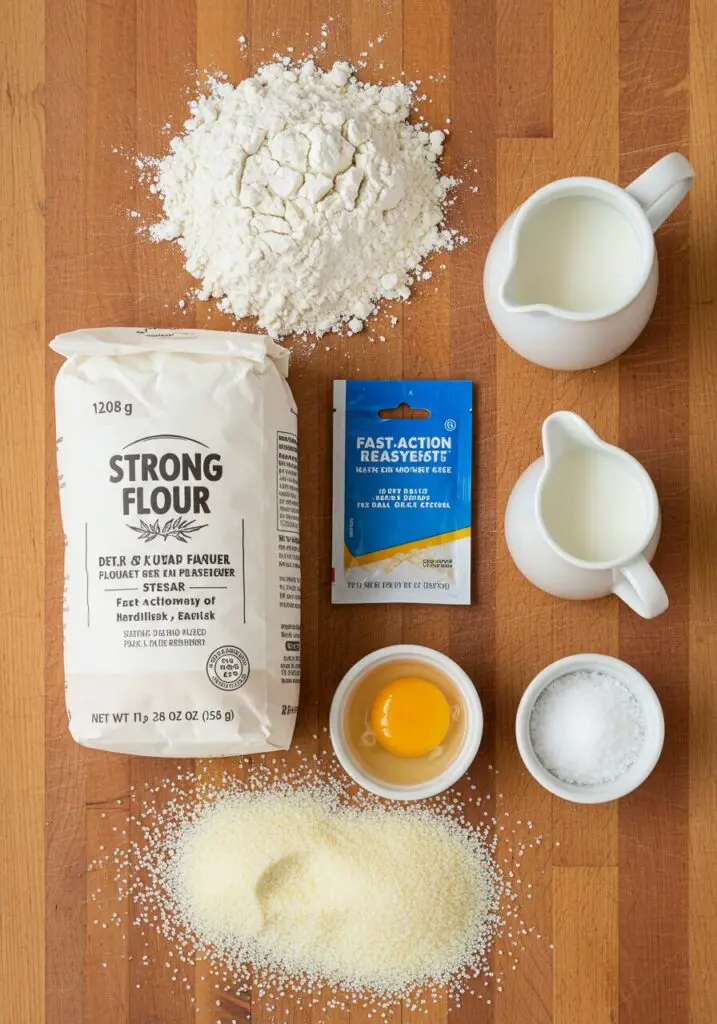
- 300g (about 2 1/2 cups) Strong White Bread Flour, plus extra for dusting: Bread flour has a higher protein content, which helps create that classic chewy texture.
- 6g Fast-Action Yeast (about 2 tsp.)
- 6g Salt (about 1 tsp.)
- 15g (about 1 Tbsp.) Caster Sugar (or granulated sugar)
- 15g (about 1 Tbsp.) Softened Butter, cut into small pieces
- 1 Medium Egg, lightly beaten
- 170ml (about 2/3 cup) Milk: It should be lukewarm, like a baby’s bath.
- Oil, for greasing the bowl
- 15g (about 2 Tbsp.) Semolina or Polenta (coarse cornmeal), for dusting
Crafting Your English Muffins: Step-by-Step Guide
Let’s embark on this fun baking journey together.
- Mix the Dough: In a large mixing bowl, tip in the flour. Here’s a key Paul Hollywood tip: sprinkle the yeast on one side of the flour and the salt on the opposite side. This prevents the salt from killing the yeast before it has a chance to work. Add the sugar, softened butter, beaten egg, and lukewarm milk. Use your hands or a dough scraper to mix all the ingredients together until they form a soft, slightly sticky dough.
- Knead to Perfection: Turn the dough out onto a lightly floured surface. Now, it’s time to knead! Knead the dough for a solid 10 minutes. It will be sticky at first, but keep going. Push the dough away from you with the heel of your hand, then fold it over and repeat. You are looking for the dough to transform into a soft, smooth, and stretchy ball.
- The First Rise (The Proof is in the Proving!): Lightly grease a large, clean bowl with a little oil. Place your beautiful ball of dough into the bowl, cover it with plastic wrap or a damp tea towel, and leave it in a warm, draft-free place to prove for about one hour, or until it has impressively doubled in size.

- Shape and Second Rise: Dust your work surface with a mixture of semolina (or polenta) and a little flour. Gently tip the risen dough out onto the surface and roll it out to about 1 inch (2.5cm) thick. Dust two baking trays with half of your semolina mixture. Using a 3.5-inch (9cm) straight-sided cutter, cut out eight muffins. Place four muffins, evenly spaced, on each of the prepared baking trays. Dust the remaining semolina mixture over the tops of the muffins. Let them prove for another 30 minutes.
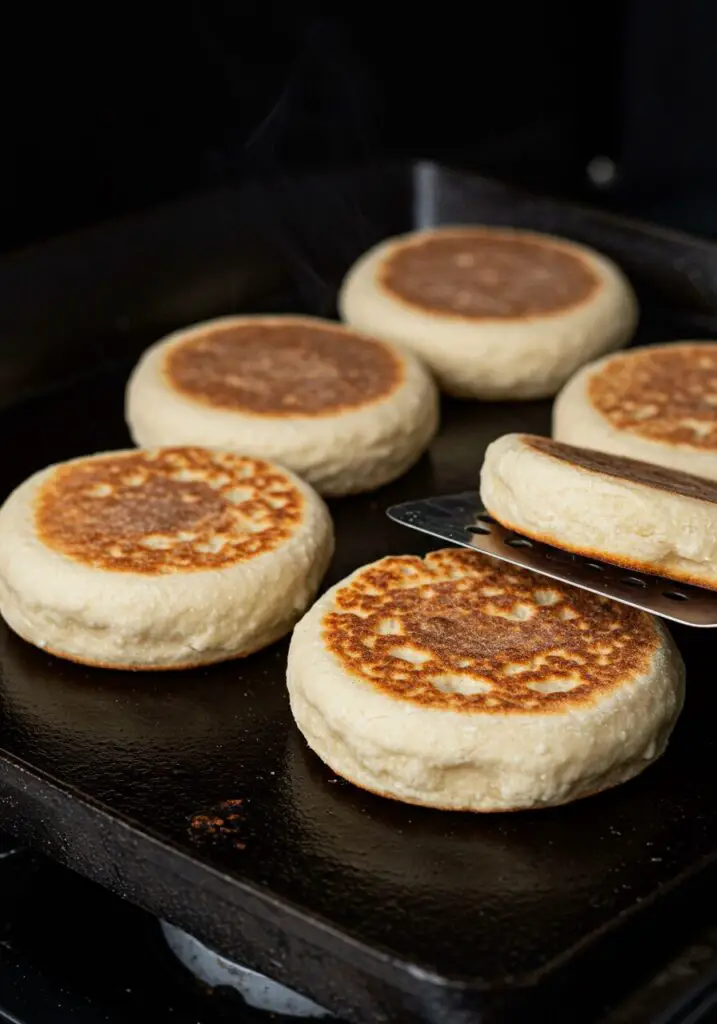
- Cook on the Griddle: Preheat a heavy-based frying pan or a griddle over a very low heat. This is important—if the heat is too high, the outside will burn before the inside is cooked. Carefully place the proved muffins onto the hot, dry pan (no oil needed). Cook them for approximately 5-6 minutes on the first side. You should see them start to rise a bit more.
- Flip and Finish: Gently flip the muffins over and cook for another 5-6 minutes on the other side, until they are golden brown and sound hollow when tapped. Cool on a wire rack before splitting open with a fork and toasting.
Wise Tips for Muffin Success
- The Salt and Yeast Separation: This is a fantastic professional tip. Salt can inhibit or kill yeast on direct contact, so placing them on opposite sides of the bowl gives the yeast a head start as you begin mixing.
- Kneading is Key: Don’t skimp on the kneading time! That 10 minutes of work is what develops the gluten in the flour, which is essential for the chewy texture and all those nooks and crannies.
- Low and Slow Cooking: The biggest mistake you can make is having your pan too hot. A gentle, low heat is crucial to ensure the muffins cook all the way through to the center without burning on the outside.
Easy Homemade English Muffins (Paul Hollywood Recipe)
Ingredients
Method
- In a large mixing bowl, add flour. Sprinkle yeast on one side and salt on the other. Add sugar, butter, egg, and milk. Mix to form a soft dough.
- Turn dough onto a floured surface and knead for 10 minutes until smooth and stretchy. Place in a lightly oiled bowl, cover, and let rise for 1 hour, or until doubled in size.
- Dust work surface with semolina/flour mixture. Roll dough out to about 1-inch (2.5cm) thick. Using a 3.5-inch (9cm) cutter, cut out 8 muffins. Place on semolina-dusted baking trays. Dust tops with remaining semolina. Let rise for another 30 minutes.
- Preheat a heavy-based frying pan or griddle to a very low heat. Cook the muffins for 5-6 minutes per side, until golden brown and cooked through. Cool on a wire rack.
Frequently Asked Questions (FAQ) – Homemade English Muffins
- What is “strong white bread flour” and can I use all-purpose?
Strong white bread flour has a higher protein content than all-purpose flour, which helps create a chewier texture. You can use all-purpose flour, but the final texture will be a little softer and less chewy. - How do I know when my dough has doubled in size?
The easiest way to check is the “poke test.” Gently poke the risen dough with a floured finger. If the indentation springs back very slowly or stays, your dough is ready. If it springs back immediately, it needs more time. - Why do you split English muffins with a fork?
Splitting them with a fork instead of cutting with a knife is the secret to preserving all those beautiful nooks and crannies! It tears the crumb apart gently, creating lots of little pockets to catch butter. - How do I store homemade English muffins?
Store them in an airtight container or bag at room temperature for up to 3-4 days. They also freeze beautifully! Just pop them in a freezer bag for up to 3 months.
Conclusion
There is a deep, satisfying pleasure that comes from creating a bread staple like this from scratch. This Easy English Muffins Recipe is a gateway into the wonderful world of bread making. The moment you split open your first warm, homemade muffin and see all those perfect nooks and crannies, you’ll feel an incredible sense of accomplishment. I hope you have a blast with this recipe and enjoy every buttery, toasted bite!