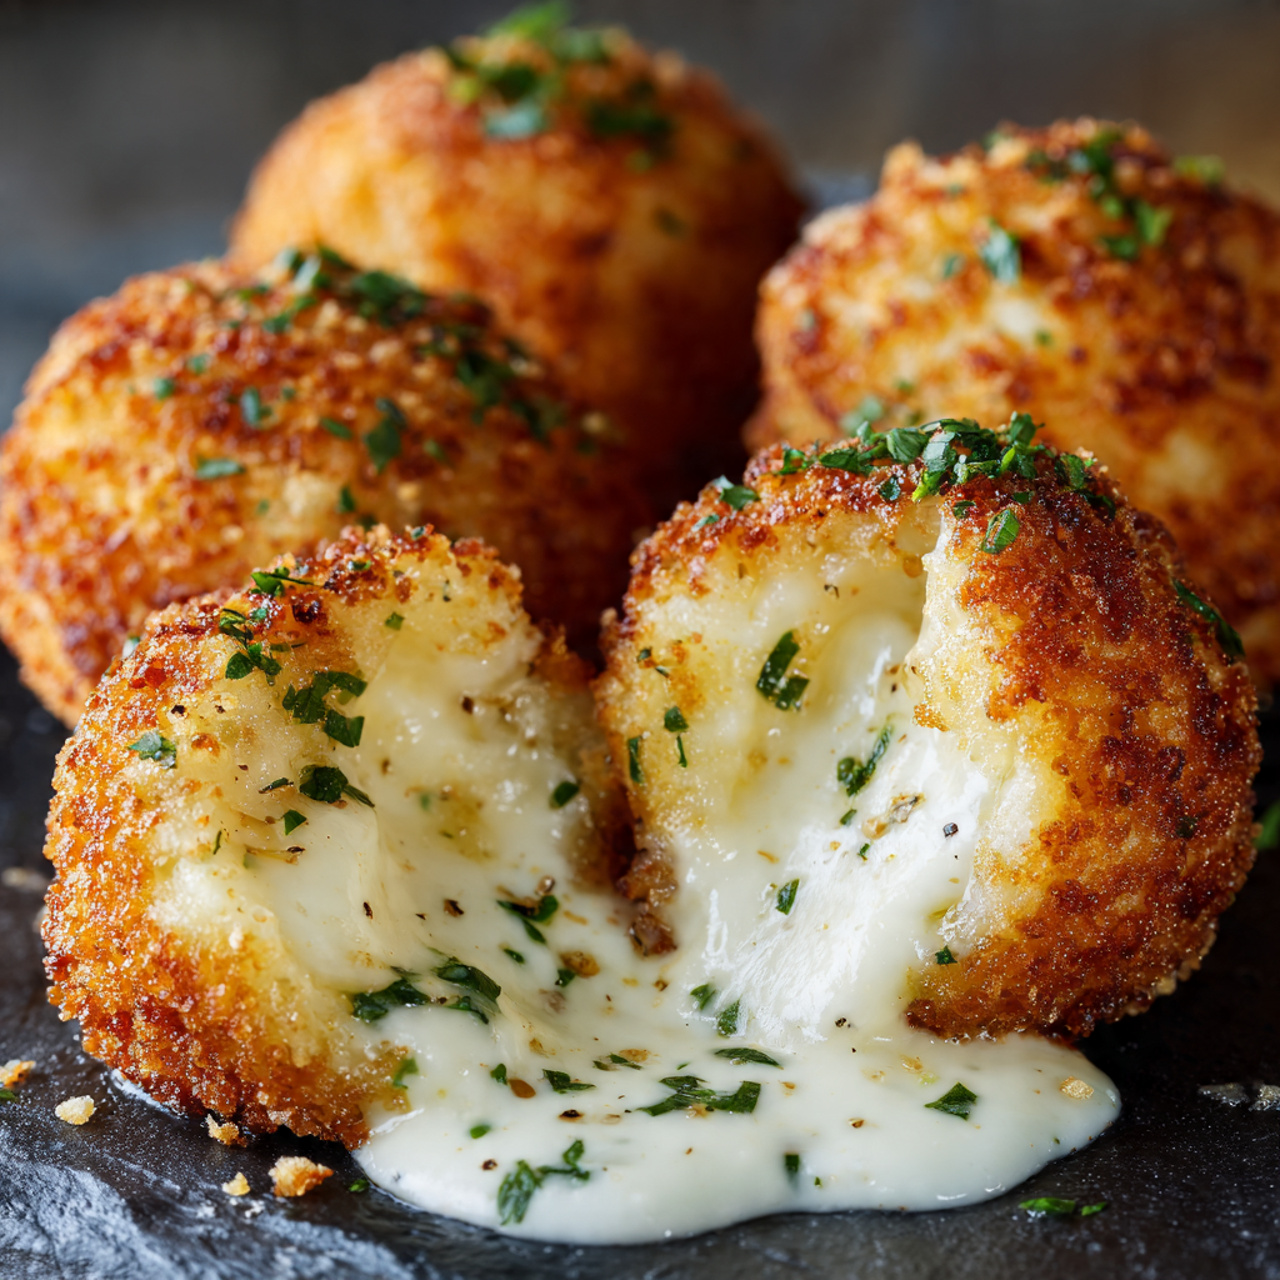
Buttery Cheese Garlic Rolls
A warm memory and a recipe There are smells that take you back faster than any photograph, and for me one of those is the sweet, nutty aroma of garlic caramelizing in olive oil until it almost hums. I first learned this version of Buttery Cheese Garlic Rolls on a rainy afternoon when I wanted…
A warm memory and a recipe
There are smells that take you back faster than any photograph, and for me one of those is the sweet, nutty aroma of garlic caramelizing in olive oil until it almost hums. I first learned this version of Buttery Cheese Garlic Rolls on a rainy afternoon when I wanted something soft and comforting that would also pair with a bowl of soup. If you want to see another take that inspired me, I sometimes compare notes with this write-up of buttery cheese garlic rolls everyone will love, but what follows is how I make it at home when I want melted cheese, pillowy dough, and garlic that tastes roasted, not raw.
The Secret Behind Perfect Buttery Cheese Garlic Rolls
Start with good roasted garlic. I take one head garlic, slice the top off so the cloves are exposed, drizzle about 30 grams of olive oil over it, and sprinkle a teaspoon of salt across the exposed cloves. Then I wrap the head tightly in foil and preheat the oven to 160°C (320°F) to roast it slowly for two hours. The long, slow roast transforms the garlic into a spreadable, golden paste and leaves a cup of fragrant reserved garlic oil in the foil if you tilt it carefully into a small bowl. That oil goes into the garlic butter, which I make by mixing the roasted garlic with 25 grams of softened butter, a handful of chopped parsley, and a spoonful of that reserved garlic oil. This is the thing you will want to smear on everything.
When I build the dough I use 90 grams of warm milk mixed with 7 grams of active dry yeast and 25 grams of honey, and I let that sit for about 10 minutes until it looks frothy and promising. In a mixing bowl I stir together 200 grams of all-purpose flour, 50 grams of bread flour, and 1 tablespoon of sugar. If you like an extra-milky flavor you can add 20 grams of milk powder, which is optional but I often use it. Then add 50 grams of butter cut into pieces, 1.5 teaspoons of salt, 2 egg yolks, and the yeast-milk mixture, and knead until the dough is smooth. It takes a few minutes; you want elasticity, not a sticky mess. Cover the bowl and let the dough rise in a warm spot for about 1.5 hours until it has roughly doubled.
Getting the Texture Just Right
Once the dough has risen, punch it down gently and roll it out to about a quarter of a centimeter thick. Spread the garlic butter evenly over the surface, leaving a small margin at the edges. Sprinkle 200 grams of shredded mozzarella across the top and then roll the dough into a log. I cut the log into six even portions and place each round on a baking sheet to proof for another 30 minutes. Before the baking stage I preheat the oven again, this time to 175°C (350°F). Brush each roll with an egg wash made from one beaten egg, and slide them into the oven; bake for 20 to 25 minutes until the tops are glossy and golden and you hear a satisfying hollow sound when you tap the bottom. When they come out I immediately brush the warm rolls with the remaining garlic butter and scatter a little parsley over the hot tops. The smell at that moment is nearly impossible to resist.
A little trick I picked up: if your dough feels tight when you roll it, let it rest for five minutes. That tiny pause relaxes the gluten and makes for a silkier roll. Also, if you are worried about the cheese leaking, leave a slightly larger edge without filling and roll fairly snugly. For a different crumb, I sometimes borrow techniques from brioche-style doughs; it makes the rolls richer and pairs beautifully with this garlic butter—if you want more ideas I have tried variations inspired by brioche-style rolls.
A Few Things I’ve Learned
Timing matters. Roasting the garlic at 160°C for a full two hours is non-negotiable in my book because the sweetness deepens and the sharpness disappears. When you mix the yeast with the honey and warm milk, be sure the milk is tepid, not hot; I check with my wrist or a thermometer—about the temperature of a warm bath. If the yeast doesn’t froth within 10 minutes the way it should, it may be old and you should start again with fresh yeast. Also, when you knead, aim for a smooth, slightly tacky ball that springs back; that’s how you know it will rise nicely.
I also learned the hard way to reserve any garlic oil that escapes the foil while roasting. That oil is intensely flavored and helps spread the garlic character evenly through the dough and on top of the rolls. If you want more savory variations, you can riff on this recipe like I do from time to time—mix in herbs with the mozzarella, stuff in diced sun-dried tomatoes, or fold in some cooked bacon for a smoky note. If you are curious about different garlic roll approaches, check out my experiments with other types of garlic bread rolls variations to see what inspired me.
How to Serve, Store, and Change Things Up
These rolls are fantastic warm, of course, alongside a salad or a steaming bowl of soup. My favorite pairing is a simple tomato basil soup so the garlic and cheese can be dipped and savored. Once I had guests I served these with roasted carrots that had honey and butter—that sweet, savory combo was unexpectedly brilliant; the recipe I used for that side is similar to this honey garlic roasted carrots I bookmark for holidays.
Leftovers keep well. If you plan to store them for a day or two, wrap them tightly and refrigerate. To refresh, pop them in a 160°C oven for 5 to 8 minutes covered with foil so they warm without drying. For longer storage you can freeze fully baked rolls in a single layer until firm, then transfer to a bag; reheat from frozen at 175°C for about 15 minutes. If you want to make these ahead, assemble and refrigerate the cut rolls on the baking sheet overnight; let them come to room temperature for about 30 minutes before proofing the final 30 minutes and baking.
Variations I enjoy include swapping some of the mozzarella for sharp cheddar for a tangier bite, adding finely chopped sun-dried tomato with the cheese for a Mediterranean twist, or stirring a spoonful of pesto into the garlic butter for an herby lift. You can also scale down and make mini rolls for parties.
When it’s done right, the outside will be golden and slightly crisp, the inside soft and airy, and the cheese melted into gooey threads when you pull a roll apart. The garlic should smell sweet, not acrid. That contrast—crisp exterior, pillowy interior, and molten cheese with roasted garlic—keeps me coming back.
Conclusion
If you want to compare techniques or see a variation with slightly different proportions, I sometimes read through Archer’s version of buttery cheese garlic rolls for inspiration, and for a parmesan-forward angle I like to reference this garlic butter parmesan rolls recipe to spark new ideas. Give these rolls a try on a quiet evening and you may find, as I did, that a head of roasted garlic, a little butter, some warm milk and yeast, and melted cheese can make a very ordinary night feel like a celebration.

Buttery Cheese Garlic Rolls
Ingredients
Method
- Slice the top off the head of garlic to expose the cloves.
- Drizzle olive oil over the exposed cloves and sprinkle with salt.
- Wrap the garlic tightly in foil and roast in the oven at 160°C (320°F) for 2 hours.
- Once the garlic is roasted, mix it with softened butter, chopped parsley, and reserved garlic oil.
- Mix warm milk with active dry yeast and honey, let sit for 10 minutes until frothy.
- In a mixing bowl, combine all-purpose flour, bread flour, sugar, prepared yeast mixture, butter, salt, and egg yolks.
- Knead until the dough is smooth and elastic.
- Cover and let rise in a warm spot for 1.5 hours until doubled.
- Punch down the risen dough and roll it out to about 0.25 cm thick.
- Spread garlic butter evenly over the surface and add shredded mozzarella.
- Roll the dough into a log and cut into six portions.
- Place each portion on a baking sheet and proof for 30 minutes.
- Preheat the oven to 175°C (350°F).
- Brush each roll with egg wash and bake for 20 to 25 minutes until golden.
- Brush hot rolls with remaining garlic butter and sprinkle with parsley.