Cherry Chocolate Upside Down Cake
There’s something magical about cherry desserts that brings joy with every bite. The moment you take a slice, you’re greeted by a gorgeous ruby red filling that glistens against a flaky, buttery crust. The aroma wafting through your kitchen pulls you in like a warm hug, promising a symphony of sweet and tart flavors. Whether…
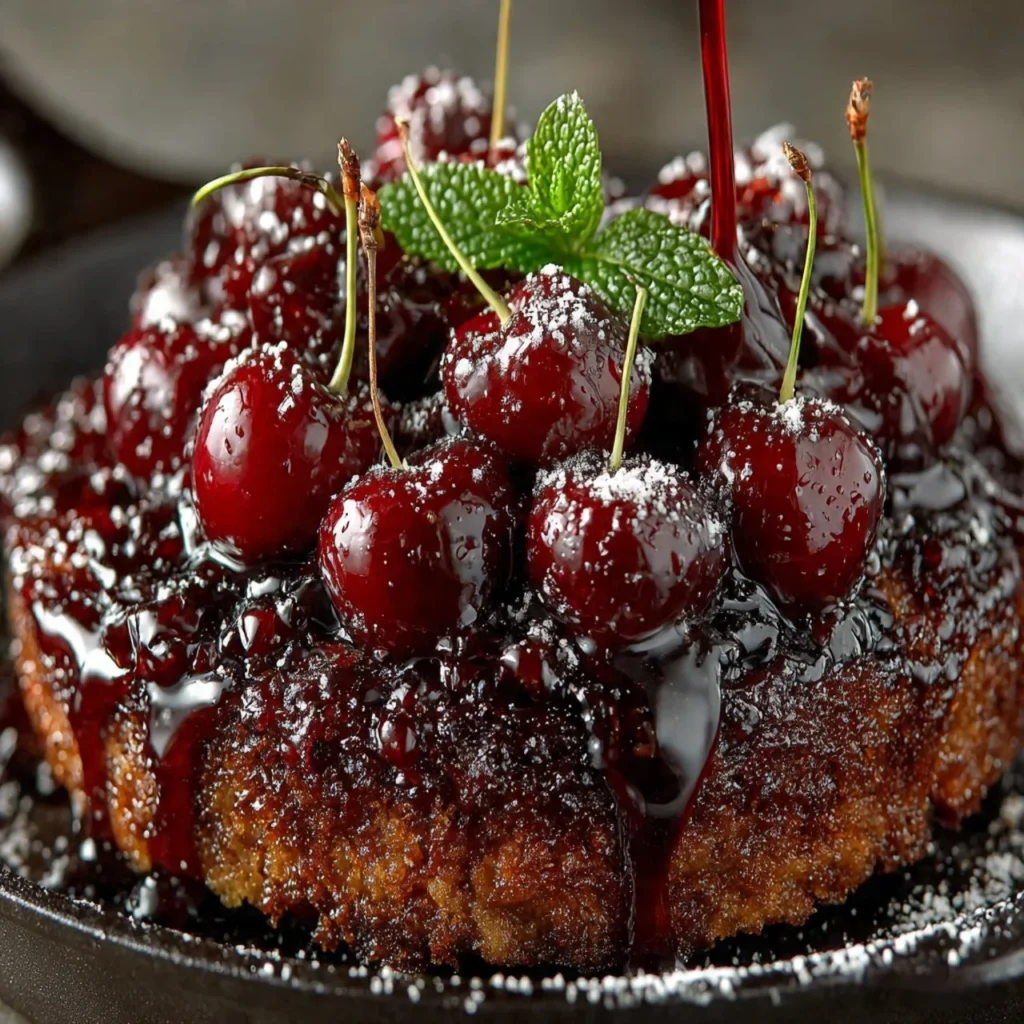
There’s something magical about cherry desserts that brings joy with every bite. The moment you take a slice, you’re greeted by a gorgeous ruby red filling that glistens against a flaky, buttery crust. The aroma wafting through your kitchen pulls you in like a warm hug, promising a symphony of sweet and tart flavors. Whether it’s a sunny summer afternoon or a cozy fall evening, a cherry dessert is the perfect way to celebrate any occasion or simply enjoy a little indulgence.
This Delicious Cherry Dessert is a Must-Try
- Easily Accessible Ingredients: You can whip up this dessert with ingredients you probably already have in your pantry and fridge. Fresh cherries might be the only special item you need—perfect for a spontaneous baking session!
- A Flavorful Harmony: The combination of sweet cherries, a hint of almond, and zesty lemon creates a delightful balance that dances on your palate, making each bite a little celebration.
- Stunning Presentation: This dessert doesn’t just taste amazing; it looks gorgeous too! That golden-brown crust and vibrant cherry filling will wow your family and friends.
- Versatile Serving Options: Serve it warm with a scoop of vanilla ice cream for a classic treat or enjoy it with freshly whipped cream for that extra touch.
- Perfect for Any Occasion: Whether you’re celebrating a holiday or enjoying a quiet evening at home, this cherry dessert is sure to brighten your day!
Gathering Your Ingredients
To create this delightful cherry dessert, let’s gather everything you need. Here’s your shopping list:
- 2 cups fresh cherries, pitted and halved: These juicy gems are the star of the show! Sweet and slightly tart, they burst with flavor.
- 1/2 cup sugar: This is added sweetness to balance the tartness of the cherries. Adjust according to your taste.
- 1/4 cup cornstarch: A thickening agent that ensures your cherry filling isn’t runny. It gives that perfect, gooey texture.
- 1 teaspoon vanilla extract: Vanilla adds warmth and depth to the flavor of the cherries.
- 1/4 teaspoon almond extract: Just a hint of almond takes the flavor profile to new heights, enhancing the cherries beautifully.
- 1 tablespoon lemon juice: A splash of acidity brightens up the flavors and also helps to keep the cherries fresh.
- 1 prepared pie crust: This crispy layer acts as a lovely vessel for holding in all that cherry goodness. You can use a store-bought crust in a pinch.
- 1 tablespoon butter, diced into small pieces: Dotting the top of the filling with butter enhances the richness and brings a lovely depth to the final result.
- 1 egg (for egg wash): This will give your crust that beautiful golden sheen.
- 1 tablespoon milk (for egg wash): Combined with the egg, it makes for a rich, lustrous topping.
Crafting Your Perfect Cherry Dessert
Are you ready to take that leap into baking bliss? Let’s walk through the steps together to create this delightful cherry dessert:
- Preheat the Oven: Start by preheating your oven to 425°F (220°C). This ensures that the crust will be beautifully flaky and golden.
- Mix the Filling: In a large mixing bowl, combine the pitted cherries, sugar, cornstarch, vanilla extract, almond extract, and lemon juice. Gently toss everything together until the cherries are evenly coated. The sweetness of the cherries mixed with the sugar will create that mouthwatering filling.
- Prepare the Pie Crust: Roll out your pie crust and fit it into a 9-inch pie pan. Don’t worry if you have to patch areas; it will all come together in the end!
- Add the Cherry Filling: Spoon the cherry mixture into the crust, smoothing it out evenly. You want every slice to be packed full of that gorgeous filling.
- Dot with Butter: Sprinkle those little pieces of butter over the cherry filling. This is the secret to achieving that perfect richness.
- Top It Off: Roll out your second pie crust. You can either place it whole over the cherry filling or cut it into strips for a beautiful lattice top. If you’re going the whole crust route, make sure to slice a few slits to let the steam escape.
- Egg Wash: In a small bowl, whisk together the egg and milk. Brush this mixture over the crust to give it a golden finish as it bakes.
- Bake to Perfection: Pop your pie in the oven and bake for 25 to 30 minutes, or until the crust is golden brown and the filling is bubbling. Your kitchen will begin to smell heavenly at this point!
- Let It Cool: Once baked, take it out and let it cool for a bit. This small wait is crucial—resist the urge to dive in right away, as the filling needs a moment to set.
Secrets to Success
- Choose the Right Cherries: Fresh, ripe cherries are essential. If you can’t find fresh ones, frozen cherries work too; just ensure to thaw and drain excess liquid.
- Be Gentle with the Filling: When mixing the cherries, aim to be gentle. You want to preserve their shape rather than mash them.
- Check for Doneness: Keep an eye on your pie toward the end of baking. If the crust is browning too quickly, you can cover the edges with foil.
- Don’t Rush Cooling: Allow the dessert to cool before slicing—it makes for cleaner pieces and allows the filling to firm up.
- Trust Your Senses: Don’t hesitate to adjust the sugar or acidity based on your taste and the natural sweetness of the cherries; cooking is all about finding what you love!
Get Creative with Cherry Dessert
- Berry Blend: Try incorporating other berries like blueberries or raspberries for a mixed berry version.
- Spices: Add a pinch of cinnamon or nutmeg for a lovely warming spice flavor that complements the fruit beautifully.
- Zest It Up: Lemon or orange zest can bring an extra layer of brightness and freshness to the cherry filling.
- Crust Variations: Swap out the classic pie crust for a crumb crust made from crushed graham crackers for a fun twist.
- Nutty Surprise: Incorporate finely chopped nuts such as almonds or pecans into the crust for added crunch and flavor.
Enjoying This Cherry Delight
There’s something special about how this cherry dessert comes together at the table. Picture this: a slice of that warm, cherry-filled goodness, topped with a generous scoop of creamy vanilla ice cream softly melting into the warm fruit. The contrast of textures—from the flaky crust to the juicy cherries—is a treat for your senses. You can also serve it with a dollop of freshly whipped cream, or even a drizzle of chocolate sauce for those extra chocolate lovers.
Keeping It Fresh
If you happen to have leftovers (though that’s pretty rare in my experience!), here’s how to keep your cherry dessert fresh:
- Refrigeration: Store your pie in the refrigerator, covered loosely with plastic wrap or foil, for up to 3-4 days. The flavors will continue to meld and get even more delicious!
- Freezing it Right: To freeze, wrap individual slices in plastic wrap and place them in an airtight container. The slices can be kept frozen for up to 3 months. When you’re ready to enjoy, just thaw overnight in the fridge and reheat in the oven for a couple of minutes for that freshly baked taste.
- Reheating Tips: If you’re reheating a larger section, pop it in a preheated oven at 350°F (175°C) until warmed through—about 10-15 minutes should do the trick.
Your Questions Answered
- Can I use frozen cherries? Absolutely! Make sure to thaw and drain them to prevent excess liquid in your pie.
- What if my crust is too soggy? If you notice a soggy crust, consider blind baking it slightly before adding the filling, which helps create a barrier.
- Is there a way to make this dessert healthier? You can reduce the sugar and use a whole grain crust for a healthier version without sacrificing flavor.
- How do I know when the filling is done? The filling should bubble up through the slits in the top crust, and juices should be visibly thickening.
This cherry dessert is not just a recipe but a way to bring joy to any gathering. I encourage you to give it a go and experience the happiness that only a warm slice of homemade cherry pie can bring. Let the flavors dance on your taste buds, and enjoy the beautiful moments it creates around your table!
Cherry Pie
Ingredients
Method
- Preheat your oven to 425°F (220°C).
- In a large mixing bowl, combine the pitted cherries, sugar, cornstarch, vanilla extract, almond extract, and lemon juice. Gently toss until evenly coated.
- Roll out your pie crust and fit it into a 9-inch pie pan, patching as needed.
- Spoon the cherry mixture into the crust, smoothing it out evenly.
- Dot the top with small pieces of butter.
- Roll out your second pie crust and either cover the filling entirely or create a lattice top, slicing a few slits for steam.
- In a small bowl, whisk together the egg and milk. Brush over the crust.
- Bake for 25 to 30 minutes until the crust is golden brown and filling is bubbling.
- Let the pie cool for a short time before slicing.