The Ultimate Chocolate-Walnut Sandwich Cookies (Oreshki Holiday Treat!)
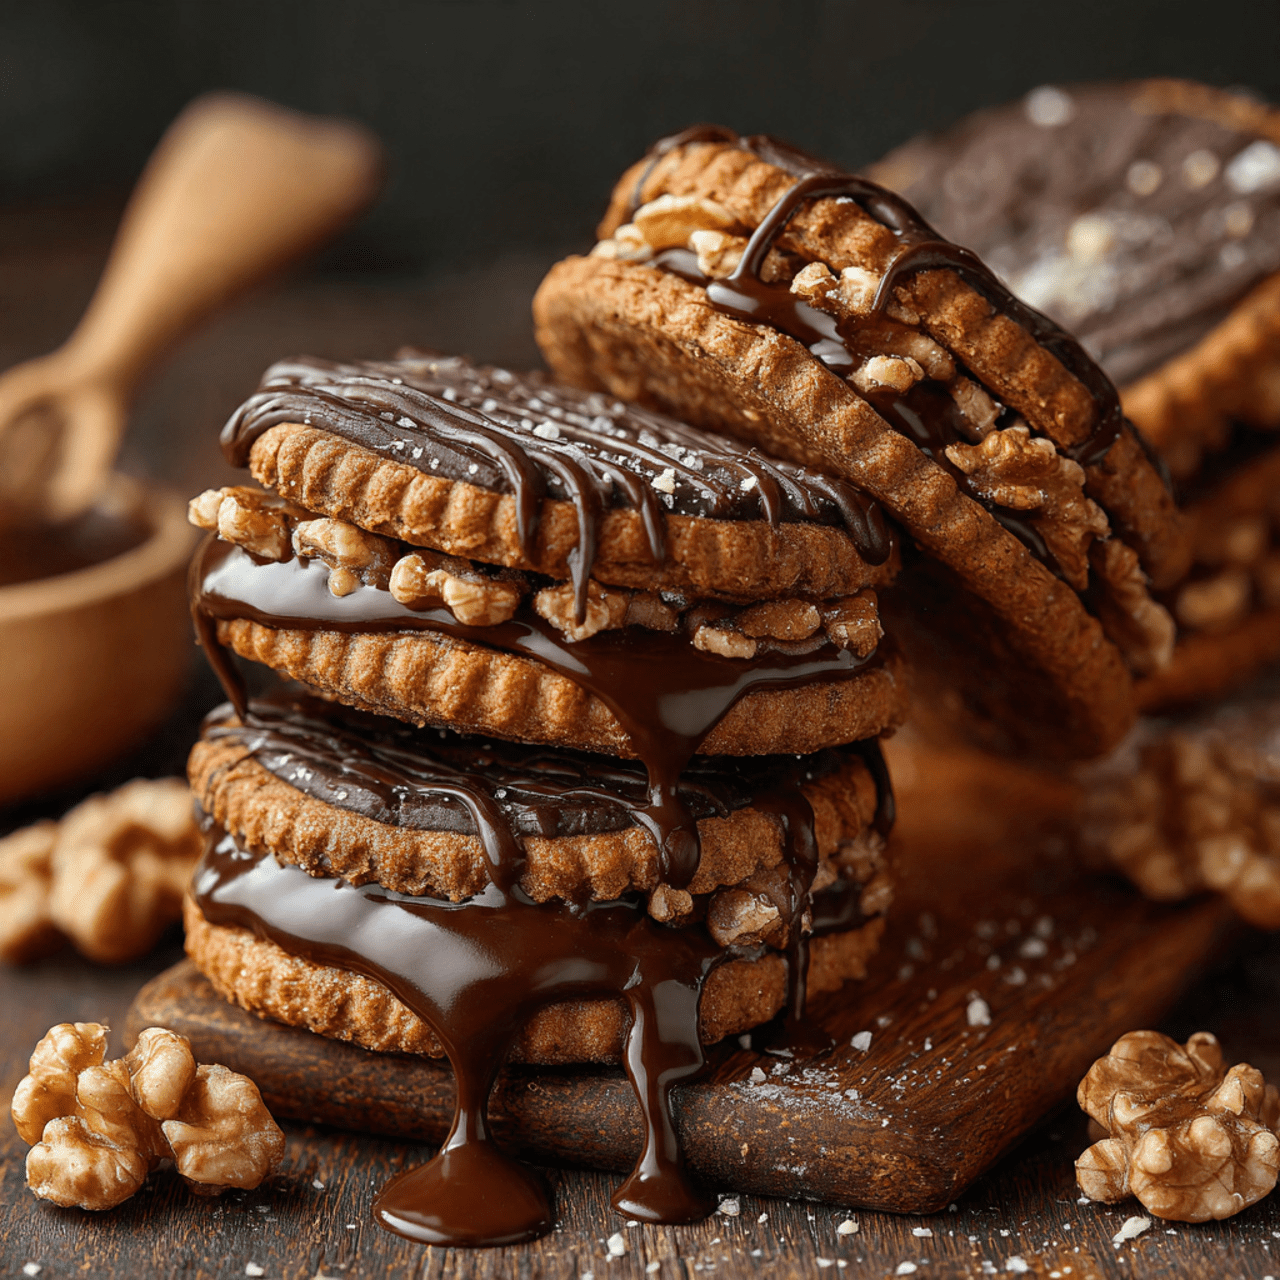
Imagine a delicate, crispy cookie, molded into the perfect shape of a walnut shell, sandwiched together with a rich, impossibly creamy chocolate-walnut filling. That, my friends, is the old-world, enchanting magic of these Chocolate-Walnut Sandwich Cookies, also known as Oreshki. Hailing from Eastern Europe, this is, without a doubt, the most unique and memorable cookie…
Imagine a delicate, crispy cookie, molded into the perfect shape of a walnut shell, sandwiched together with a rich, impossibly creamy chocolate-walnut filling. That, my friends, is the old-world, enchanting magic of these Chocolate-Walnut Sandwich Cookies, also known as Oreshki. Hailing from Eastern Europe, this is, without a doubt, the most unique and memorable cookie you will add to your Christmas baking list.
I promise you, there is no greater baking delight than assembling these little “walnuts.” The cookie shell itself is crisp and nutty, and the filling is a decadent, fudgy dream—a perfect harmony of rich cocoa and earthy walnut butter. They are a true show-stopper on a holiday platter and a conversation piece that will have everyone intrigued.
Get ready to discover a new holiday favorite, a recipe that’s steeped in tradition and will bring a touch of Eastern European magic to your Christmas celebrations.

Why These Oreshki Cookies are a Holiday Treasure
You are going to fall completely in love with this unique and delicious baking project. It’s a truly special cookie. Here’s why:
- A Unique and Memorable Holiday Cookie: These aren’t your average Christmas cookies! Their beautiful, realistic walnut shape and rich filling make them stand out on any cookie platter.
- Incredibly Rich and Flavorful: The combination of a crisp, nutty shell and a creamy, fudgy chocolate-walnut filling is a true flavor masterpiece for nut and chocolate lovers.
- A Fun and Rewarding Baking Project: The process of molding, baking, and filling these little shells is a wonderfully satisfying and unique baking experience.
- Rooted in Beautiful Tradition: Making Oreshki is a way to connect with a beloved Eastern European holiday tradition, bringing a touch of history to your kitchen.
- Perfect for Gifting: A box of these beautiful, homemade “walnuts” makes an incredibly thoughtful and impressive edible gift for the holidays.
Recipe Snapshot
| Prep Time | 1 hour |
| Chill Time | 1 hour |
| Cook Time | 20 minutes |
| Total Time | 2 hours 20 minutes |
| Servings | 38 sandwich cookies |
| Calories | 155 kcal per cookie (estimated) |
| Course | Dessert |
| Cuisine | Eastern European |
| Difficulty/Method | Intermediate / Baking |
Your Shopping List for These Traditional Cookies
This recipe uses high-quality nut ingredients to build its signature, authentic flavor.
→ For the Walnut Cookie Shells
- 4 oz shelled walnuts → Toasted and cooled, then finely chopped to infuse the cookie dough with nutty flavor.
- ½ cup (1 stick) unsalted butter → Softened to room temperature for a creamy dough.
- ¼ cup plus 2 Tbsp dark brown sugar & 2 Tbsp confectioners’ sugar → A mix for flavor and texture.
- 1 large egg → To bind the dough.
- 2 tsp pure vanilla extract → For classic, warm flavor.
- Cooking spray → For greasing the cookie molds.
→ For the Creamy Chocolate-Walnut Filling
- ½ cup (1 stick) unsalted butter → Softened to room temperature.
- 1 cup walnut butter → The secret to the intensely nutty, creamy filling.
- 2 to 3 tablespoons heavy cream → To achieve the perfect, smooth consistency.
- 1 tsp pure vanilla extract & ½ tsp kosher salt
- 1 ½ cups confectioners’ sugar
- ½ cup unsweetened cocoa powder → For a rich, deep chocolate flavor.
Let’s Get Baking! Your Step-by-Step Oreshki Guide
Ready to tackle this beautiful and traditional cookie? Let’s break it down.
Part 1: The Crisp Walnut Cookie Dough
- Prep the Walnuts: In a food processor, pulse the toasted and cooled walnuts until they are finely chopped.
- Cream the Fats and Sugars: In a large bowl with an electric mixer, beat the room temperature butter, brown sugar, and confectioners’ sugar on medium speed until creamy, about 2-3 minutes.
- Combine the Dough: Beat in the egg, vanilla, and salt. Reduce the mixer speed to low and gradually beat in the flour and the ground walnuts until just combined. Do not overmix. Cover the dough and chill it for at least 1 hour.
Part 2: Molding and Baking the Shells
- Preheat and Prep Molds: Preheat your oven to 400°F (200°C). Lightly grease your walnut cookie molds with cooking spray.
- Shape and Press: Roll the chilled dough into small, teaspoon-sized balls. Press one ball firmly into each prepared walnut mold cavity.
- Bake in Batches: Bake for 18 to 20 minutes, or until the shells are golden brown and set. Let them cool in the mold for 2 minutes before carefully removing them to a wire rack to cool completely.
- Repeat: Before the next batch, rinse the mold under cool water, dry it thoroughly, and lightly grease it again. Continue with the remaining dough.
Part 3: The Fudgy Chocolate-Walnut Filling
- Whip the Filling: In a large bowl with an electric mixer, beat the softened butter, walnut butter, and 2 tablespoons of heavy cream on medium speed until combined and creamy.
- Add Flavors: Beat in the vanilla and salt. Reduce the mixer speed to low and gradually beat in the confectioners’ sugar and cocoa powder.
- Beat Until Smooth: Increase the speed to medium and beat until the filling is well-combined and smooth, about 1 minute. If the filling seems too dense or stiff, beat in the final tablespoon of heavy cream.
Part 4: Assemble Your “Walnuts”
- Fill and Sandwich: Take one of the cooled walnut cookie shells and spoon in about 1 tablespoon of the chocolate-walnut filling. Gently press another cookie shell on top to create a full, closed “walnut.” The filling should just peek out from the seam. Repeat with all the shells.
Traditional Chocolate-Walnut Sandwich Cookies (Oreshki)
Ingredients
Equipment
Method
- Make the cookies: Pulse toasted walnuts in a food processor until finely chopped. In a large bowl, beat butter and sugars until creamy. Beat in egg, vanilla, and salt. On low speed, gradually beat in flour and walnuts until just combined. Cover and chill for 1 hour.
- Preheat oven to 400°F. Lightly grease walnut cookie molds. Roll dough into teaspoon-size balls and press into the prepared molds.
- Bake in batches until golden brown and set, 18 to 20 minutes. Cool in the mold for 2 minutes before carefully removing cookies to wire racks to cool completely. Rinse, dry, and re-grease mold between batches.
- Make the walnut filling: In a large bowl, beat butter, walnut butter, and 2 tablespoons of heavy cream until creamy. Beat in vanilla and salt. On low speed, gradually beat in confectioners’ sugar and cocoa powder. Increase speed to medium and beat until smooth. Beat in additional cream if filling is too dense.
- Spoon about 1 tablespoon of filling into half of the cooled cookie shells. Top with the remaining shells to form sandwich cookies.
Notes
WiseRecipes’ Top Tips for Perfect Oreshki
These traditional cookies have a few key steps. These tips will help you master them.
- Don’t Skip Chilling the Dough. Chilling the dough is crucial. It allows the butter to firm up, which makes the dough much easier to handle and helps the cookies hold their intricate shape in the mold during baking.
- Toast Your Walnuts! Toasting the walnuts before grinding them is a small step that makes a huge difference. It deepens their flavor, makes them crunchier, and brings out their natural oils.
- Prep Your Molds Between Batches. As the recipe notes, it’s important to let the mold cool, rinse, dry, and re-grease it between each batch. This ensures that every cookie releases cleanly without breaking.
- Don’t Have a Mold? No Problem! The tip to make these as simple round sandwich cookies is fantastic. Just flatten the balls of dough and bake on parchment paper. They’ll still be absolutely delicious!
- Filling Consistency is Key. The filling should be thick and fudgy, but still pipeable or spoonable. If it’s too stiff, add that extra splash of cream. If it’s too soft, you can add a little more powdered sugar or chill it for a few minutes.
Keep Them Fresh! Storing Your Sandwich Cookies
These cookies store beautifully, and their flavor even deepens over time.
- Storage: Store the finished sandwich cookies in an airtight container at room temperature. They will stay fresh and delicious for up to a week. The shells will soften slightly as they absorb moisture from the filling, which is part of their charm!
FAQs: Your Oreshki Questions, Answered!
Where can I find a walnut cookie mold?
These specialty pans, sometimes called “oreshnitsa,” can be found online through various retailers like Amazon or at specialty European kitchen supply stores. They come in both stovetop versions (like a waffle iron) and oven-safe molds.
Can I make my own walnut butter?
Yes, absolutely! It’s very easy. Simply process toasted walnuts in a high-powered food processor until they break down and become a smooth, creamy butter. This can take several minutes of continuous processing.
Can I use a different kind of nut?
Of course! This recipe would be fantastic made with pecans or hazelnuts. You would just need to substitute both the chopped nuts in the cookie and the nut butter in the filling with your chosen nut.
Can I freeze these cookies?
Yes, they freeze very well. You can freeze the finished sandwich cookies in an airtight container for up to 3 months. Let them thaw at room temperature before serving.
Final Thoughts: A Taste of Holiday Tradition
There is something truly special about diving into a baking project that feels both challenging and deeply rooted in tradition. These Chocolate-Walnut Sandwich Cookies, or Oreshki, are a beautiful and delicious journey. They are a true labor of love that results in a unique and unforgettable holiday treat. I hope they bring a touch of old-world charm and deliciousness to your Christmas celebration. Happy Baking!