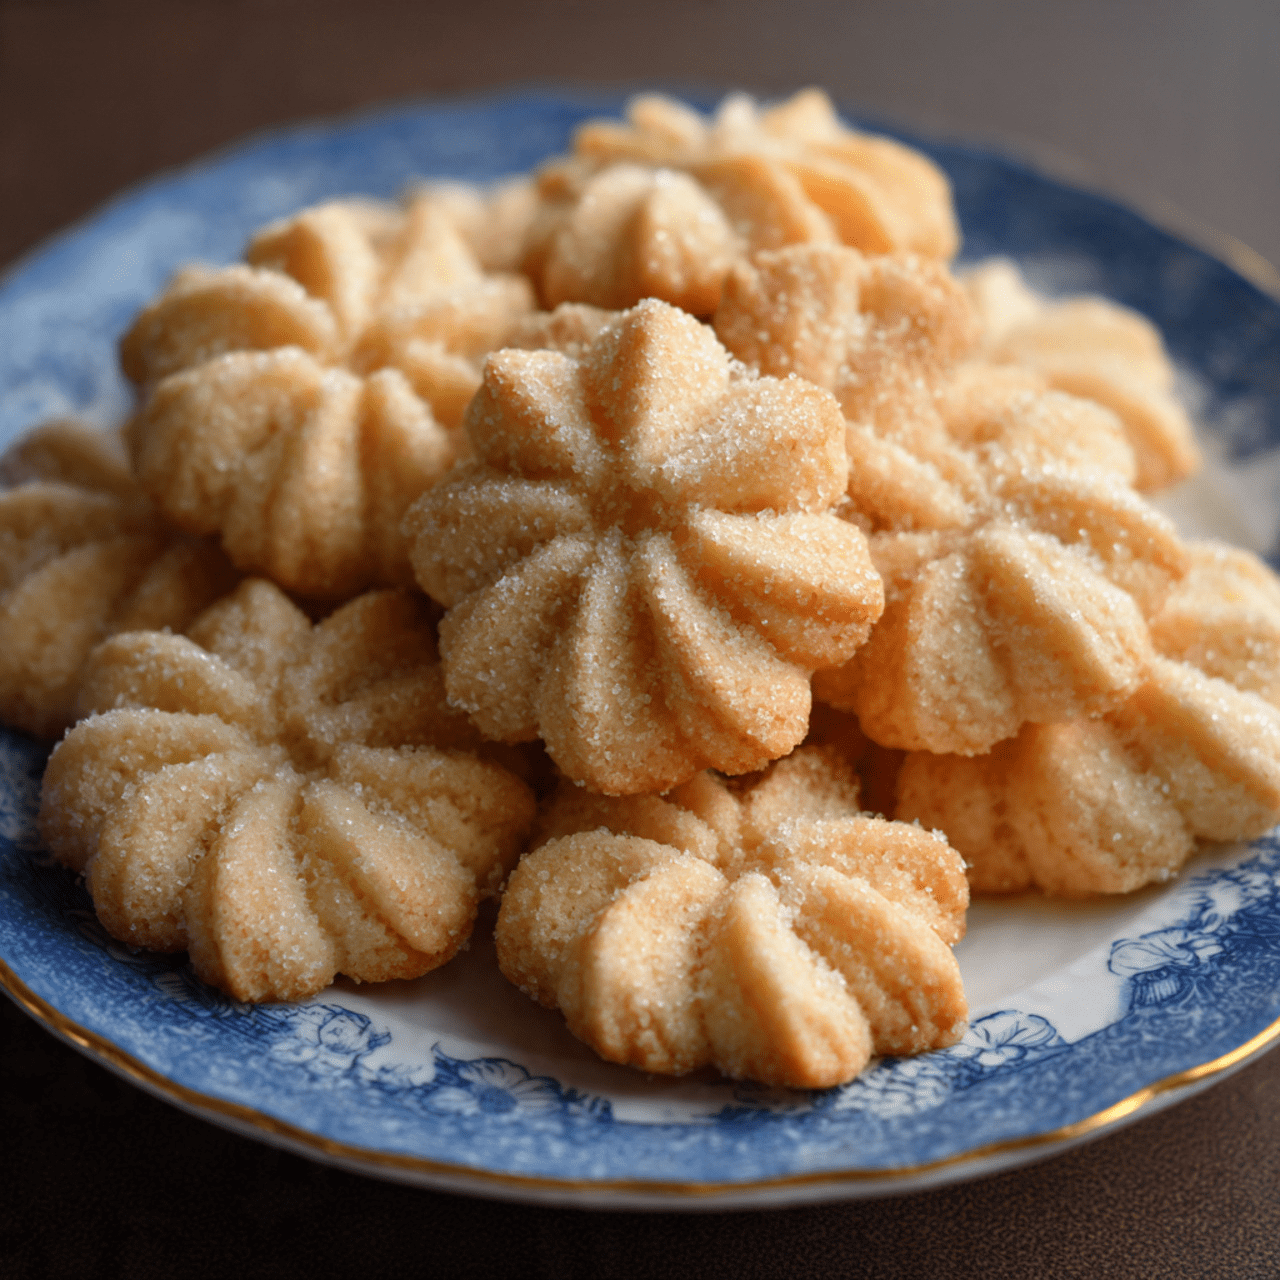
Delicious Red Velvet Oreo Cookies
The first time I made these I almost cried I know that sounds dramatic, but there was something about the smell—warm cocoa, sugar caramelizing at the edges, and that tiny hint of vanilla—that turned my kitchen into a little comfort zone. I was trying to riff on a red velvet cookie and, because I love…
The first time I made these I almost cried
I know that sounds dramatic, but there was something about the smell—warm cocoa, sugar caramelizing at the edges, and that tiny hint of vanilla—that turned my kitchen into a little comfort zone. I was trying to riff on a red velvet cookie and, because I love a good mash-up, I added crushed Oreos. The result became my go-to dessert for potlucks and quiet Sunday afternoons. If you want to make my favorite, Delicious Red Velvet Oreo Cookies, you’ll need a handful of pantry staples and a little patience. For what it’s worth, this started as an experiment after I tried a version inspired by a Crumbl-style recipe; if you like that too, you might enjoy this take on the flavor and texture I settled on, which pulls some ideas from a Crumbl copycat red velvet cookies I had bookmarked.
The ingredients that give these cookies their personality
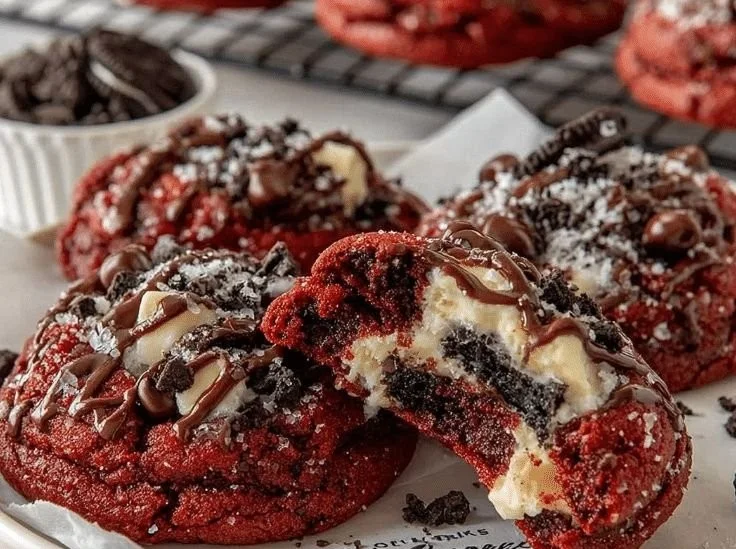
When I tell someone what’s in these cookies, they always picture something decadent. For Delicious Red Velvet Oreo Cookies you need 1 cup (226g) unsalted butter, softened, 1 cup (200g) granulated sugar, 1 cup (200g) brown sugar, packed, 2 large eggs, room temperature, 1 teaspoon vanilla extract, 2 teaspoons red food coloring (gel works best for vibrant color), 2 ½ cups (315g) all-purpose flour, ¼ cup (25g) unsweetened cocoa powder, 1 teaspoon baking soda, ½ teaspoon salt, 1 ½ cups (about 15 cookies) crushed Oreos, ½ cup (85g) white chocolate chips (optional). I say optional because sometimes I leave the chips out to let the Oreo centers sing on their own, but when I want a little extra creamy pop, those white chips are my secret weapon.
How I mix, shape, and bake these so they come out perfect
I don’t do well with rigid rules in the kitchen, but there are a few procedural steps that really matter for this recipe. Preheat your oven to 350°F (175°C) and line your baking sheets with parchment paper or silicone baking mats. I usually get that going first so the oven is ready the moment the dough is shaped. In a large mixing bowl, beat the softened butter, granulated sugar, and brown sugar until light and fluffy (about 2-3 minutes). That’s where the air gets folded into the dough and helps create that tender crumb. Mix in the eggs one at a time, followed by the vanilla extract and red food coloring. Beat until the mixture is smooth and evenly colored. Watching the batter turn that deep, slightly glossy red is half the fun.
In a separate bowl, whisk together the flour, cocoa powder, baking soda, and salt. The cocoa gives just enough background chocolate to nod to classic red velvet without overpowering the Oreos. Slowly add the dry ingredients to the wet ingredients, mixing on low speed until just combined. Avoid overmixing. If you beat too much after the flour goes in you’ll get tougher cookies, and nobody wants that. Gently stir in the crushed Oreos and white chocolate chips (if using) with a spatula. I like to keep some chunks of Oreo bigger than others for textural interest.
Scoop out 1 ½-tablespoon-sized balls of dough and place them about 2 inches apart on the prepared baking sheets. I use a small ice cream scoop for uniform cookies; it saves time and keeps everything consistent. Bake for 10-12 minutes or until the edges are set and the centers look slightly underbaked (they’ll continue to cook as they cool). I always say “slightly underbaked” not to be coy but because that gooey center is what becomes irresistible after a few minutes on the sheet. Let the cookies cool on the baking sheet for 5 minutes before transferring them to a wire rack.
A few tricks I learned the hard way
I’ve made mistakes with this one—like adding too much food coloring (you don’t need to be Picasso with the dye) and overworking the dough when I’m impatient. Here are the little things I tell friends: if your butter isn’t softened, the dough won’t cream properly, so take it out of the fridge an hour before you start; gel food coloring is stronger, so the recipe calls for 2 teaspoons of gel for that vibrant color, but start with a little less if you’re unsure; and when folding in the Oreos, do it gently so you don’t turn everything gray. One of my favorite tips is to chill the scooped dough for 15 minutes if your kitchen is warm—this prevents spreading and keeps the edges from going too thin. Another tip is to rotate your baking sheet halfway through if your oven has hot spots; it makes all the cookies bake uniformly. Finally, I find that a quick press with the back of a spoon before baking gives the cookies a flatter top and makes them look bakery-made.
How I serve them, variations I love, and what to do with leftovers
I serve these with a cold glass of milk for the kids, and with strong dark coffee for myself. For an adult dessert, they’re gorgeous with a scoop of vanilla ice cream or a smear of whipped cream cheese—or you can sandwich two cookies together with a dollop of cream cheese frosting for a showstopper. If you like variations, try folding in mini chocolate chips instead of white chocolate chips for a darker, richer bite, use double-stuffed Oreos for extra filling, or turn the dough into a bar cookie by pressing it into a pan and baking slightly longer. If you’re wondering about leftovers, I wrap cooled cookies in an airtight container at room temperature for up to three days; they stay soft that way. For longer storage, freeze them in a single layer on a tray until solid, then move into a zip-top bag for up to three months. When you’re ready, let them thaw at room temperature or warm briefly in a 300°F oven to refresh.
When it’s done right and why I can’t stop making these
You’ll know these are done when the edges are set and the centers look slightly underbaked—there should be a slight jiggle to the middle when you nudge the tray. The smell will be warm cocoa mixed with sugar and a whisper of vanilla; the cookies should be crisp at the edge and tender inside, dotted with chunks of Oreo. I love this recipe because it balances nostalgia and novelty: red velvet evokes birthday cakes and special occasions, while the crushed Oreos bring a familiar crunch that kids and adults both adore. Making these has become a ritual for me—I think of my sister every time I open the oven because she always asks for “the ones with the cookies inside.”
Conclusion
If you want another riff on Oreo and red velvet combos, I’ve enjoyed reading a slightly different take on Crushed Oreo Red Velvet Cookies for inspiration and technique notes. For a version that plays more with stuffed-cookie ideas and different textures, this post on Red Velvet Oreo Cookies – Bake & Bacon has some great photos and serving ideas.
Delicious Red Velvet Oreo Cookies
Ingredients
Method
- Preheat your oven to 350°F (175°C) and line your baking sheets with parchment paper or silicone baking mats.
- In a large mixing bowl, beat the softened butter, granulated sugar, and brown sugar until light and fluffy (about 2-3 minutes).
- Mix in the eggs one at a time, followed by the vanilla extract and red food coloring. Beat until smooth.
- In a separate bowl, whisk together the flour, cocoa powder, baking soda, and salt.
- Slowly add the dry ingredients to the wet ingredients, mixing on low speed until just combined.
- Gently stir in the crushed Oreos and white chocolate chips (if using) with a spatula.
- Scoop out 1 ½-tablespoon-sized balls of dough and place them about 2 inches apart on the prepared baking sheets.
- Bake for 10-12 minutes or until the edges are set and the centers look slightly underbaked.
- Let the cookies cool on the baking sheet for 5 minutes before transferring to a wire rack.