The Best Easy Gluten-Free Bread (Seriously Soft & Squishy!)
Imagine a slice of homemade gluten-free bread so soft, so pliable, you can actually fold it over without it cracking into a million sad crumbs. Imagine a bread with a tender, even crumb that’s perfect for a classic sandwich. This isn’t a gluten-free fantasy; this is that recipe, and it is a complete and total…
Imagine a slice of homemade gluten-free bread so soft, so pliable, you can actually fold it over without it cracking into a million sad crumbs. Imagine a bread with a tender, even crumb that’s perfect for a classic sandwich. This isn’t a gluten-free fantasy; this is that recipe, and it is a complete and total game-changer.
Let’s be honest, the quest for good gluten-free bread can be… a journey. I have baked my share of dense, heavy, crumbly bricks that were only good for making croutons. I was convinced that a truly soft, “squishy” sandwich loaf was impossible without a ton of weird ingredients. This recipe was my “aha!” moment, the one that proved me wrong and ended my search for the holy grail of GF baking.
I promise you, this is the easiest, most reliable gluten-free bread you will ever make. The secret is that the “dough” is actually a thick, batter-like consistency that requires no kneading at all! It’s packed with moisture, bakes up beautifully, and delivers a texture that will have you double-checking the ingredients list.
Get ready to master a simple, revolutionary technique and fall in love with homemade gluten-free bread all over again.

Why This Gluten-Free Bread is a Game-Changer!
You are going to be so thrilled with the results of this recipe. It’s a true unicorn in the gluten-free world, and here’s why it’s so special:
- Seriously Soft & Squishy: This is the number one reason! This bread has an amazing, pliable texture that’s perfect for sandwiches. It bends, it squishes, and it doesn’t crumble.
- No Kneading Required!: The dough is a thick, spoonable batter that you mix right in your stand mixer with the paddle attachment. It’s incredibly low-effort.
- Perfect, Even Crumb: This recipe creates a beautiful, soft white bread with a consistent, even crumb, just like a classic sandwich loaf should have.
- Foolproof & Reliable Results: As long as you use the right flour and follow the steps, this recipe is incredibly consistent and delivers fantastic results every time.
- Naturally Dairy-Free: In addition to being gluten-free, this recipe is also completely dairy-free, making it a wonderful option for multiple dietary needs.
Recipe Snapshot
| Prep Time | 34 minutes (includes rising) |
| Cook Time | 30 minutes |
| Total Time | 1 hour 4 minutes |
| Servings | 1 loaf (16 slices) |
| Calories | Varies |
| Course | Bread |
| Cuisine | American |
| Difficulty/Method | Easy / Baking |
Your Shopping List for the Best GF Bread
Gluten-free baking is a bit of a science, and using the right ingredients is key to success. Here’s what you’ll need.
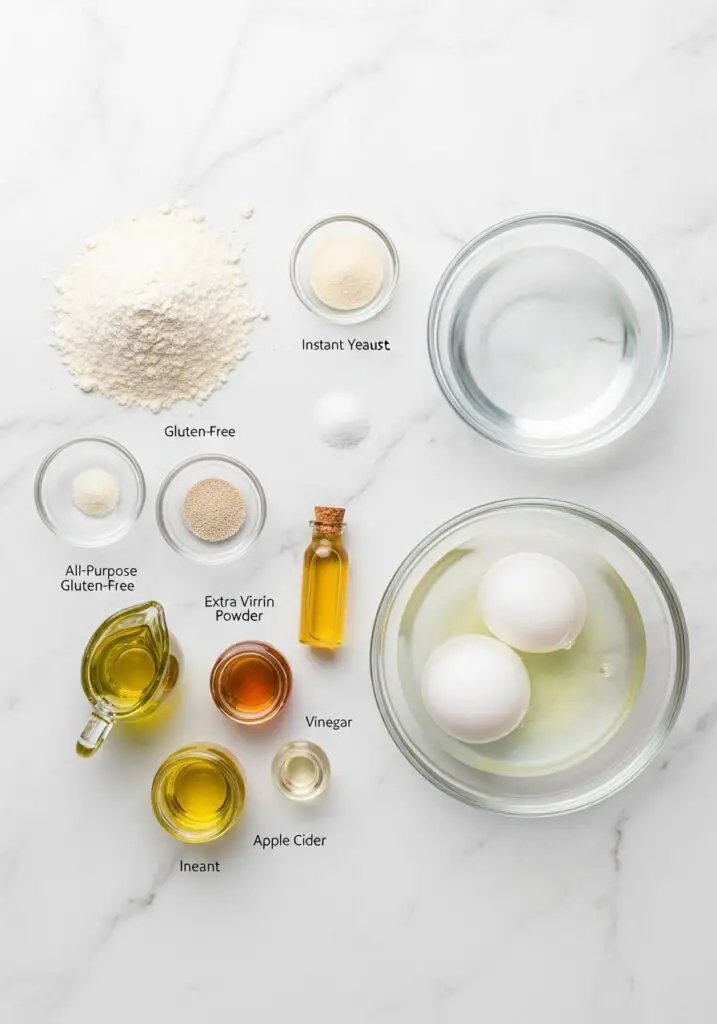
→ The Dry Ingredients
- 2 ½ cups all-purpose gluten-free flour → This is the most important ingredient! The recipe creator highly recommends the Pillsbury gluten-free flour blend for this recipe’s specific texture.
- 1 teaspoon xanthan gum → Omit this if your flour blend already contains it! This is our gluten-replacer that provides structure and elasticity.
- 1 teaspoon gluten-free baking powder → For lift and a tender crumb.
- 1 packet (2 ¼ tsp) rapid rise/instant yeast → This yeast is fantastic because it doesn’t need to be proofed first.
- 1 teaspoon salt → For flavor!
→ The Wet Ingredients
- ¼ cup extra virgin olive oil → For moisture and a soft texture.
- ¼ cup honey → Adds a touch of sweetness and helps the yeast. Maple syrup or agave can also be used.
- 1 teaspoon apple cider vinegar → A secret weapon that helps strengthen the dough structure and gives a better rise.
- 1 ½ cups warm water → Must be between 100-110°F to activate the yeast perfectly.
- 3 large egg whites, at room temperature → Using only the whites helps create a lighter, whiter crumb.
Let’s Bake! Crafting Your Perfect Gluten-Free Loaf
Ready to make the best gluten-free bread of your life? This process is so different from traditional bread-making, but so much easier!
Part 1: The “Cake Batter” Dough
- Prep Your Oven and Pan: First, preheat your oven to 350°F (177°C). Liberally grease a 9×5-inch or, even better, a 9×4-inch Pullman loaf pan. The straight sides of a Pullman pan are perfect for sandwich bread!
- Mix the Dry Ingredients: In a large bowl (or the bowl of your stand mixer), whisk together the gluten-free flour, xanthan gum (if using), baking powder, and instant yeast.
- Add the Wet Ingredients: To the dry ingredients, add the olive oil, honey, apple cider vinegar, and warm water. Using the paddle attachment on your stand mixer (not the dough hook!), mix on low speed for about a minute.
- Finish the Batter: Now, add the room-temperature egg whites and the salt. Mix on medium speed for one more minute. The “dough” will look like a very thick, smooth cake batter. This is exactly what you want it to look like!

Part 2: The Quick Rise & Bake
- The Rise: Pour the thick batter into your prepared loaf pan and smooth the top. Spray a piece of plastic wrap with cooking spray and cover the pan loosely. Let the bread rise in a warm, draft-free spot for 30 minutes.
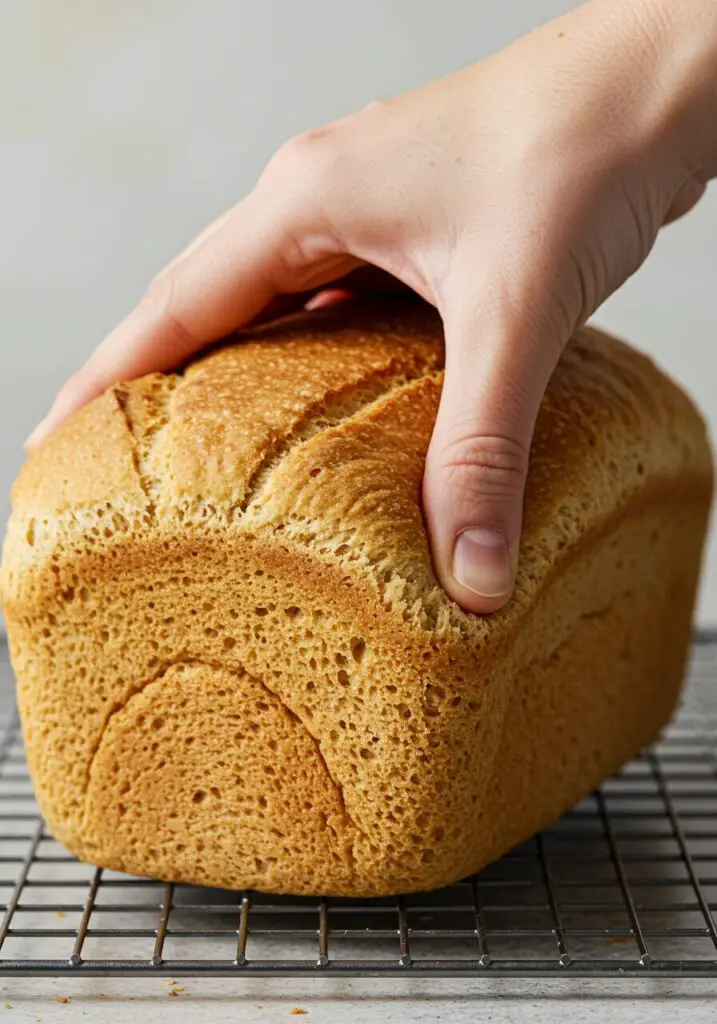
- Bake to Golden Perfection: Remove the plastic wrap and place the loaf pan in the preheated oven. Bake for 30 minutes. The bread is done when it’s beautifully golden brown on top and an instant-read thermometer inserted into the center reads between 205-210°F.
- Cool it Correctly!: This is a crucial step! Let the loaf cool in the pan for just 10 minutes. Then, carefully remove it from the pan and let it cool completely on a wire rack. If you let it cool entirely in the pan, steam will get trapped and you’ll have a soggy bottom.
- Slice and Enjoy!: Once completely cool, use a serrated bread knife to slice. A smooth knife will squish the soft bread. Now, go make the best sandwich of your life!
WiseRecipes’ Top Tips for Perfect GF Bread
Gluten-free yeast baking is a whole different ball game. These are the secrets to making this recipe a home run every time.
- Your Flour Choice is EVERYTHING. I can’t stress this enough. Different GF flour blends have vastly different properties. This recipe was developed specifically with the Pillsbury all-purpose gluten-free flour blend. Using a different blend, especially one not recommended for yeast baking, will likely produce a very different result.
- Trust the “Cake Batter” Consistency. Your baker’s intuition might scream that something is wrong because this doesn’t look like bread dough. Ignore that voice! The thick, wet, batter-like consistency is absolutely correct for this recipe and is the key to its soft, moist texture.
- Use the Paddle Attachment, NOT the Dough Hook. Because this is a batter and not a traditional dough, a dough hook would be ineffective. The paddle attachment is the perfect tool for mixing this batter thoroughly and developing its structure.
- Room Temperature Ingredients are Non-Negotiable. Yeast is a living thing, and it loves a warm environment. Using room temperature egg whites and perfectly warm water (100-110°F) is essential for activating the yeast and getting a proper rise.
- Cool it OUT of the Pan. The moment that loaf is cool enough to handle, get it out of the pan and onto a wire rack. This allows air to circulate all around it, preventing the bottom from steaming itself into a soggy mess.
Keep It Fresh! Storing Your Gluten-Free Bread
Proper storage is key to keeping this beautiful loaf soft and fresh. Here’s the best way.
- Room Temperature: Once the loaf is completely cool, store it in an airtight container or a zip-top bag at room temperature. For the best texture, I highly recommend not pre-slicing the entire loaf. Just slice off what you need as you go. It will stay fresh for about 3-4 days.
- Freezing: This bread freezes wonderfully! Let the loaf cool completely. You can freeze the whole loaf or individual slices (with parchment paper between them). Wrap it tightly in plastic wrap, then a layer of foil, and place it in a freezer bag. It will keep for up to 3 months. Thaw in the fridge or toast slices directly from the freezer.
Easy Gluten-Free Sandwich Bread
Ingredients
Equipment
Method
- Preheat oven to 350°F (177°C). Grease a 9×5-inch or 9×4-inch loaf pan.
- In a large bowl, stir together the gluten-free flour, xanthan gum (if using), baking powder, and instant yeast.
- Add the olive oil, honey, apple cider vinegar, and warm water to the flour mixture. Using a stand mixer with the paddle attachment, mix on low for 1 minute.
- Add the room-temperature egg whites and salt. Mix on medium for 1 minute. The dough will resemble a thick cake batter.
- Pour the batter into the prepared loaf pan. Cover loosely with greased plastic wrap and let rise in a warm place for 30 minutes.
- Uncover and bake for 30 minutes, until golden brown and the internal temperature is between 205-210°F.
- Let the loaf cool in the pan for 10 minutes, then remove it to a wire rack to cool completely before slicing with a serrated knife.
Notes
FAQs: Your Gluten-Free Bread Questions, Answered!
Why does the dough look like batter? Did I do something wrong?
You did it perfectly! This is one of the most brilliant things about this recipe. Without gluten to form a strong network, a wet, batter-like consistency is actually ideal. It ensures maximum moisture is locked into the bread, resulting in that coveted soft, squishy texture instead of a dry, crumbly one.
Can I use whole eggs instead of just egg whites?
You can, but it will change the final product. Using only the whites helps to create a lighter texture and a whiter, more classic “sandwich bread” color. Using the whole eggs will result in a slightly denser, richer bread with a more yellow-ish crumb.
Can I make this recipe vegan?
This would be a tricky one to adapt because the eggs provide so much of the structure. You could try using a commercial vegan egg replacer, but the results may vary significantly. The honey can be easily swapped for maple syrup or agave.
Do I really need a stand mixer?
A stand mixer makes the process very easy, but you can absolutely make this with a good quality, powerful handheld electric mixer. A whisk and a spatula would be very difficult due to the thickness of the batter, but it is possible with a lot of elbow grease!
My Final Thoughts: The Holy Grail of GF Bread
This Easy Gluten-Free Bread is more than just a recipe; it’s a solution. It’s the answer to the search for a truly soft, delicious, and satisfying sandwich bread that you can be proud to have made in your own kitchen. It’s a warm, hearty, and wonderfully simple bake that I hope brings a little bit of joy and a lot of delicious sandwiches into your life!