Easy Halloween Cake Eyeballs
How I Found This Little Trick The very first time I made these, it was a rainy October afternoon and I had exactly three kids to entertain and zero patience for fussy baking. I wanted something silly, sticky, and fast — and out of that slightly frazzled decision came my Easy Halloween Cake Eyeballs. If…
How I Found This Little Trick
The very first time I made these, it was a rainy October afternoon and I had exactly three kids to entertain and zero patience for fussy baking. I wanted something silly, sticky, and fast — and out of that slightly frazzled decision came my Easy Halloween Cake Eyeballs. If you like playful desserts that look like they took forever but actually did not, you will get what I mean. I even once adapted the idea after seeing a gorgeous version online, and if you want another spooky variation, I sometimes cross-reference it with the ultimate cake eyeballs I bookmarked for inspiration.
What You Actually Need
I always keep the handful of pantry staples for this in a little Halloween box. The basics are simple: one package cake mix of your choice (plus ingredients called for on the box), one cup prepared frosting of your choice, one package (12 oz) assorted candy melts (for me orange, green, black, and white are mandatory), and assorted decorations like candy eyeballs, a red candy writer, colorful sprinkles, and anything glittery you can find. You could use a boxed chocolate mix, yellow, or funfetti — each gives the cake balls a different personality. If you want a lighter topping idea to pair with other snacks, I sometimes refer friends to my post about healthy rice cake toppings for quick flavor combinations while we wait for the candy coating to set.
The Magic in the Mess
I follow a simple routine when I make these because it saves time and keeps the kitchen cleaner. First I tell you how I do it and then I explain why. 1. Prepare and bake cake mix according to package directions in a greased 13×9-inch pan. Let it cool completely. That step is non-negotiable; if the cake is even a little warm the frosting melts and the texture goes gluey. Once it is cool, the fun starts: 2. Crumble the cooled cake into a large bowl. Add the frosting and mix well until a thick mixture forms. I use my hands here because it’s faster and I can feel when the texture is right — like wet sand that holds shape. Then I shape it: 3. Shape the mixture into 1.5-inch balls and place them on a parchment-lined baking sheet. If you have a small cookie scoop, it makes everything uniform, but honestly my kids prefer the imperfect ones.
Now chill. 4. Chill the cake balls for at least 2 hours in the freezer or 3 hours in the refrigerator until very firm. This helps them hold up when they meet the warm candy. I usually put them in the freezer for exactly two hours if I’m rushed; otherwise the fridge is great and gentler on the texture. Meanwhile, get your colors ready: 5. Melt the candy melts in separate microwave-safe bowls until smooth. The trick here is low power and short bursts of heat so nothing seizes — I microwave in 20-second intervals, stirring in between. When the coating is silky, it’s time for the fun part: 6. Dip each chilled cake ball into the melted candy coating, letting excess drip off. Use a fork or a dipping tool, and tap gently on the bowl edge.
Immediately place each dipped eyeball on parchment and quickly decorate because the coating congeals fast: 7. Place on parchment paper immediately and add decorations before the coating hardens. Stick on candy eyeballs, draw veins with a red candy writer, or swipe on sprinkles while the surface is still tacky. Finally, 8. Let stand at room temperature until the candy coating is completely set. That waiting is the hardest part with kids around, but it pays off — the coating snaps ever so satisfyingly when you bite into it.
A Few Things I’ve Learned
Tip one: always let the cake cool completely; I said that earlier because I have the scar of one batch that became a frost-covered blob. Tip two: pop the cake balls on a baking sheet that fits in your freezer so you can chill them without shifting. Tip three: if one color of candy melts starts to thicken, add a small spoon of vegetable oil to thin it out, but sparingly. Tip four: use parchment paper rather than wax paper; the coating peels off cleaner. Tip five: when kids help, give them a "decorate station" with a tray of sprinkles and eyes so the messy work stays in one place.
You know it’s done right when the outside is crisp and shiny and the inside feels dense but still tender, not dry. When you bite into an eyeball, you want that contrast: the crack of the candy shell, then the moist cake center with the sweet frosting binding it all.
When Things Don’t Go As Planned
There are ways these can go sideways. If your candy coating seizes and gets grainy, it likely overheated; toss it and melt a fresh batch. If the balls fall apart during dipping they need more chill time, so back to the freezer for another 20 to 30 minutes. If you end up with too-sweet balls, try using a tangy cream cheese frosting instead of vanilla next time — it balances the sweetness beautifully. I once had an entire tray get mistaken for real peeled grapes at a party and someone actually tried to pop one in their mouth whole, so clearly presentation matters.
Make It Your Own
I adore the versatility here. For variations, you can fill the center with a small piece of caramel or peanut butter cup before chilling, use flavored frosting like cream cheese or chocolate, or roll the shaped balls in toasted coconut for a hairy monster look before coating. Another idea is to paint veins on the white coated eyes with thinned food coloring for a truly gruesome effect. Serve these with a cold glass of milk for kids or a dark roast coffee for adults — the bitter coffee cuts the sugar and keeps the flavors interesting.
If you’re planning ahead, they store well. Pop them into an airtight container and they keep in the refrigerator for up to a week; bring them to room temperature before serving so the coating is crisp again. You can freeze them for up to a month, separated by parchment layers, and thaw in the fridge overnight. I usually make a double batch and freeze half because nothing says trick-or-treat prep like having treats ready to grab.
The Best Part
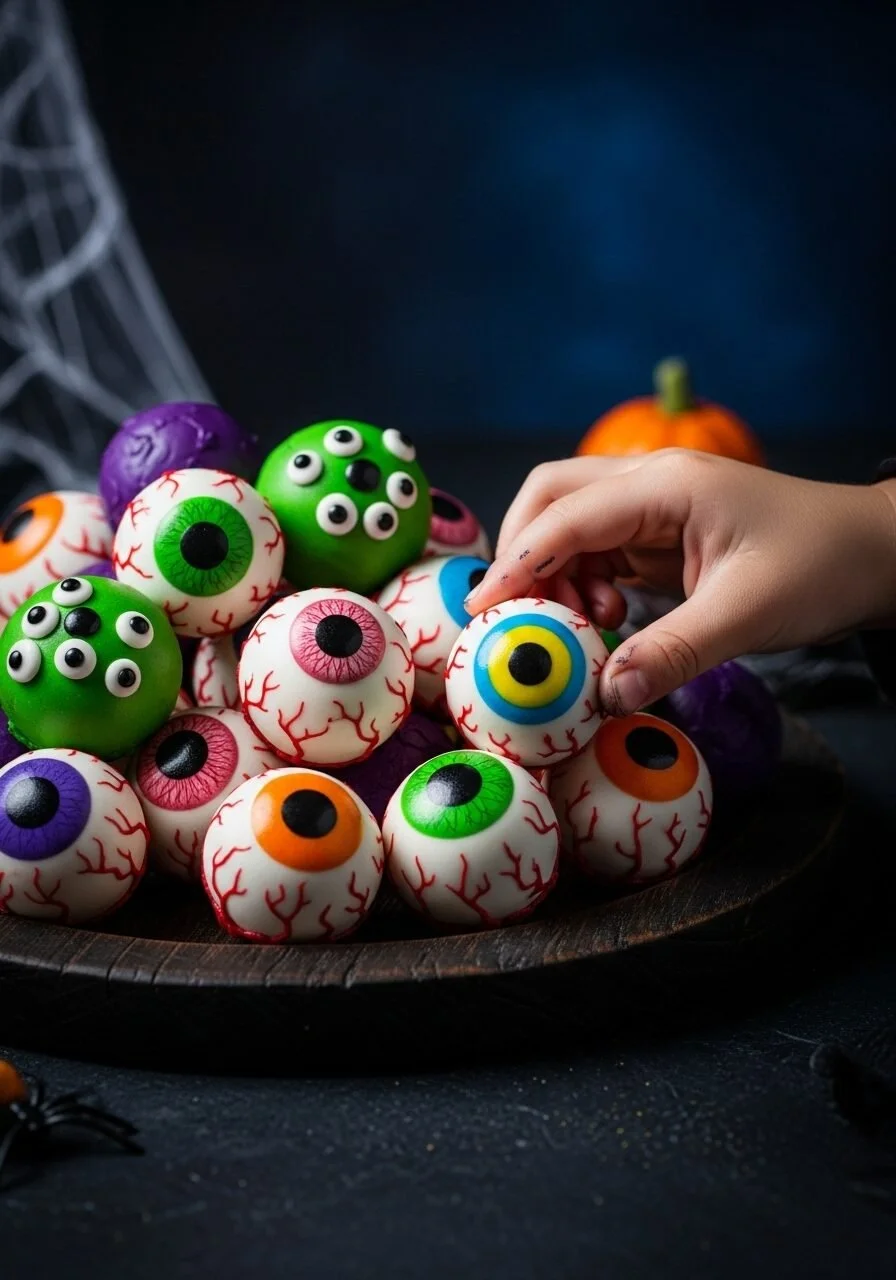
What I love most is how ridiculous and joyful they look. The first time my little neighbor saw the tray, she giggled and said they looked like "monster marbles." That sound — equal parts delight and disbelief — is the whole reason I keep making them. They smell like butter cake with a hint of candy, they feel satisfyingly chewy inside, and they make a table look instantly festive.
Conclusion
If you want an even more elaborately decorated spooky cake idea that inspired my first version, I sometimes refer people to this lovely Halloween Cake with Eyeballs for more dramatic presentation ideas and decoration inspiration.

Easy Halloween Cake Eyeballs
Ingredients
Method
- Prepare and bake cake mix according to package directions in a greased 13x9-inch pan.
- Let the cake cool completely.
- Crumble the cooled cake into a large bowl.
- Add the frosting and mix well until a thick mixture forms.
- Shape the mixture into 1.5-inch balls and place them on a parchment-lined baking sheet.
- Chill the cake balls for at least 2 hours in the freezer or 3 hours in the refrigerator until very firm.
- Melt the candy melts in separate microwave-safe bowls until smooth, using low power and short bursts of heat.
- Dip each chilled cake ball into the melted candy coating, letting excess drip off.
- Immediately place each dipped eyeball on parchment and quickly decorate before the coating hardens.
- Let stand at room temperature until the candy coating is completely set.