The Best Rustic Gluten-Free Bread (An Easy Foolproof Recipe!)
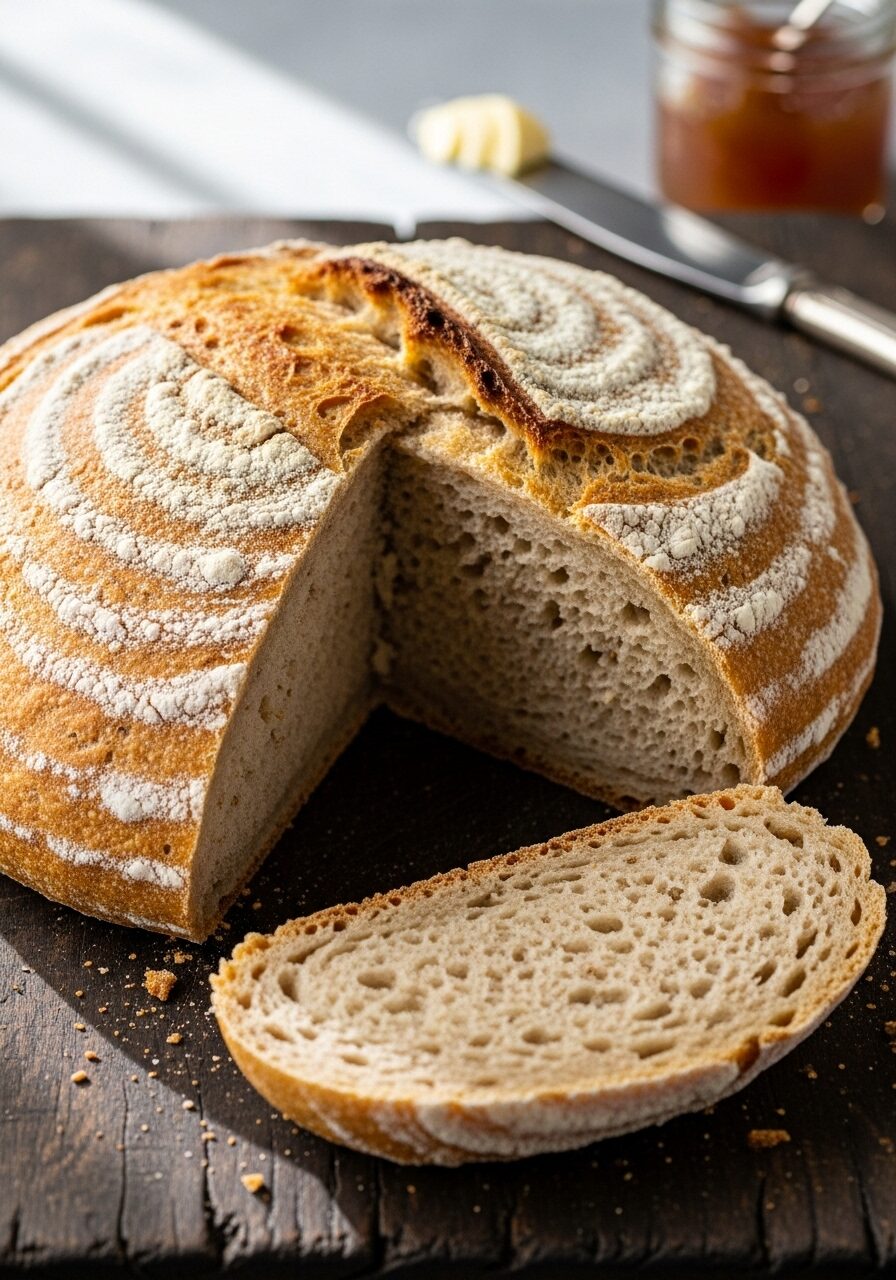
Imagine pulling a warm, rustic, golden-brown loaf of bread from your oven, with a wonderfully crisp crust and a soft, hearty crumb inside. Now imagine that beautiful, artisan-style loaf is completely gluten-free. This isn’t a dream; this is that recipe, and it’s here to bring the simple joy of real, homemade bread back into your…
Imagine pulling a warm, rustic, golden-brown loaf of bread from your oven, with a wonderfully crisp crust and a soft, hearty crumb inside. Now imagine that beautiful, artisan-style loaf is completely gluten-free. This isn’t a dream; this is that recipe, and it’s here to bring the simple joy of real, homemade bread back into your kitchen.
For so many of us, the quest for good gluten-free bread can feel like a constant disappointment, often ending in dense, crumbly loaves. I was searching for something different—a recipe that involved the satisfying, tactile process of bringing a dough together with your hands and shaping a free-form loaf. This recipe, with its simple method and incredible results, was the answer I was looking for.
I promise you, this isn’t your typical gluten-free bread. It bakes up into a beautiful, rustic loaf that you don’t even need a loaf pan for! It’s wonderfully soft, easy to slice, and has a fantastic texture that’s perfect for toasting with butter and jam, dipping into a hearty soup, or building a delicious sandwich.
Get ready to rediscover the joy of bread-making with a simple, foolproof recipe that delivers a truly satisfying, artisan-style gluten-free loaf.

Why This Gluten-Free Bread is a True Game-Changer!
You are going to be so proud of the beautiful, rustic loaf you create with this recipe. It has become my go-to for a reason, and here’s why:
- Truly Rustic, Artisan Feel: Because this is a free-form loaf baked directly on a tray, it has a beautiful, rustic, artisan-style appearance that’s so satisfying.
- Soft, Hearty, and Delicious Crumb: This recipe creates a wonderfully soft and hearty texture that’s perfect for slicing and doesn’t crumble into a million pieces.
- Incredibly Simple to Make: The method is straightforward—mix wet, mix dry, combine into a sticky dough, and let it rise. No complicated steps!
- No Loaf Pan Required!: This is one of the best parts! You don’t need any special pans or equipment, just a standard baking tray.
- Versatile and So Delicious: It’s fantastic for everything—toasted for breakfast, as the base for sandwiches, or for dipping into your favorite hearty stew.
Recipe Snapshot
| Prep Time | 10 minutes |
| Cook Time | 35 minutes |
| Rise Time | 1 hour |
| Total Time | 1 hour 45 minutes |
| Servings | 1 loaf (16 slices) |
| Calories | 137 kcal per serving |
| Course | Bread |
| Cuisine | British / European |
| Difficulty/Method | Easy / Baking |
Your Shopping List for a Perfect Rustic Loaf
This recipe uses a handful of key ingredients to create a beautiful and delicious gluten-free bread.

- 325ml semi-skimmed milk → Warmed slightly to help activate the yeast.
- 2 large free-range eggs → For structure, richness, and color.
- 1 teaspoon white wine vinegar → Our secret weapon! It helps strengthen the dough and gives the yeast a little boost.
- 450g gluten-free brown bread flour → The hearty, wholesome base of our loaf. Make sure it’s a blend designed for bread-making!
- ½ teaspoon sea salt → Absolutely essential for flavor.
- 2 tablespoons golden caster sugar → A little food for the yeast and a touch of sweetness.
- 1½ x 7g sachet dried yeast → That’s 10.5g, or about 3 teaspoons of yeast.
- 3 tablespoons olive oil → For a soft, tender crumb and rich flavor.
Let’s Bake! Crafting Your Gluten-Free Masterpiece
Ready to bake the best gluten-free bread? This process is so satisfying, from mixing the sticky dough to watching it magically rise.
Part 1: Making the Sticky Dough
- Prep Your Oven & Warm the Milk: First, preheat your oven to 400°F (200°C). Gently warm the milk in a small pan over low heat—you just want it lukewarm, not hot.
- Mix the Wet Ingredients: In a large bowl, crack the eggs and add the vinegar. Gradually stir in the warm milk until everything is combined.
- Combine the Dry Ingredients: In a separate bowl, whisk together the gluten-free brown bread flour, sea salt, sugar, and yeast.
- Bring It All Together: Pour the dry ingredients into the bowl with the wet mixture. Use a sturdy wooden spoon to stir everything together until it forms a sticky, shaggy dough. Add the olive oil and use your hands to bring it all together into a rough ball. If it’s hopelessly sticky, add a tiny sprinkle of extra flour.

Part 2: The Magical Rise & Bake
- Shape and Rise: Place your ball of dough onto a lightly oiled baking tray and gently shape it into a rustic, round loaf. Cover the tray with a clean, damp tea towel. Leave it to prove in a warm, draft-free spot for about an hour, or until it has impressively doubled in size.
- Bake to Golden Perfection: Once risen, place the baking tray directly into the hot oven. Bake for about 35 minutes, until the loaf is a beautiful deep golden brown and sounds hollow when you tap it on the bottom.
- Cool Completely!: This is a crucial step for gluten-free bread. Let the loaf cool slightly on the baking tray before transferring it to a wire cooling rack to cool completely. You must let it cool all the way before slicing!

WiseRecipes’ Top Tips for Perfect Gluten-Free Bread
Gluten-free bread can be tricky, but these simple secrets will set you up for success every time.
- Warm, Not Hot, Milk is Key. Your milk should feel just slightly warm to the touch, like a baby’s bath (around 100-110°F). If it’s too hot, it will kill the yeast, and your bread won’t rise.
- Don’t Be Afraid of a Sticky Dough. Gluten-free dough is not like traditional wheat dough. It’s meant to be much stickier and wetter. This is what results in a soft, moist final loaf, so resist the urge to add too much extra flour.
- The Damp Tea Towel is a Pro Trick. Covering the dough with a damp (not soaking wet) tea towel while it rises creates a humid environment that prevents a dry “skin” from forming on the dough, allowing it to rise to its full, glorious potential.
- Find a Cozy Spot for the Rise. A “warm, draft-free place” is the ideal environment for yeast to do its work. My favorite spot is inside my oven with the oven turned OFF but the oven light turned ON.
- You MUST Let it Cool Completely. I know it is pure torture to wait, but this is the most important rule of gluten-free baking! The internal structure of the bread is still setting as it cools. If you slice into it while it’s warm, it will be gummy and can collapse. Patience is your best friend!
Keep It Fresh! Storing Your Rustic Loaf
Proper storage will keep this beautiful loaf tasting its best. Here’s how to do it.
- Room Temperature: Once the loaf is completely cool, the best way to store it is in a paper bag or a bread box at room temperature. This helps maintain the crusty exterior. It will be at its best for 2-3 days.
- Freezing: This bread freezes wonderfully! Let the loaf cool completely. You can freeze the whole loaf or, my preferred method, slice it first and place small squares of parchment paper between the slices. Place it all in a freezer-safe bag. This way, you can pull out a slice or two at a time and toast them directly from frozen. It will keep for up to 3 months.
Easy Rustic Gluten-Free Bread
Ingredients
Method
- Preheat the oven to 200°C (400°F). Gently warm the milk in a small pan.
- In a large bowl, crack the eggs, add the vinegar, and gradually stir in the warm milk until combined.
- In another bowl, combine the flour, salt, sugar, and yeast. Stir these dry ingredients into the wet mixture with a wooden spoon until a sticky dough forms.
- Add the olive oil, then use your hands to bring the mixture together into a ball.
- Place the dough ball onto a lightly oiled baking tray and shape into a rustic loaf. Cover with a damp tea towel and leave in a warm place for about 1 hour, or until doubled in size.
- Bake the risen loaf in the hot oven for about 35 minutes, or until golden and cooked through.
- Let cool completely on a wire cooling rack before slicing and serving.
Notes
FAQs: Your Gluten-Free Bread Questions, Answered!
What exactly is “gluten-free brown bread flour”?
It’s typically a pre-made blend of different gluten-free flours and starches designed to mimic the hearty, wholesome quality of traditional whole wheat or brown bread. These blends often contain flours like buckwheat, teff, or brown rice flour. Make sure you choose a blend that is specifically designed for yeasted bread baking for the best results.
Can I make this recipe dairy-free or vegan?
Yes, you can adapt it! For a dairy-free version, simply swap the semi-skimmed milk for an equal amount of an unsweetened, plant-based milk like almond or oat milk. To make it vegan, you would also need to replace the two large eggs with a vegan egg replacer (like a commercial powder or two flax eggs). Be aware that this may slightly alter the final texture of the crumb.
My dough didn’t rise. What did I do wrong?
This is the most common fear in yeast baking! It’s almost always one of three culprits: your yeast was expired (always check the date!), the milk was too hot and killed the yeast, or the spot you chose for it to rise was too cold or drafty. Double-check those three things, and you’ll be on your way to a perfect rise.
Can I bake this in a loaf pan?
Yes, you absolutely can! If you prefer a traditional sandwich loaf shape, you can place the sticky ball of dough into a greased 9×5-inch loaf pan for its final rise. The baking time should be roughly the same, but just keep an eye on it and use the “hollow tap” test to check for doneness.
My Final Thoughts: A Truly Rewarding Bake
This Rustic Gluten-Free Bread is so much more than a recipe; it’s a reconnection to the simple, profound joy of making real bread from scratch. It’s a warm, hearty, and wonderfully satisfying loaf that proves that a gluten-free diet doesn’t mean giving up on delicious, artisan-style bread. I hope you have a wonderful time baking (and eating!) this beautiful loaf.