Frozen Greek Yogurt Bites
I still remember the first time I made Frozen Greek Yogurt Bites for a summer potluck—someone had asked for something light and cool, and I rummaged through the fridge and pantry like a person on a treasure hunt. I had plain Greek yogurt, a bowl of mixed fruits (strawberries and blueberries that day), a little…
I still remember the first time I made Frozen Greek Yogurt Bites for a summer potluck—someone had asked for something light and cool, and I rummaged through the fridge and pantry like a person on a treasure hunt. I had plain Greek yogurt, a bowl of mixed fruits (strawberries and blueberries that day), a little honey, and some granola left over from breakfast. Within an hour I had bite-sized creamy pops that disappeared faster than anything else on the table. If you want a recipe that is forgiving, portable, and practically guilt-free, this is it. If you need a quick reference, I often look back at this take on frozen Greek yogurt bites for ideas, but I’ll tell you exactly how I do them here.
How I keep the pantry and fridge ready
I’m a big believer in keeping a few staples on hand so this comes together in five minutes. I usually have 2 cups Greek yogurt in the fridge, which is the base, and a cup of mixed fruits—berries are my default, peaches work beautifully if they’re ripe, and sometimes I use whatever’s left over in the fruit bowl. If you like things a touch sweeter, 1 to 2 tablespoons of honey does the trick, though I skip it when the fruit is perfectly sweet. For texture, I keep a jar of chopped nuts or a box of granola; sprinkling some on top before freezing makes for a lovely contrast. If you want a little inspiration for flavor swaps, try the blueberry-forward ideas at this blueberry variation—they’re perfect for mornings.
Making the Bites
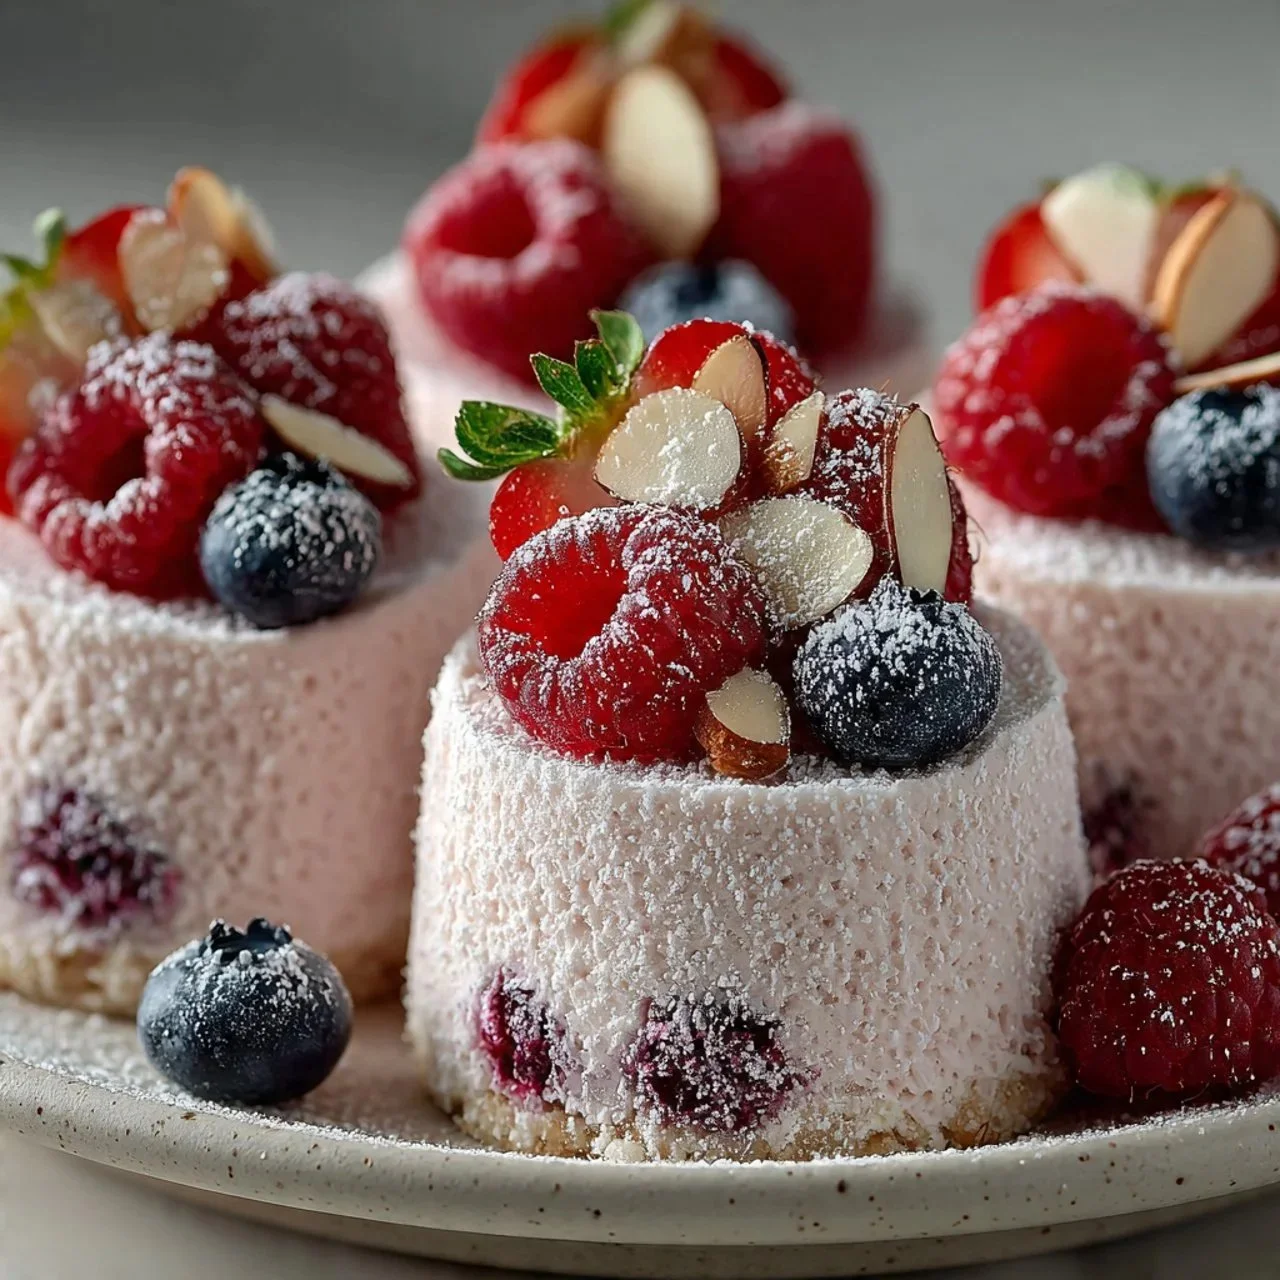
Here’s how I actually make them, and I’ll be candid: it’s more of a gentle shuffle than a recipe. I always start by tasting my yogurt and fruit so I know whether to add sweetener. Then I follow the steps I learned the first summer I made them for my kids. 1. In a mixing bowl, combine the Greek yogurt with honey or sweetener if desired. Stir well to create a smooth base. 2. Gently fold in your mixed fruits of choice, ensuring every piece is beautifully coated in the creamy yogurt. 3. Spoon the mixture into silicone molds or small paper cups. (Optional) For an extra crunch, sprinkle nuts or granola on top before freezing. 4. Freeze for at least 4 hours, or until solid. Once frozen, gently pop out the yogurt bites and enjoy them right away, or keep them in a freezer bag for easy snacking on hot days.
A few practical things I do when spooning: I use a small cookie scoop so each bite is roughly the same size, which makes them freeze evenly. Silicone molds are my favorite because the yogurt pops out cleanly; if you only have paper cups, run a warm towel around the outside for a few seconds to help them release. For fruit like peaches that are juicy, I cut them into small cubes and pat them dry a little so they don’t water down the yogurt as they freeze. If you want to see a different presentation I like, try the swirl styles in this blueberry swirl recipe—the color is lovely and they look almost fancy.
Little tricks I swear by
I’ve learned a few tricks that make the difference between icy, bland blobs and genuinely enjoyable frozen treats. First, chill your mixing bowl in the freezer for a few minutes if your kitchen is hot; it helps keep the yogurt silky while you mix. Second, don’t overmix the fruit—folding gently keeps chunks intact and prevents the yogurt from bleeding too much color. Third, if you’re adding nuts or granola, sprinkle them on right before freezing so they retain some crunch; if you mix them in earlier they tend to get soggy. Also, if you’re short on time, pop the molds in the coldest part of your freezer and give them at least four hours; I’ve learned that anything less than that and they’re chewy rather than snap-and-crumble.
Here are three quick tips I tell friends: use full-fat Greek yogurt for the creamiest texture, taste the yogurt-fruit combo before you freeze to adjust sweetness, and label your freezer bag with the date—these little habits save you from annoying surprises.
How to know they’re done and what to serve them with
You’ll know the bites are done when they’re firm to the touch and unmolding cleanly; a perfect bite has a creamy center that snaps rather than crumbles into powder. When you eat one, the first sensation should be cold and smooth, with fruit popping against the creaminess, and if you added honey, a faint floral sweetness at the end.
I serve these in so many ways: as a cooling finish to a spicy dinner, tucked into a lunchbox, or alongside a brunch spread with coffee. They’re surprisingly good with a drizzle of melted dark chocolate for adults, and for gatherings I place a small bowl of chopped nuts and a tiny spoon of honey nearby so guests can top them. If you’re in a pairing mood, they sit nicely with light salads and crisp white wine for an easy summer evening. When I want a more substantial snack, I’ll bring out a plate of warm, fluffy blueberry muffins—if you like that combo, take a peek at a recipe I love for muffins that pairs wonderfully.
Storage is simple and practical: once the bites are fully frozen, I transfer them to a labeled freezer bag and squeeze out as much air as possible. They keep well for up to two months, though in my house they never last that long. If you’re planning ahead for a picnic or want to make a big batch, you can freeze them on a tray first so they don’t stick together, then move them to the bag.
As for variations, the sky’s the limit. You can swap the mixed fruits for pomegranate arils and orange zest for a bright winter version, fold in a spoonful of cocoa powder and a splash of vanilla for a chocolate twist, or try mango with a pinch of lime for a tropical take. I’ve also made a coconut-mango variant where I toasted shredded coconut on top before freezing for that island crunch.
I love this recipe because it’s one of those dishes that rewards small experiments. Sometimes a stray handful of raspberries turns into the best batch, and sometimes the kids choose to sprinkle extra granola over everything and declare it the “official summer snack.” It’s quick, forgiving, colorful, and it somehow makes healthy feel indulgent.
Conclusion
If you want another perspective on the classic version, this Frozen Greek Yogurt Bites – Tequila & Flour post gives lovely photos and a slightly different method that’s worth comparing. For a punchy, jewel-toned idea that uses pomegranate, check out Frozen Greek Yogurt and Pomegranate Bites for inspiration. Give these a try the next sunny day—you’ll have a stack of little frozen smiles in the freezer before you know it.

Frozen Greek Yogurt Bites
Ingredients
Method
- In a mixing bowl, combine Greek yogurt with honey or sweetener if desired. Stir well to create a smooth base.
- Gently fold in your mixed fruits of choice, ensuring every piece is beautifully coated in the creamy yogurt.
- Spoon the mixture into silicone molds or small paper cups.
- Optional: Sprinkle nuts or granola on top before freezing.
- Freeze for at least 4 hours or until solid.
- Once frozen, gently pop out the yogurt bites and enjoy right away or keep them in a freezer bag for snacking.