The Best Homemade Elderberry Immunity Gummies (Kid-Approved!)
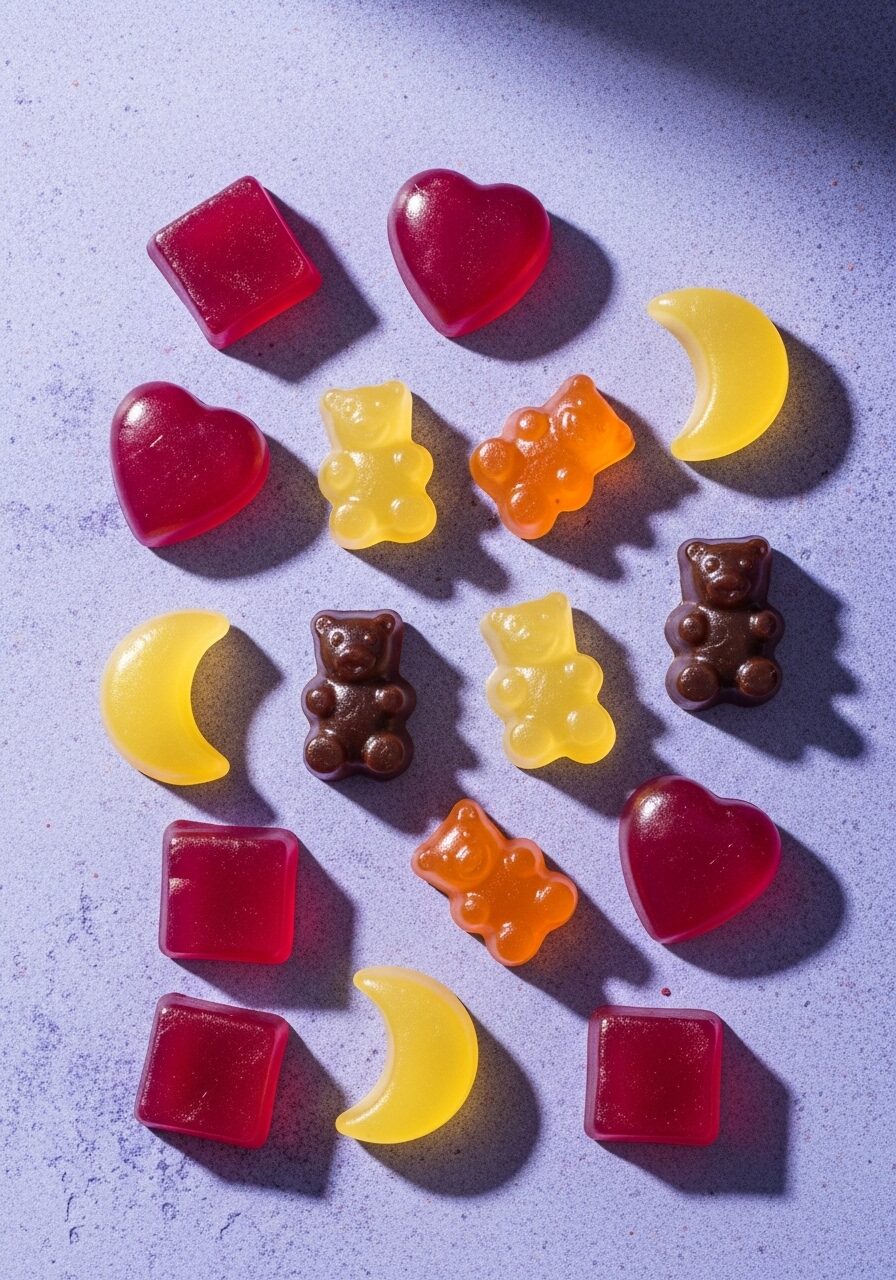
Imagine a delicious, chewy little gummy bear or heart that your kids will actually ask for, a treat that you can feel amazing about giving them. Now, picture that same little gummy is packed with nourishing, immune-supporting ingredients like elderberry syrup and gut-loving gelatin. This, my friends, is not a dream; it is the magic…
Imagine a delicious, chewy little gummy bear or heart that your kids will actually ask for, a treat that you can feel amazing about giving them. Now, picture that same little gummy is packed with nourishing, immune-supporting ingredients like elderberry syrup and gut-loving gelatin. This, my friends, is not a dream; it is the magic of these incredible homemade Elderberry Immunity Gummies.
Here’s the thing about cold and flu season: as a parent, you want to do everything you can to keep your little ones feeling their best. My cabinet used to be a graveyard of half-used bottles of supplements my kids refused to take. This recipe was my “aha!” moment. It transformed our wellness routine from a daily battle into a fun, delicious treat that my whole family genuinely looks forward to.
I promise you, this is the easiest, most rewarding wellness recipe you will ever make. It comes together on the stove in about 10 minutes with just 4 simple ingredients. There’s no junk, no weird fillers—just wholesome goodness that you can customize to your family’s taste.
Get ready to master a simple, no-fuss recipe for a healthy, homemade gummy that will make you the undisputed hero of cold and flu season.
Why These Are Your New Secret Weapon for Wellness!
You are going to be absolutely obsessed with making these gummies. They are a total game-changer for parents! Here’s why they’re so fantastic:
- A Fun Way to Boost Wellness: Let’s be honest, kids are way more excited to eat a fun gummy bear than to take a spoonful of syrup. This makes your daily routine so much easier!
- Super Easy & No-Bake: This is a simple stovetop recipe that takes about 10 minutes of active time. No oven, no complicated steps, just stir, pour, and chill.
- Only 4 Simple, Wholesome Ingredients: You are in complete control of what goes in. No artificial colors, flavors, or high-fructose corn syrup here.
- Packed with Goodness: These gummies are loaded with the benefits of elderberry syrup, gut-loving gelatin, and vitamin C-rich juice.
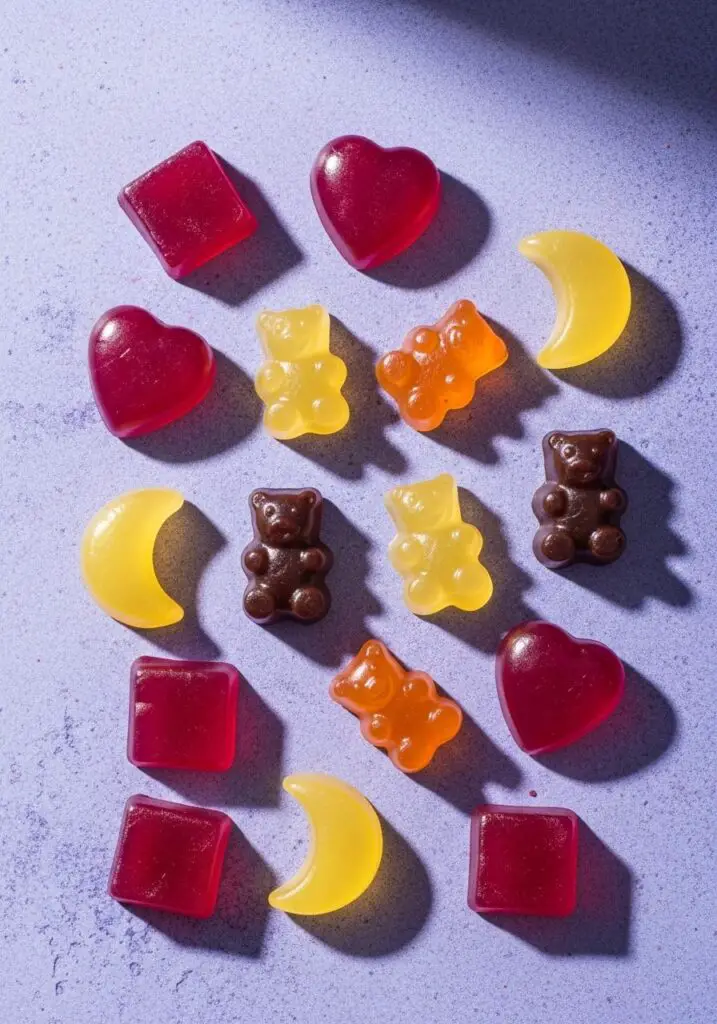
- Completely Customizable: You can use your kids’ favorite juice, fun silicone molds, and adjust the sweetness to your liking. It’s a perfect base recipe!
Recipe Snapshot
| Prep Time | 10 minutes |
| Cook Time | 5 minutes |
| Chilling Time | 2 hours |
| Total Time | 2 hours 15 minutes |
| Servings | 30 gummies |
| Calories | Varies by juice/honey |
| Course | Snack, Supplement |
| Cuisine | American / Health & Wellness |
| Difficulty/Method | Easy / Stovetop |
Your Shopping List for These Nourishing Gummies
This recipe uses a handful of simple, powerful ingredients. Quality is key here for the best benefits!
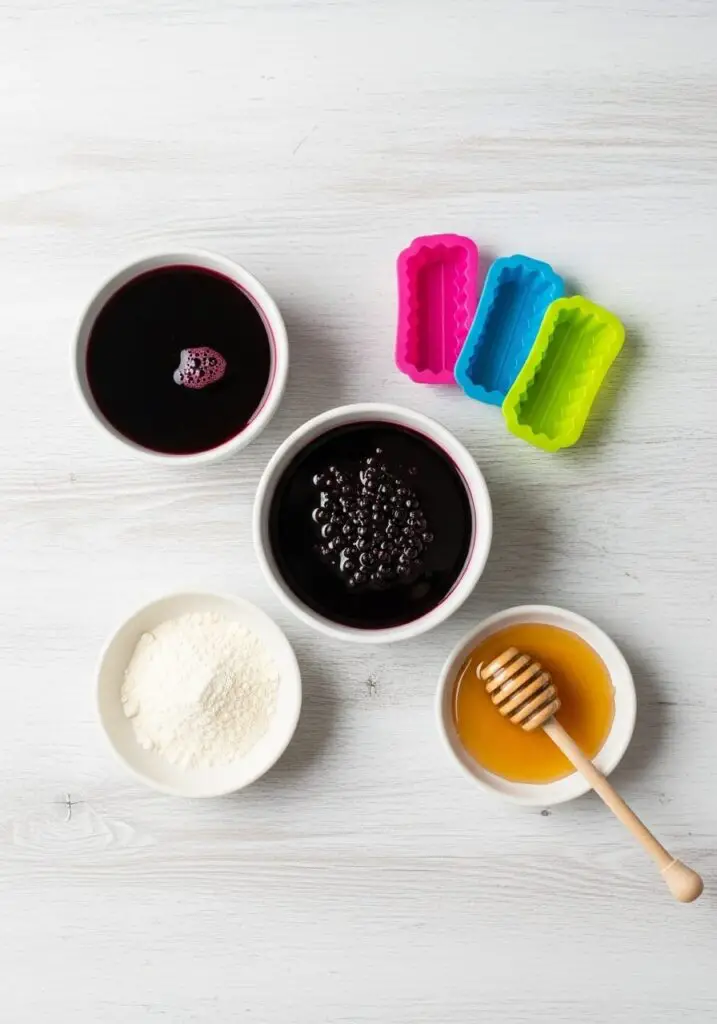
- 2 cups cherry juice → Or another juice rich in Vitamin C, like pomegranate or cranberry. Use 100% juice with no added sugar.
- 4 TBSP gelatin → This is the key to that perfect gummy texture and is fantastic for gut health. Look for a quality, grass-fed beef gelatin.
- 4 TBSP elderberry syrup → The star of the show! Use a high-quality, store-bought syrup or your own homemade version.
- 2 TBSP raw honey → For a touch of natural sweetness and its own beneficial properties.
Let’s Get Cooking! Your Quick & Easy Guide
Ready to make the easiest, healthiest “candy” ever? This process is so fast and satisfying.
Part 1: The Blooming & Melting
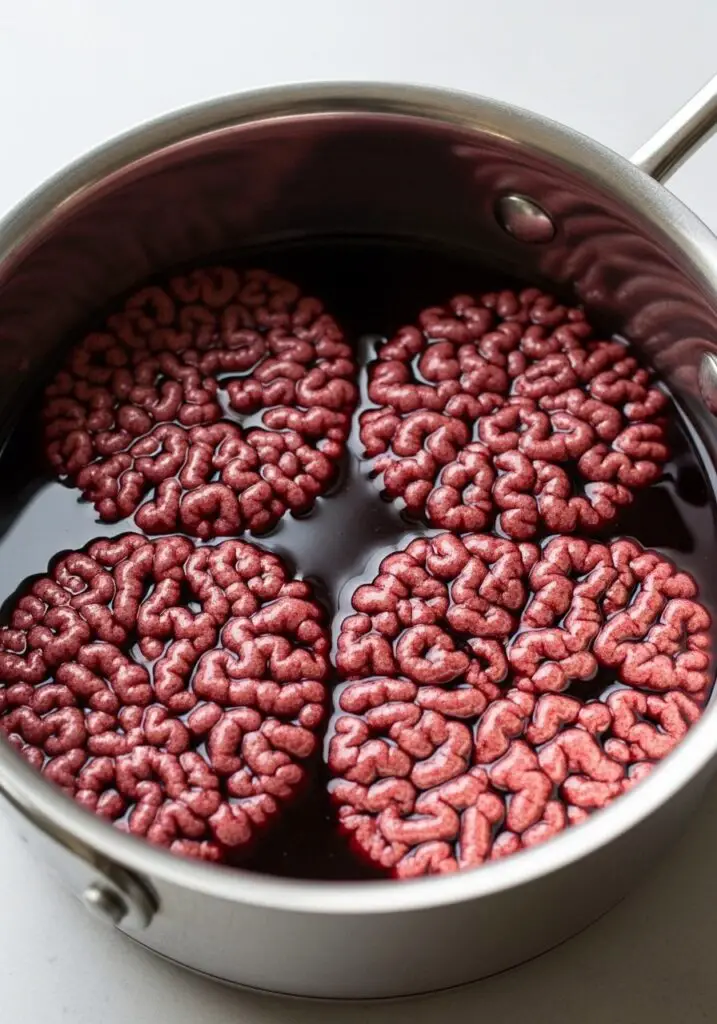
- Bloom the Gelatin: In a small saucepan, pour in your cherry juice. Now, sprinkle the 4 tablespoons of gelatin evenly over the entire surface of the juice. Don’t stir it yet! Just let it sit for a few minutes to “bloom.” You’ll see it absorb the liquid and get a wrinkly texture. This is a crucial step!
- Gently Heat and Dissolve: Place the saucepan over low heat. Stir the mixture continuously with a whisk or spatula until the bloomed gelatin has completely dissolved into the juice. The most important rule here: do not let it boil! Boiling can weaken the gelatin.
Part 2: The Final Mix, Pour, and Chill
- Stir in the Good Stuff: Remove the saucepan from the heat. Now, stir in your elderberry syrup and the raw honey until they are completely combined.
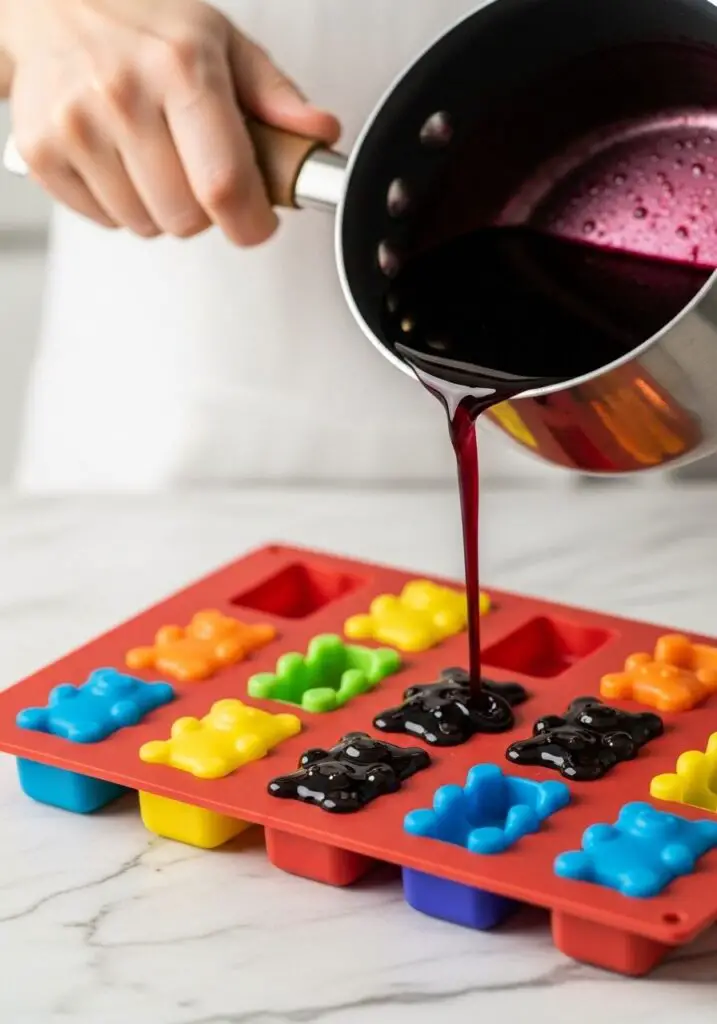
- Pour and Chill: Carefully pour the liquid mixture into your silicone molds (gummy bear or heart shapes are so fun!) or into a small, lightly greased glass dish.
- Let Them Set: Place the molds or dish in the fridge and let the gummies set for at least 2 hours, or until they are completely firm.
- Pop and Store!: Once they’re set, just pop the gummies out of the molds (or slice them into cubes if you used a dish). Store them in an airtight container in the fridge and enjoy!
WiseRecipes’ Top Tips for Perfect Gummies
These are super simple, but a few pro tips will make them absolutely flawless every time.
- Blooming is Non-Negotiable. You must let the gelatin bloom on the cold liquid first. Sprinkling it over the surface and letting it sit for a few minutes allows it to absorb the liquid evenly, which is the secret to a perfectly smooth, non-clumpy gummy.
- Do NOT Boil the Gelatin. I’m saying it again because it’s that important! Bringing gelatin to a rolling boil can damage its gelling power, which can result in soft, weak gummies that don’t set properly. Gentle, low heat is your best friend.
- Add Honey and Elderberry OFF the Heat. Many of the beneficial properties of raw honey and some elderberry syrups can be diminished by high heat. By stirring them in after you’ve removed the pan from the stove, you help preserve all that wholesome goodness.
- Use a Dropper for Small Molds. If you’re using tiny gummy bear molds, a liquid dropper or a small kitchen syringe can be a lifesaver for filling them cleanly and without making a huge, sticky mess.
- Choose Your Juice Wisely. The flavor of your juice will be very prominent, so use one you love! A 100% tart cherry, pomegranate, or cranberry juice is fantastic because they are also packed with antioxidants and Vitamin C.
Creative Twists: Delicious Ways to Customize Your Gummies
This recipe is a wonderful base for your own wellness creations! Here are some fun ideas:
- Add Vitamin C Powder: For an extra immune-supporting punch, you can stir in a teaspoon of a non-sour Vitamin C powder (like calcium ascorbate) with the elderberry syrup at the end.
- Make it Vegan: Swap the beef gelatin for an equal amount of agar-agar powder. You will need to bring the mixture to a boil for a minute to activate the agar-agar. The final texture will be a bit firmer than gelatin gummies.
- Add Probiotics: After the mixture has cooled slightly (but before it sets), you can stir in the contents of a few probiotic capsules.
- Ginger & Turmeric Twist: Add a 1/4 teaspoon of ground ginger and a pinch of black pepper to the juice as it heats for extra anti-inflammatory properties.
- Use Different Juices: Orange juice or a red grape juice would also be delicious.
- Sweeten with Stevia: If you want to avoid added sugars, you can omit the honey and sweeten the mixture with a few drops of liquid stevia to taste.
- Make “Sour” Gummies: After the gummies are set, toss them in a mixture of a granulated sweetener (like monk fruit) and a little bit of citric acid for a healthy sour patch kid vibe.
- Layered Gummies: Make two different colored batches (like cherry and orange) and pour a thin layer of one into your molds. Let it partially set in the fridge for 20 minutes before pouring the second color on top.
Homemade Elderberry Immunity Gummies
Ingredients
Method
- In a small saucepan, add the cherry juice. Sprinkle the gelatin evenly over the top of the juice and let it sit for a few minutes to ‘bloom’.
- Gently heat the mixture over low heat, stirring continuously, until the gelatin is completely dissolved. Do not let the mixture boil.
- Remove the saucepan from the heat. Stir in the elderberry syrup and the raw honey until they are fully combined.
- Carefully pour the liquid mixture into silicone molds or a small glass dish.
- Place the molds in the refrigerator to set for at least 2 hours, or until completely firm.
- Once set, pop the gummies out of the molds (or cut into cubes if using a dish). Store in an airtight container in the fridge.
Notes
Keep Them Fresh! Storing Your Homemade Gummies
Proper storage is key to keeping your delicious homemade gummies perfect.
- Refrigerator: This is the best place for them. Store the gummies in an airtight container in the refrigerator. They will stay fresh and delicious for up to 2 weeks.
- A Note on Stickiness: Homemade gummies can sometimes get a little “sweaty” or sticky in the container. You can toss them with a tiny bit of arrowroot starch or cornstarch to prevent this, but I usually just store them as is!
- Freezing: These gummies freeze beautifully! Just place them in a freezer-safe zip-top bag. They won’t freeze rock solid and make a wonderful, chewy, cold treat straight from the freezer.
FAQs: Your Elderberry Gummy Questions, Answered!
What kind of gelatin should I use?
For the best health benefits, I highly recommend using a high-quality, grass-fed beef gelatin. Brands like Vital Proteins (green container) or Great Lakes are fantastic. The collagen and amino acids in grass-fed gelatin are wonderful for supporting gut, skin, and joint health.
Help! My gummies are too soft and didn’t set properly.
This is usually caused by one of two things: either the gelatin-to-liquid ratio was off (make sure you use a full 4 tablespoons!), or the mixture accidentally boiled on the stove, which can damage the gelatin’s ability to set. Low and slow heat is the key!
Can I give these gummies to a child under one year old?
No. Because this recipe contains raw honey, it is not safe for children under one year of age due to the risk of infant botulism. For babies under one, you can make the recipe using pure maple syrup instead of honey, or omit the sweetener altogether.
Can I use elderberry juice instead of syrup?
You could, but you would need to adjust the recipe. Elderberry syrup is very concentrated. If you were to use elderberry juice, I would recommend replacing half of the cherry juice with it. You would also likely need to add more sweetener, as the juice is not as sweet as the syrup.
My Final Thoughts: Your New Favorite Healthy Habit
These Homemade Elderberry Immunity Gummies are more than just a recipe; they are a fun, delicious, and empowering way to take an active role in your family’s wellness. They are a simple, joyful ritual that proves that sometimes, the most nourishing things can also be the most delightful. I hope you and your family absolutely love them!