The Easiest Homemade Honeycomb Candy (A Magical Kitchen Experiment!)
Hello, my friends, and welcome to one of the most magical, fascinating, and delicious recipes you will ever make in your kitchen! Today, we are creating Homemade Honeycomb Candy. If you’ve never had it, you are in for an incredible treat. It’s a light, airy, and super crunchy candy that shatters in your mouth and…
Hello, my friends, and welcome to one of the most magical, fascinating, and delicious recipes you will ever make in your kitchen! Today, we are creating Homemade Honeycomb Candy. If you’ve never had it, you are in for an incredible treat. It’s a light, airy, and super crunchy candy that shatters in your mouth and then melts into a sweet, caramelized honey flavor.
But the best part of this recipe isn’t just eating it—it’s the incredible science experiment that happens right on your stovetop! With just a few simple ingredients, you’ll watch a simple sugar syrup erupt into a foamy, golden, volcanic cloud that sets into this amazing confection. It’s a little bit of kitchen alchemy that is so much fun to watch and results in a truly unique and impressive treat.

Why You’ll Be Completely Enchanted By This Recipe
This is more than just candy; it’s a fun and rewarding experience with a delicious prize at the end.
- It’s a Magical Science Project: The moment you add the baking soda is pure magic! Watching the syrup foam up and triple in volume is a thrilling experience for kids and adults alike.
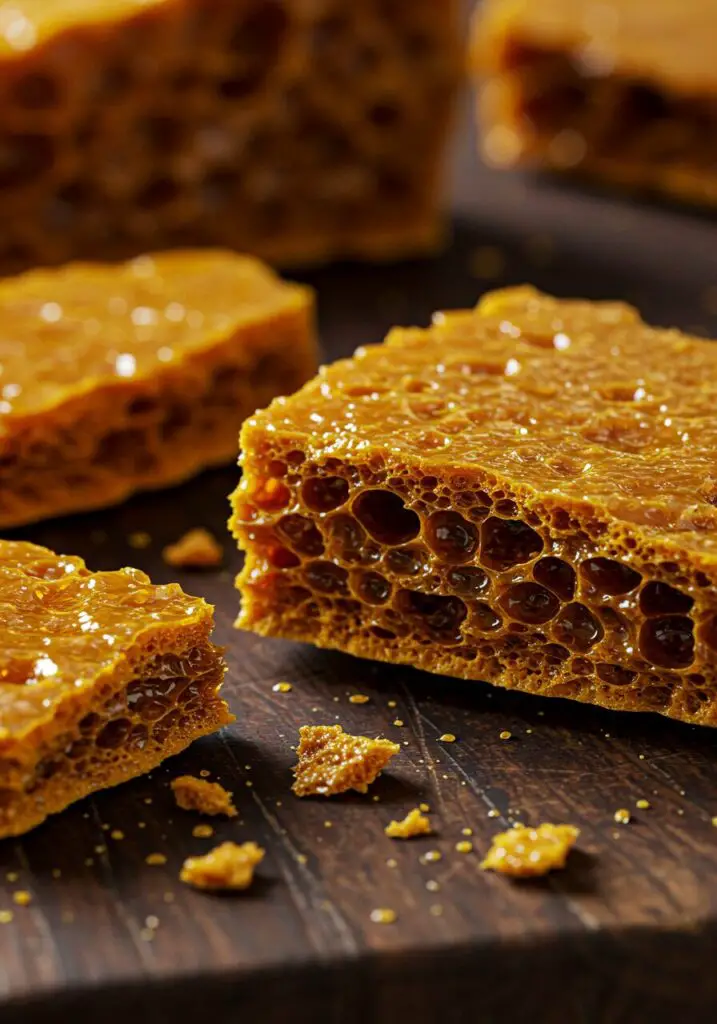
- Incredibly Light & Crunchy Texture: The final candy is full of tiny air pockets, giving it a signature light-as-air feel and a super satisfying, crisp crunch.
- Only 5 Simple Pantry Ingredients: You don’t need anything fancy to create this impressive treat. Sugar, corn syrup, honey, water, and baking soda are all it takes!
- Perfect for Gifting & Decorating: A bag of golden honeycomb makes a beautiful and unique homemade gift. It’s also fantastic for crushing and sprinkling over ice cream or decorating cakes.
The 5 Simple Ingredients You’ll Need
Get ready for the shortest, most powerful ingredient list ever.
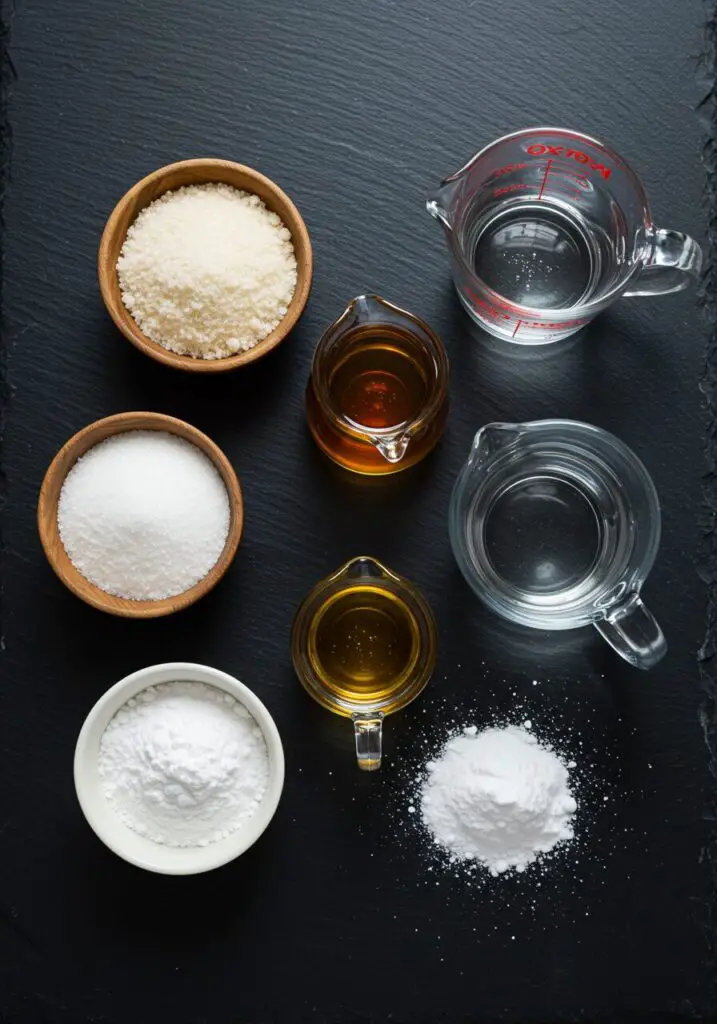
- 1 cup Granulated Sugar
- 1/4 cup Corn Syrup
- 2 Tbsp. Honey
- 1/2 cup Water
- 2 tsp. Baking Soda
How to Make Honeycomb Candy: A Step-by-Step Guide
Candy making is all about timing, so read through the steps and have everything ready before you start!
1. Prep Your Pan: This is a crucial first step because things will move very fast later! Line an 8×8-inch pan with a sheet of parchment paper. Don’t worry about making it neat; the hot candy will weigh it down. Also, have your baking soda and a whisk right next to the stove.
2. Cook the Sugar Syrup: In a heavy-bottomed saucepan (make sure it’s a large one!), add the sugar and give it a gentle shake to level it. Pour in the corn syrup, honey, and water, making sure all the sugar is moistened. Do not stir! Place the pot over medium-high heat. Watch as the sugar dissolves and the mixture begins to bubble. Let it cook, without stirring, until the mixture reaches 300°F (150°C) on a candy thermometer. This is the “hard crack” stage and should take about 5-10 minutes. The syrup will be a beautiful, light amber color.
3. The Magical Reaction (Work Fast!): The moment your thermometer hits 300°F, immediately remove the pan from the heat. Quickly dump in the baking soda and whisk vigorously for about 5 seconds. The mixture will foam up dramatically! As soon as it’s mixed, stop whisking and immediately pour the foaming mixture into your prepared parchment-lined pan. Do not spread it out!

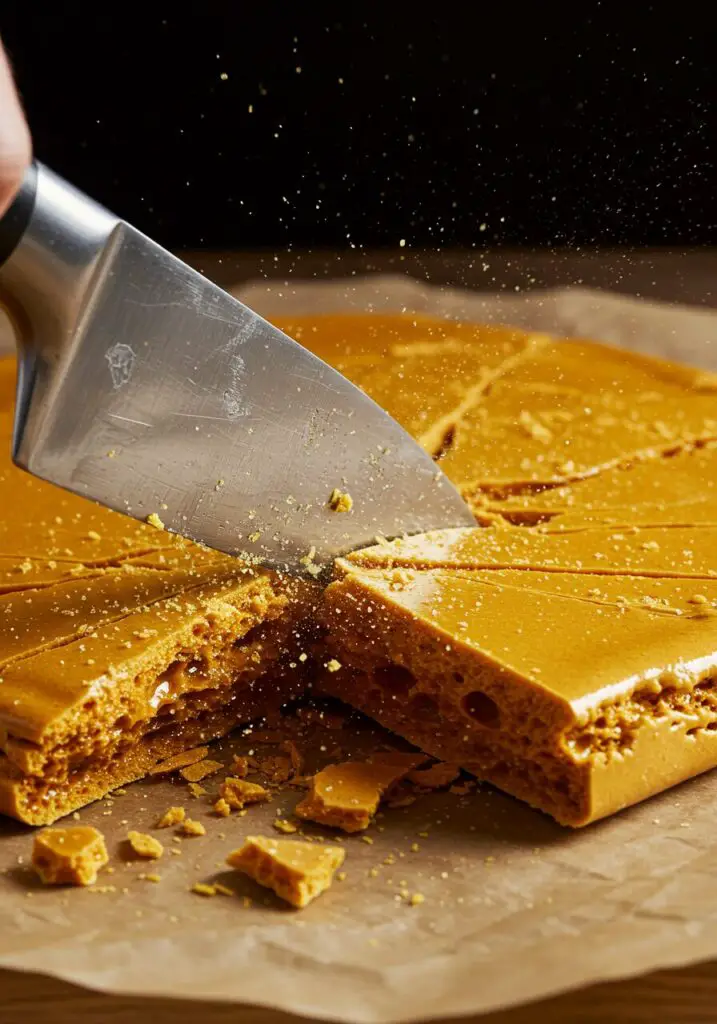
4. Cool and Crack: Let the honeycomb cool completely at room temperature for at least 1 hour until it’s hard and set. Do not put it in the fridge. Once it’s completely hard, lift the slab out of the pan using the parchment paper. Now for the fun part: use the back of a knife or a small mallet to whack the honeycomb and break it into rustic, crunchy pieces.
Tips for Perfect Honeycomb Every Time
- Use a Candy Thermometer: This is the most important tool for success. The temperature of the sugar is precise, and a thermometer takes all the guesswork out of it.
- Use a BIG Pot: The mixture will expand to at least three times its original volume when you add the baking soda. Using a pot that is much larger than you think you need will prevent a dangerous and sticky overflow.
- Prep is Everything: Have your parchment-lined pan, baking soda, and whisk ready and waiting by the stove. You will not have time to go looking for them once the sugar is at temperature.
- Store it Immediately & Airtight: Honeycomb is like a sponge for moisture in the air (it’s hygroscopic). As soon as it’s broken, store any uneaten pieces in a completely airtight container at room temperature. If left out, it will become soft and sticky.

Homemade Honeycomb Candy
Ingredients
Equipment
Method
- Line an 8×8 pan with parchment paper. Have your baking soda and whisk ready by the stove.
- In a large, heavy-bottomed saucepan, add sugar, corn syrup, honey, and water. Do not stir. Turn the heat to medium-high.
- Cook the mixture without stirring until it reaches 300°F on a candy thermometer, about 5–10 minutes. It should be a light amber color.
- Immediately remove the pan from the heat. Quickly whisk in the baking soda for about 5 seconds until it foams up.
- Immediately pour the mixture onto the prepared parchment paper. Do not spread or tap the pan. Let cool completely for 1 hour until hardened.
- Once hard, break the honeycomb into pieces. Immediately store any uneaten honeycomb in an airtight container at room temperature.
Notes
Frequently Asked Questions (FAQ) – Honeycomb Candy
What if I don’t have a candy thermometer?
It’s much trickier, but you can use the color method. Cook the syrup until it turns a distinct, clear amber color, similar to the color of a copper penny. You have to be very careful not to burn it.
Why is my honeycomb chewy instead of crunchy?
This usually means the sugar syrup did not reach the full 300°F (hard crack stage). Even a few degrees short can result in a softer, stickier candy.
What can I do with honeycomb?
Besides eating it on its own, it’s fantastic dipped in chocolate, crushed and sprinkled over ice cream or yogurt, folded into brownie batter, or used as a decoration on cakes and cupcakes.
Why did my honeycomb collapse or not get airy?
This can happen if you stir the mixture after pouring it into the pan, or if you tap the pan. Pour it and leave it completely alone to set, trapping all those beautiful air bubbles inside.
Conclusion
This homemade Honeycomb Candy is such a rewarding and delicious treat to make. It’s a little bit of science, a little bit of magic, and a whole lot of fun. I hope you enjoy the amazing process and the incredibly crunchy, sweet results!