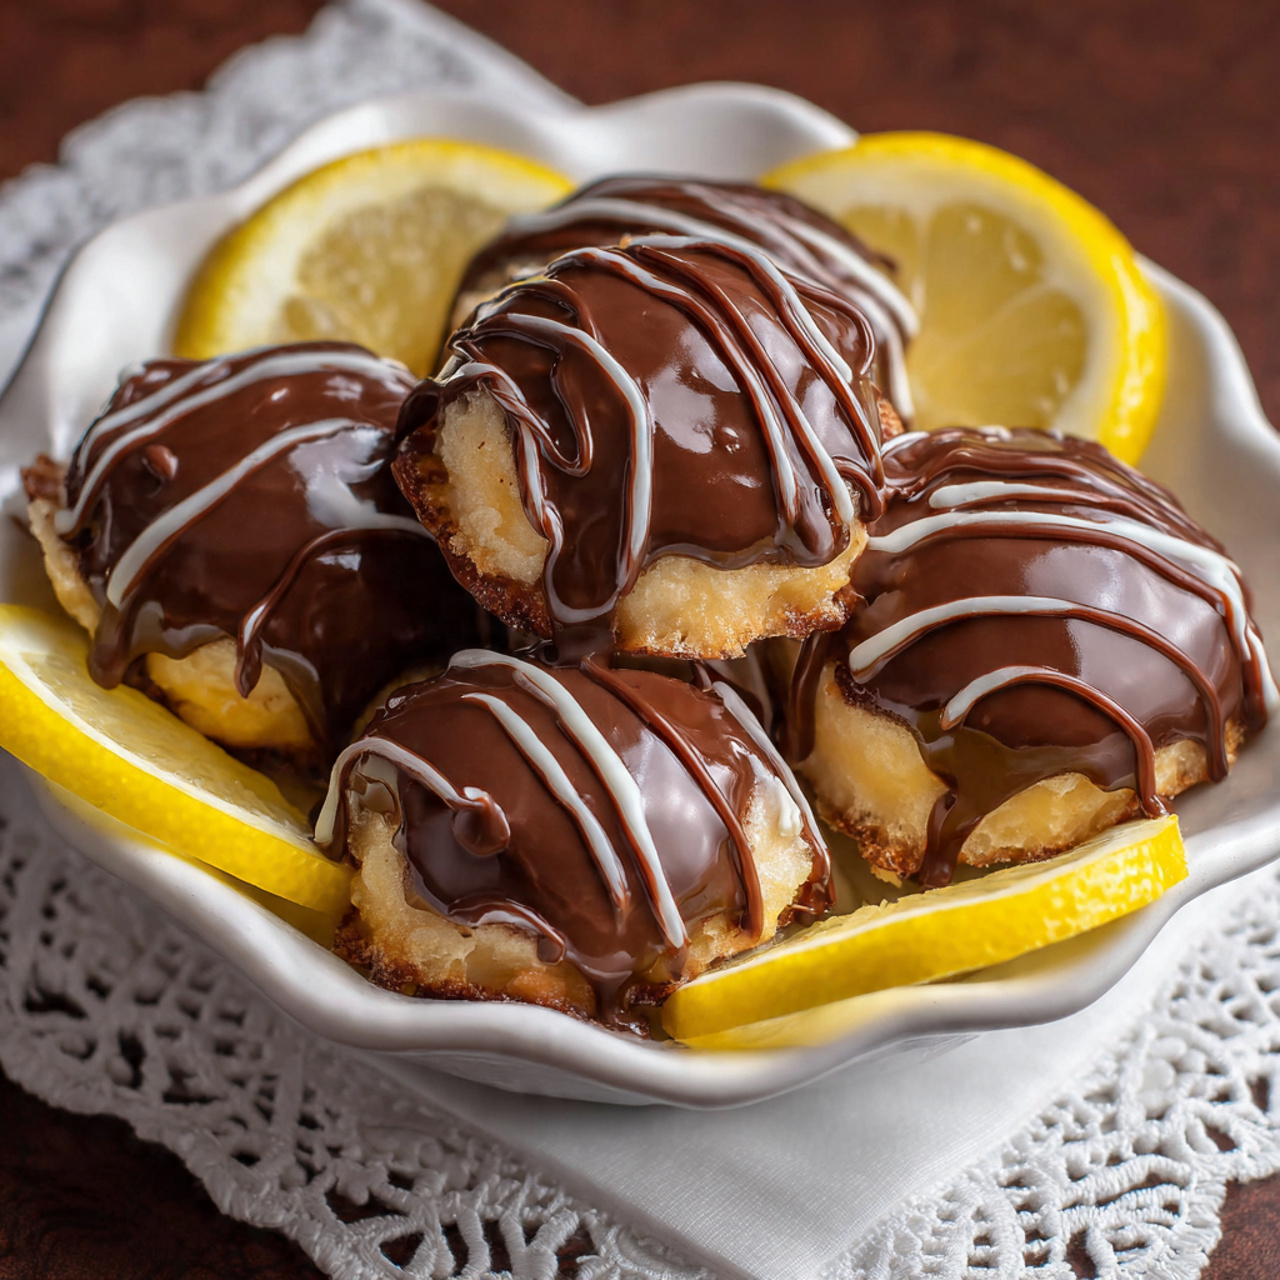
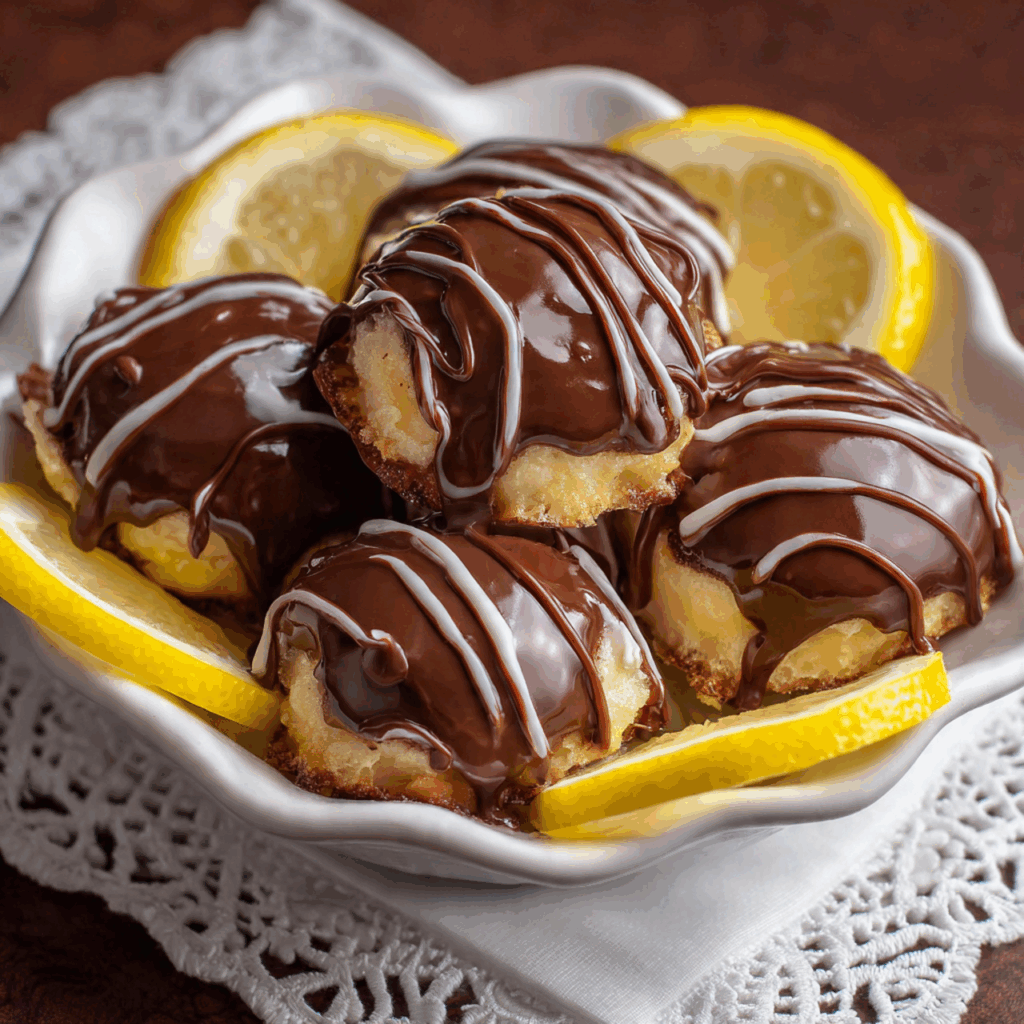
The Ultimate Homemade Lemon Creams (Easy Chocolate-Covered Candy!)
Imagine your favorite old-fashioned candy shop, with its gleaming glass cases filled with beautiful, handcrafted chocolates. Now, imagine creating one of those elegant treats right in your own kitchen with surprising ease. Picture a soft, intensely zesty and sweet lemon cream filling, enrobed in a crisp, smooth shell of rich chocolate. That, my friends, is…
Imagine your favorite old-fashioned candy shop, with its gleaming glass cases filled with beautiful, handcrafted chocolates. Now, imagine creating one of those elegant treats right in your own kitchen with surprising ease. Picture a soft, intensely zesty and sweet lemon cream filling, enrobed in a crisp, smooth shell of rich chocolate. That, my friends, is the delightful, impressive magic of these Homemade Lemon Creams. This is, without a doubt, the most delicious and rewarding no-bake candy you will ever make.
I promise you, from the moment you taste the bright, zesty lemon filling, you’ll be hooked. Each finished candy is a perfect bite of contrast—the crisp snap of the chocolate shell gives way to a soft, meltingly tender cream filling that bursts with citrus flavor. They are a true show-stopper, perfect for holiday gift-giving, a dessert platter, or just a special treat to have on hand.
Get ready to feel like a professional chocolatier and create a stunning, unforgettable batch of candies that will have everyone asking for your secret.

Why You Will Absolutely Adore These Lemon Creams!
You are going to be so incredibly proud of these beautiful and delicious homemade candies. They are a guaranteed sensation. Here’s why you have to make them:
- Tastes Like a Gourmet Candy Shop Treat: The combination of the rich chocolate shell and the bright, zesty, creamy lemon filling is an absolutely classic and sophisticated flavor pairing.
- A Completely No-Bake Filling: The creamy lemon center comes together in minutes in a stand mixer with no cooking required. It’s incredibly simple!
- Perfect for Gifting: Placed in a beautiful box or a clear cellophane bag tied with a ribbon, these homemade lemon creams make an incredibly thoughtful and impressive gift for any occasion.
- A Fun and Rewarding Project: The process of mixing, rolling, and dipping these candies is a super fun and satisfying kitchen project that yields professional-looking results.
- Stunningly Beautiful: The contrast between the dark, glossy chocolate and the surprise of the bright yellow lemon filling when you bite into one is a true delight.
Recipe Snapshot
| Prep Time | 25 minutes |
| Cook Time | 5 minutes (melting) |
| Chill Time | 1 hour 20 minutes |
| Total Time | 1 hour 50 minutes |
| Servings | 30-40 servings |
| Calories | 71 kcal per candy |
| Course | Dessert, Candy |
| Cuisine | American |
| Difficulty/Method | Easy / No-Bake |
Your Shopping List for These Candy Shop Creams
This recipe uses a handful of simple ingredients to create its signature flavor and texture. Here’s what you’ll need:

→ For the Zesty Lemon Cream Filling
- 5 cups confectioners’ sugar → Also known as powdered sugar, for a smooth, no-cook filling.
- 1/4 cup unsalted butter → Must be at room temperature for a smooth, creamy texture.
- 2 1/2 tablespoons lemon juice & the zest of 2 lemons → Fresh is a must for the best, brightest citrus flavor!
- 1/8 teaspoon salt → To balance the sweetness.
- 3/4 cup marshmallow cream (fluff) → The secret to a perfect, soft, and stable cream filling.
- 1 teaspoon lemon extract & 1/2 tsp vanilla extract → To enhance and deepen the flavors.
- 4 drops yellow food coloring → Optional, for that beautiful, sunny lemon color.
→ For the Chocolate Coating & Garnish
- 1 pound chocolate candy coating → Also known as candy melts. This is the key to an easy, perfect coating that sets up firmly.
- Slivers of candied lemon peel → An optional but beautiful garnish.
Let’s Make Candy! Your Step-by-Step Guide
Ready to create a batch of beautiful, professional-looking lemon creams? This process is so much fun.
Part 1: The Zesty Lemon Filling
- Combine the Base: In the bowl of a stand mixer fitted with the paddle attachment, combine 2 cups of the powdered sugar, the room-temperature butter, lemon juice, salt, marshmallow cream, both extracts, the lemon zest, and a few drops of yellow food coloring.
- Mix Until Smooth: Mix on medium speed until all the ingredients are smooth and evenly incorporated.
- Add Remaining Sugar: With the mixer on low, slowly add the rest of the powdered sugar in batches, stopping to scrape down the sides of the bowl as needed. Mix until the filling is very thick and well blended. Give it a taste and add more lemon extract or color if you desire.
Part 2: Shape and Chill
- Scoop and Roll: Using a small cookie or candy scoop, portion out the filling. Roll each portion between your palms to form smooth, 1-inch balls.
- Chill Until Firm: Place the rolled cream balls on a baking sheet lined with parchment paper. Refrigerate them for at least 1 hour, or until they are very firm to the touch. This step is crucial for easy dipping!
Part 3: The Perfect Chocolate Coating
- Melt the Coating: When the lemon creams are firm, place the chocolate candy coating in a medium microwave-safe bowl. Microwave in 30-45 second intervals, stirring well between each one, until the coating is completely melted and smooth.
- Dip the Creams: Using candy dipping tools or a simple fork, submerge one of the firm lemon cream balls completely in the melted candy coating.
- Remove and Set: Lift the cream out of the coating and gently tap the fork on the side of the bowl to allow any excess to drip off. Drag the bottom across the lip of the bowl, then place the dipped candy back on the parchment-lined baking sheet.
- Garnish and Set: If you’re using candied lemon peel, place a small sliver on top of the candy while the coating is still wet. Repeat with all the remaining creams.
- Final Chill: Refrigerate the tray of dipped candies for about 20 minutes to set the coating completely.
Homemade Chocolate-Covered Lemon Creams
Ingredients
Equipment
Method
- In a stand mixer, combine 2 cups of powdered sugar, butter, lemon juice, salt, marshmallow cream, extracts, lemon zest, and food coloring. Mix on medium speed until smooth.
- Slowly add the rest of the powdered sugar in batches on low speed, scraping down the sides, until the filling is thick and well blended.
- Using a small cookie scoop, scoop out small balls of the filling and roll them between your palms until they are smooth, 1-inch circles.
- Place the balls on a parchment-lined baking sheet and refrigerate until very firm, at least 1 hour.
- Melt the candy coating in a microwave-safe bowl in 45-second intervals, stirring in between, until smooth.
- Using a fork or dipping tools, submerge a firm cream filling ball in the melted coating. Lift it out and tap to remove the excess coating.
- Place the dipped candy on the parchment paper. If desired, top with a sliver of candied lemon peel while the coating is still wet. Repeat with all creams.
- Refrigerate the tray for about 20 minutes to set the coating completely. Store at cool room temperature.
Notes
WiseRecipes’ Top Tips for Perfect Lemon Creams
These simple secrets will ensure your homemade candies are flawless and delicious.
- Use Room Temperature Butter. Starting with properly softened butter is essential for a smooth, creamy filling with no lumps.
- Don’t Skip the Chill Time. The lemon cream filling is quite soft at room temperature. Chilling the rolled balls until they are very firm is the most important step for a clean, easy, and frustration-free dipping experience.
- Use Candy Melts for a Foolproof Coating. While you can use regular chocolate, candy coating (or candy melts) is specifically designed to melt smoothly and set up hard and glossy at room temperature without any special tempering. It’s the secret to a professional-looking finish.
- Tap Off the Excess. After dipping, the key to a thin, even shell (and not having a giant “foot” of chocolate at the bottom of your candy) is to gently tap your fork against the side of the bowl several times to let all the excess coating drip back in.
- Store at Cool Room Temperature. While you use the fridge to set them, these candies have the best texture—a crisp shell and a soft center—when stored and served at a cool room temperature.
Keep Them Fresh! Storing Your Homemade Candies
These beautiful lemon creams are perfect for making ahead for gifts or parties!
- Storage: Once the chocolate is fully set, you can store the Lemon Creams in an airtight container at a cool room temperature. Placing them in a single layer or separating layers with parchment paper is best. They will stay fresh and delicious for up to two weeks.
FAQs: Your Lemon Cream Questions, Answered!
Can I make these without a stand mixer?
Yes, you can! A hand mixer will work perfectly for this recipe. If you don’t have an electric mixer at all, you can do it by hand with a wooden spoon, but it will require a significant amount of arm strength to beat the thick filling until it’s smooth.
Can I use a different flavor of extract?
Absolutely! This cream filling recipe is a fantastic base for other flavors. Try using orange extract and orange zest for orange creams, or peppermint extract for a classic peppermint patty filling.
My candy coating is too thick. How can I fix it?
If your melted candy coating seems too thick for dipping, you can stir in a very small amount (about 1/2 teaspoon at a time) of paramount crystals or solid vegetable shortening (like Crisco). This will thin it out to a perfect, fluid consistency. Do not add any water or milk!
Can I use white chocolate for the coating?
Yes, white chocolate is a fantastic and classic pairing with lemon! Simply use a high-quality white chocolate candy coating instead of the milk or dark chocolate.
Final Thoughts: A Box of Homemade Sunshine
There is something so incredibly special and rewarding about creating your own beautiful, professional-looking candies from scratch. These Lemon Creams are a true celebration of bright, zesty flavor and the simple joy of creating something beautiful and delicious to share. It’s an elegant, impressive, and surprisingly simple treat that I know will become a new favorite in your candy-making repertoire. Happy dipping!