The Ultimate Ice Cream Bombe (A Showstopping No-Bake Dessert!)
Hello, my dessert-loving friends! Are you ready to create a dessert that is a true work of art? A treat so beautiful and impressive that it will elicit audible gasps of delight from your guests? Today, we are making a spectacular Ice Cream Bombe. Imagine a perfect, smooth dome of vibrant mango sorbet. Now, imagine…
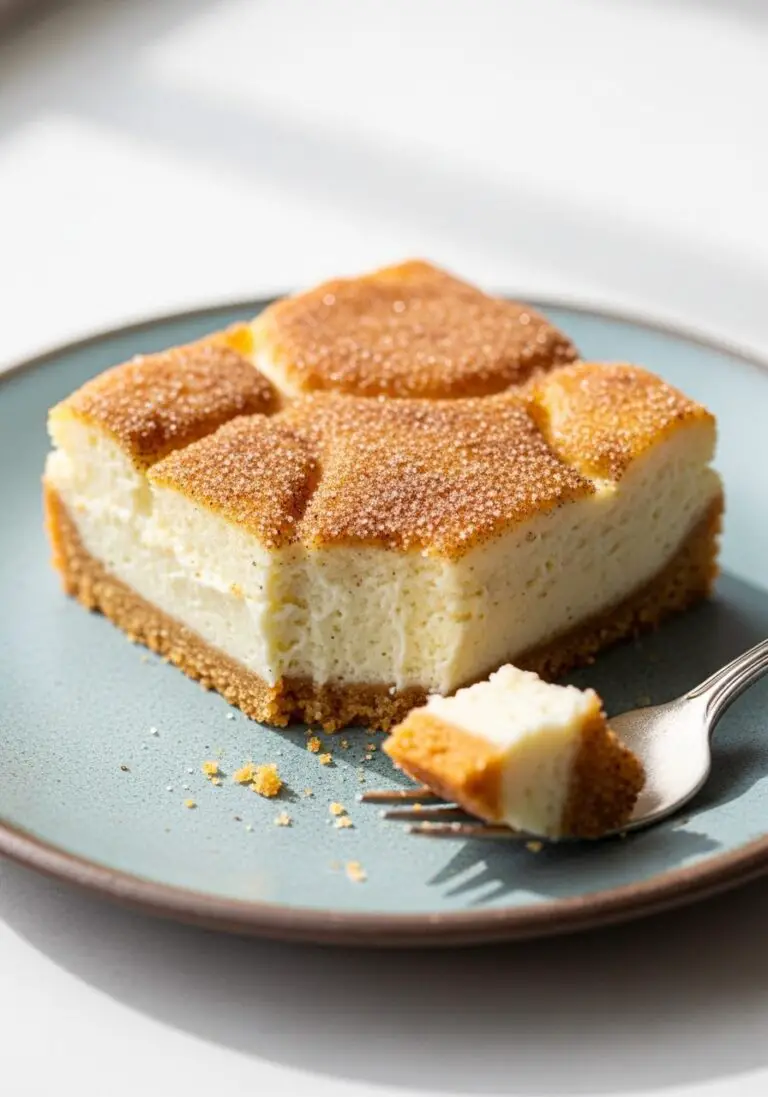
Hello, my dessert-loving friends! Are you ready to create a dessert that is a true work of art? A treat so beautiful and impressive that it will elicit audible gasps of delight from your guests? Today, we are making a spectacular Ice Cream Bombe. Imagine a perfect, smooth dome of vibrant mango sorbet. Now, imagine slicing into it to reveal surprise layers of brilliant raspberry sorbet and creamy strawberry ice cream inside. It’s a stunning, multi-layered frozen masterpiece.
I know what you’re thinking—this looks incredibly complicated. But I’m here to let you in on a little secret: it’s all about a simple, clever technique of layering and freezing. There is no baking and very little active time required. It’s a fun, rewarding project that results in one of the most elegant and delicious desserts you will ever serve. Let’s create a showstopper!

Why This Ice Cream Bombe is a Dessert Masterpiece
This isn’t just a bowl of ice cream; it’s an event. Here’s why this recipe is so incredibly special.
- The Ultimate “Wow” Factor: This is one of the most visually stunning desserts you can make. The beautiful, smooth dome and the surprise of the colorful layers inside make it a true centerpiece.
- Easier Than It Looks: The secret is simply using a bowl as a mold and freezing the layers one by one. It’s a brilliant technique that yields professional-looking results.
- A Celebration of Flavor: We start with a bright, homemade mango sorbet, then layer in tangy raspberry and creamy strawberry. It’s a perfect trio of fruity flavors.
- The Perfect Make-Ahead Party Dessert: This dessert must be made ahead of time, which makes it absolutely perfect for entertaining. It sits happily in your freezer, ready to be unveiled for the grand finale.
- Completely No-Bake: This is a dream dessert for hot summer days or when your oven is already working overtime.
Gather Your Simple, Delicious Ingredients
The beauty of this bombe is in its simplicity. Let’s get our ingredients ready.
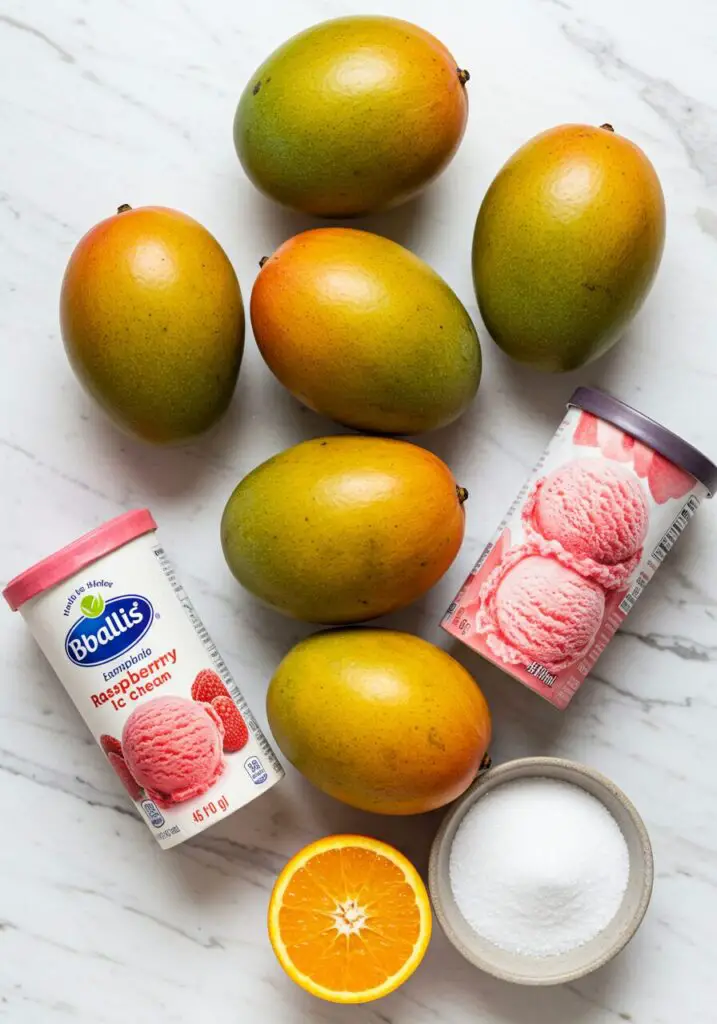
For the Homemade Mango Sorbet:
- ¾ cup Sugar
- 5 Large Ripe Mangoes
- ¼ cup Freshly Squeezed Orange Juice
- ¼ teaspoon Kosher Salt
For the Bombe Assembly:
- 2 pints (4 cups) Homemade Mango Sorbet
- 1 ½ pints Good Quality Raspberry Sorbet, softened
- 1 pint Good Quality Strawberry Ice Cream, softened
Crafting Your Ice Cream Bombe: Step-by-Step Guide
Let’s build this beautiful frozen creation, one simple layer at a time.
Part 1: The Homemade Mango Sorbet
- Make a Simple Syrup: In a small saucepan, combine the ¾ cup of sugar with ½ cup of water. Cook over medium heat, stirring, just until the sugar completely dissolves. Remove from the heat and set aside to cool.
- Purée the Mango: Peel and seed your ripe mangoes. Place the flesh in a food processor and purée until completely smooth. You should have about 5 cups of mango purée.
- Combine and Chill: In a large bowl, combine the mango purée, the cooled sugar syrup, the fresh orange juice, and the salt. Stir well, then cover and refrigerate until completely cold.
- Churn: Pour the cold mango mixture into your ice cream machine and churn according to the manufacturer’s directions until it’s the consistency of a thick, soft sorbet.
Part 2: Assembling the Bombe
- Prepare the Bowl and First Layer: Place a large, 8-inch metal or glass bowl in the freezer to get it ice-cold. Once cold, scoop the freshly churned (or softened store-bought) mango sorbet into the bowl. Using the back of a spoon or a small spatula, press the sorbet against the bottom and up the sides of the bowl, creating an even layer about 1-inch thick with a hollow center.
- The Nesting Bowl Trick (Optional but Recommended!): If you have a smaller, 6 ½-inch bowl that nests inside your larger one, cover it with plastic wrap and press it into the sorbet to create a perfectly even layer and a smooth cavity. Freeze the sorbet layer for at least 30 minutes, or until it’s firm.
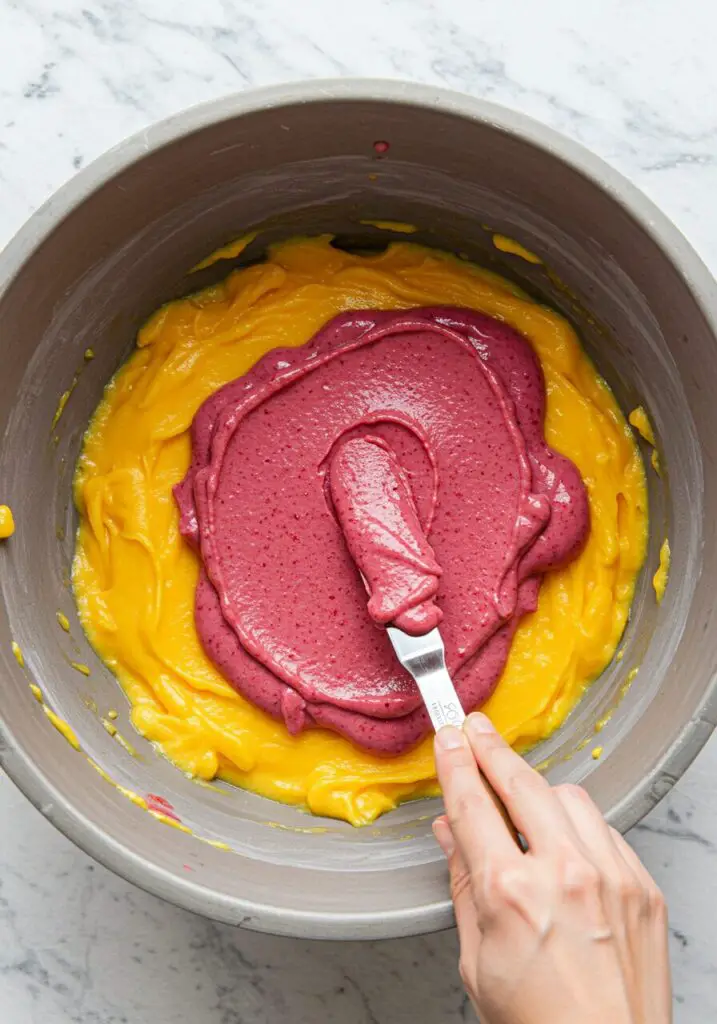
- Add the Second Layer: Remove the nesting bowl, if you used one. Spread the softened raspberry sorbet in an even layer on top of the firm mango sorbet. You can use an even smaller nesting bowl (about 4 ½ inches) to perfect this layer. Freeze again for another 30 minutes, or until firm.
- Add the Final Layer and Freeze: Remove the nesting bowl. Spoon in the softened strawberry ice cream to completely fill the center of the bombe. Smooth the top. Cover the entire bowl with plastic wrap and freeze until the entire bombe is rock solid, at least 4 hours or overnight.
- The Grand Unveiling: When you’re ready to serve, fill your sink or a larger bowl with warm water. Dip the bowl containing the bombe up to the rim in the warm water for just a few seconds. Run a thin knife or a flexible spatula around the edge to loosen it. Place a flat, chilled serving platter on top of the bowl and, holding them together firmly, flip them over. Lift the bowl to release the bombe.
- Serve: If needed, pop the unmolded bombe back in the freezer for a few minutes to firm up before serving. Slice into wedges and enjoy the beautiful layers!
Wise Tips for a Perfect Bombe
- Soften Your Ice Cream: Don’t skip softening the raspberry and strawberry layers before spreading them. It should be the consistency of thick frosting—spreadable, but not melted.
- Work Quickly and Keep it Cold: The key to neat layers is to work quickly and to ensure each layer is frozen solid before adding the next. Chilling your serving platter before unmolding is also a great pro tip.
- The Unmolding Dip: Be very quick with the warm water dip! Just a few seconds is all you need to loosen the outside. Any longer, and the outer layer will start to melt too much.
Stunning Ice Cream Bombe
Ingredients
Method
- Make a simple syrup with sugar and 1/2 cup water. Purée mangoes in a food processor. Combine mango purée, sugar syrup, orange juice, and salt. Chill completely, then churn in an ice cream machine.
- Freeze an 8-inch bowl. Press the softened mango sorbet against the sides and bottom of the cold bowl to create an even layer with a hollow center. Freeze for 30 minutes until firm.
- Spread an even layer of softened raspberry sorbet inside the mango sorbet layer. Freeze for another 30 minutes until firm.
- Spoon the softened strawberry ice cream into the center to fill the bowl completely. Cover with plastic wrap and freeze until solid, at least 4 hours or overnight.
- To unmold, dip the bowl up to the rim in warm water for a few seconds. Run a knife around the edge and unmold upside down onto a flat plate. Freeze until ready to serve, then slice into wedges.
Frequently Asked Questions (FAQ) – Ice Cream Bombe Recipe
- Do I have to make the mango sorbet from scratch?
No, you don’t! While the homemade version is incredible, you can absolutely make this recipe using 2 pints of your favorite store-bought mango sorbet for a fantastic shortcut. - What if I don’t have nesting bowls?
The nesting bowls are just a trick for perfectionists! You can achieve a very similar result by carefully using the back of a cold spoon or a small spatula to press the layers evenly against the sides of the bowl. - Can I use different flavors of ice cream and sorbet?
Of course! This is the best part. Think about color and flavor combinations. Chocolate, pistachio, and cherry would be a stunning “Spumoni” bombe. Or try lemon sorbet, blueberry sorbet, and vanilla ice cream. The possibilities are endless! - How far in advance can I make an ice cream bombe?
Once fully assembled and frozen solid, you can wrap the entire bombe (still in its bowl) very well in a double layer of plastic wrap and then foil. It will keep beautifully in the freezer for up to a week.
Conclusion
This Ice Cream Bombe is a true dessert showstopper. It’s a fun, creative project that results in a stunning centerpiece for any celebration. The moment you slice into that smooth dome and reveal the beautiful, colorful layers inside is so incredibly satisfying. It’s a delicious work of art that proves you can create something truly magical in your own kitchen. I hope you have a blast making it!