The Ultimate Layered Jell-O Mold (Stunning Show-Stopper!)
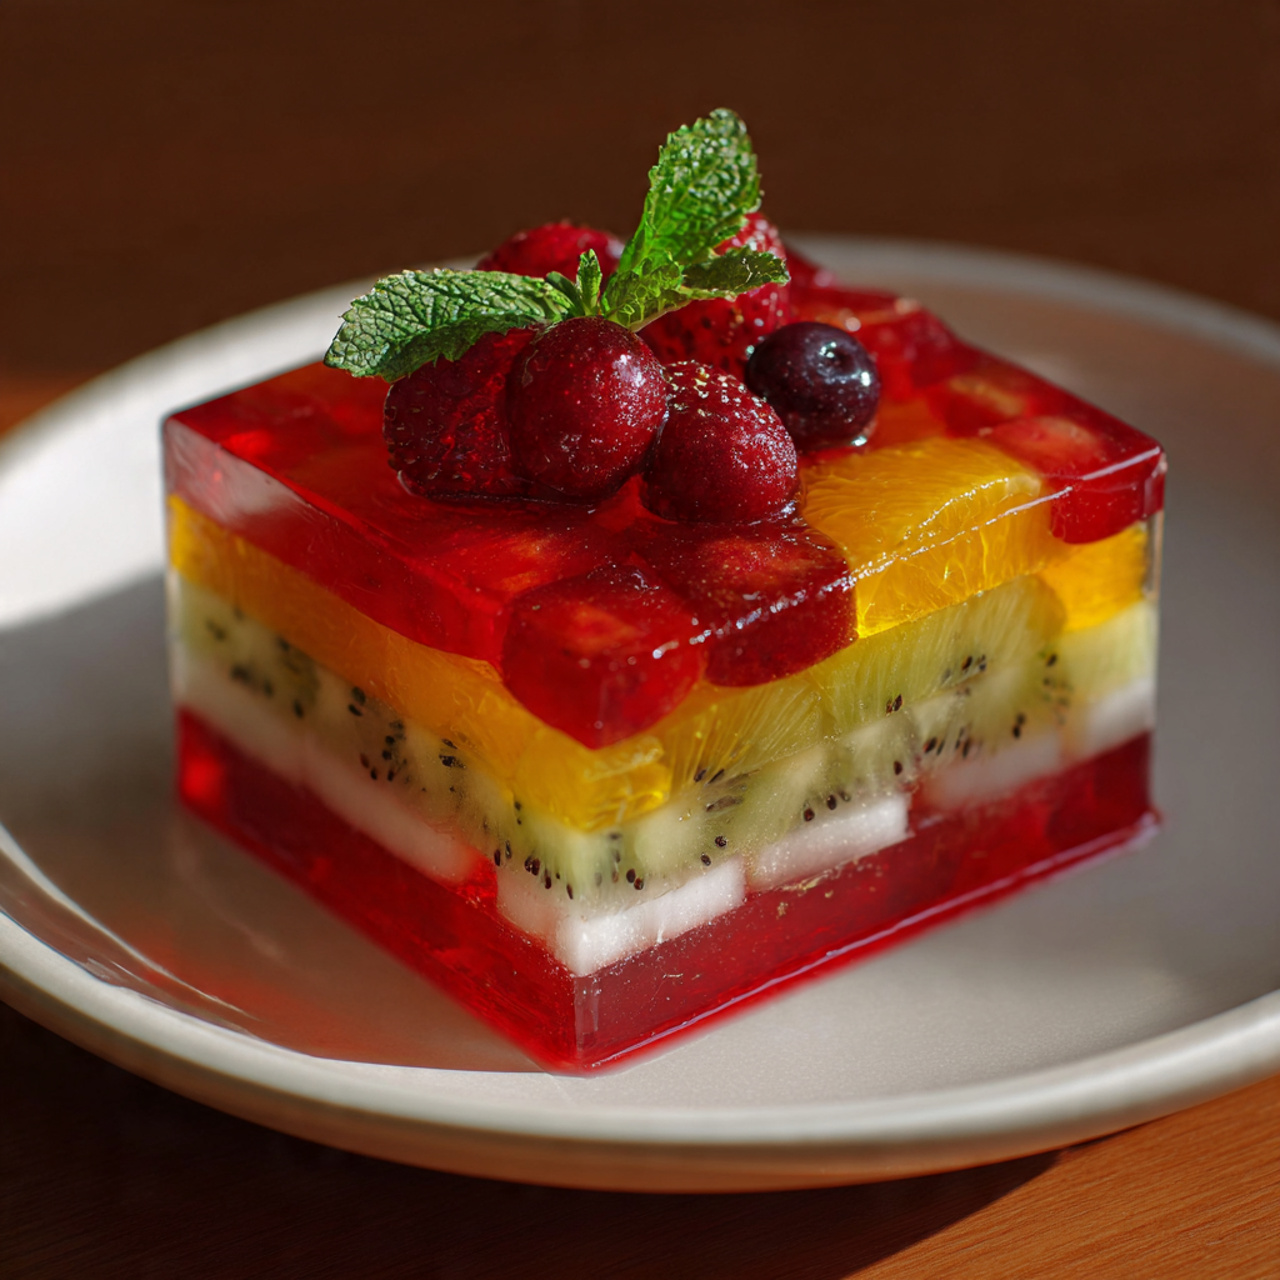
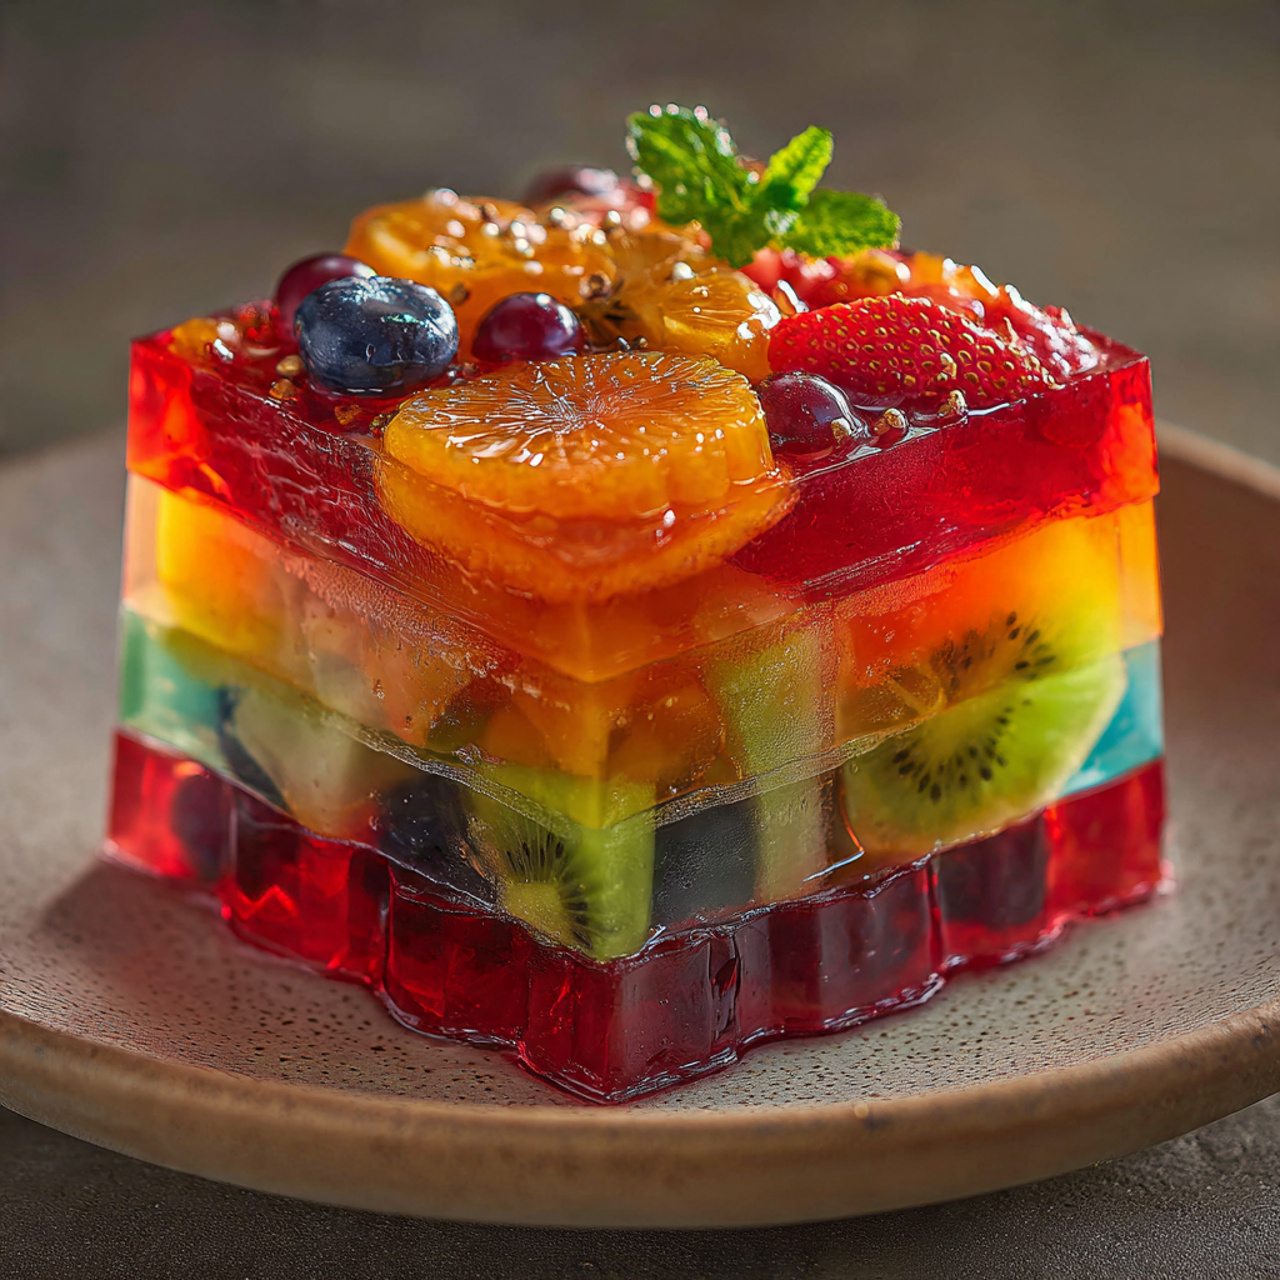
Imagine a dessert that’s a shimmering, jewel-toned masterpiece, with a delightful wobble that promises pure, nostalgic fun. That, my friends, is the triumphant return of the classic Jell-O Mold, and this version is a true show-stopper. We’re talking about a stunning two-layer creation: a vibrant, fruit-punch-red layer packed with suspended mixed berries, topped with a creamy, dreamy coconut layer, all set in a beautiful Bundt pan.
I promise you, there is no greater party trick than the dramatic, perfect unmolding of this glistening creation. The moment it slides from the pan onto the platter, you’ll feel like a culinary magician. The sweet, tangy fruit layer and the rich, creamy coconut layer are a match made in heaven, creating a dessert that is light, refreshing, and utterly captivating.
Get ready to rediscover the joy of Jell-O and create a stunning centerpiece dessert that is as fun to make as it is to eat.

Why This Jell-O Mold is a Certified Show-Stopper!
You are going to be completely amazed by how beautiful and delicious this simple dessert can be. It’s a guaranteed hit for so many reasons:
- A True Visual Masterpiece: The vibrant, contrasting layers and the way the light shines through make this dessert a stunning centerpiece for any party, holiday, or special occasion.
- The Ultimate Make-Ahead Dessert: This recipe requires you to make it in advance, freeing you up completely on the day of your event. It’s the definition of stress-free entertaining.
- Incredibly Fun and Nostalgic: There’s a playful, joyful quality to a Jell-O mold that brings a smile to everyone’s face. This recipe elevates that fun into something truly special.
- Deliciously Light and Refreshing: Unlike heavy cakes or pies, this dessert is cool, fruity, and creamy, making it the perfect light finish to a big meal.
- Secretly Simple Technique: While it looks complicated, this recipe is all about following simple steps of chilling and layering. No oven, no mixer, no fuss!
Recipe Snapshot
| Prep Time | 30 minutes |
| Cook Time | 5 minutes |
| Chilling Time | 5 hours 30 minutes |
| Total Time | 6 hours 5 minutes |
| Servings | 10-12 servings |
| Calories | 506 kcal per serving |
| Course | Dessert |
| Cuisine | American |
| Difficulty/Method | Easy / No-Bake |
Your Shopping List for This Glistening Creation
This recipe uses a handful of simple ingredients to create its stunning layered effect.

→ For the Red Berry Layer
- 5 (¼-oz.) envelopes unflavored gelatin → This is the key to a firm, perfectly set mold.
- 7 cups red fruit punch → Divided. Use your favorite brand for a vibrant color and flavor.
- 1 (12-oz.) bag frozen mixed berries, thawed → A blend of strawberries, blueberries, raspberries, etc. adds beautiful color and texture.
- ½ cup granulated sugar → To sweeten the base.
- Cooking spray → The secret weapon for a flawless release from the pan.
→ For the Creamy Coconut Layer
- 1 (15-oz.) can cream of coconut → This is the sweet, thick, syrupy coconut cream used for piña coladas, not coconut milk.
- ½ cup heavy cream → Adds a luscious, rich finish to the creamy layer.
Let’s Make a Masterpiece! Your Step-by-Step Guide
Ready to create a work of art? The process is all about patience and careful layering. Let’s begin!
Part 1: Prepare the Gelatin Base
- Bloom the Gelatin: In a medium bowl, pour 1 cup of the cold fruit punch. Sprinkle all 5 envelopes of unflavored gelatin over the top and whisk them together. Let the mixture sit for about 5-10 minutes to “bloom”—it will thicken and become gel-like. This step is crucial for a smooth result.
- Dissolve the Gelatin: In a medium saucepan over medium heat, combine the remaining 6 cups of fruit punch and the granulated sugar. Bring it to a simmer, stirring until the sugar is completely dissolved. Remove from the heat.
- Combine and Divide: Pour the hot fruit punch mixture into the bloomed gelatin mixture and whisk until the gelatin is completely dissolved. Do NOT let the gelatin boil. Pour 2 ½ cups of this mixture into a separate medium bowl, cover it, and set it aside on the counter. This will be for our creamy layer later.
Part 2: The Suspended Fruit Layer
- Chill to Thicken: Fill a large bowl with ice water. Set the bowl containing the remaining 4 ½ cups of fruit punch mixture over the ice bath. Stir the mixture frequently until it thickens to the consistency of raw egg whites, which can take 25 to 35 minutes. It should be just thick enough to suspend the fruit without it all sinking. Skim any foam from the top.
- Fold in Fruit: Pat your thawed berries dry with paper towels (this is important!). Gently fold the berries into the thickened gelatin mixture.
- First Chill: Lightly spray a 10-cup Bundt pan with cooking spray and wipe out any excess. Pour the thickened fruit and gelatin mixture into the prepared pan. Place it in the refrigerator, uncovered, and chill until it’s just set—firm to the touch but still a bit sticky. This will take about 1 to 1.5 hours.
Part 3: The Creamy Layer & Final Chill
- Make the Creamy Mixture: While the first layer is chilling, take your reserved 2 ½ cups of room-temperature fruit punch mixture. Stir in the cream of coconut and the heavy cream until everything is smooth and well combined. Let this mixture stand on the counter.
- Pour the Second Layer: Once the red fruit layer is just set, carefully and slowly pour the creamy coconut mixture over the back of a spoon onto the set layer. This prevents the new layer from breaking through the first one. Make sure the layer is even.
- The Final Chill: Return the Bundt pan to the refrigerator, uncovered, and chill until completely firm. This will take at least 4 hours, but overnight is even better.
Part 4: The Grand Unmolding
- Unmold and Serve: Lightly spray your serving platter with cooking spray (this lets you slide the Jell-O into the perfect position). To unmold, you can dip the Bundt pan in a sink of warm (not hot!) water for about 10-15 seconds. Run a thin offset spatula around the edges to loosen. Place your platter on top of the pan, and with confidence, flip it over. The Jell-O should release beautifully. Serve chilled!
Layered Jell-O Mold with Fruit
Ingredients
Equipment
Method
- In a medium bowl, whisk together the gelatin and 1 cup of cold fruit punch. Set aside to bloom for 5-10 minutes.
- Pat the thawed berries dry with paper towels. In a medium saucepan, combine the sugar and remaining 6 cups of fruit punch. Simmer until sugar is dissolved. Remove from heat.
- Whisk the hot fruit punch into the bloomed gelatin mixture until fully dissolved. Pour 2 ½ cups of this mixture into a separate bowl and set aside at room temperature.
- Pour the remaining 4 ½ cups of fruit punch mixture into a medium bowl and set it over a large bowl filled with ice. Stir frequently until the mixture thickens to the consistency of raw egg whites, 25 to 35 minutes. Skim any foam from the top.
- Gently fold the dried, thawed fruit into the thickened mixture.
- Spray a 10-cup bundt pan with cooking spray. Pour the thickened fruit mixture into the pan. Chill, uncovered, until just set, about 1 to 1.5 hours.
- Stir the cream of coconut and heavy cream into the reserved 2 ½ cups of fruit punch mixture.
- When the fruit layer is just set (firm but tacky), carefully pour the cream of coconut layer into the mold. Refrigerate, uncovered, until fully set, at least 4 hours or up to 2 days.
- To unmold, dip the pan in warm water for 10-15 seconds, run a thin spatula around the edge, and invert onto a serving platter. Serve chilled.
Notes
WiseRecipes’ Top Tips for a Perfect Jell-O Mold
These are the non-negotiable secrets to a flawless, beautiful, and delicious Jell-O mold every time.
- Never Boil Gelatin. Once you’ve added the bloomed gelatin to the hot liquid, just whisk until it’s dissolved. Boiling gelatin can weaken its setting power, leading to a soft, sad Jell-O.
- The Ice Bath is Your Secret Weapon. The step of chilling the first layer over an ice bath is crucial. It’s the only way to get the gelatin thick enough to suspend the fruit evenly throughout the layer, instead of having it all sink to the bottom (which will be the top!).
- “Just Set” is the Key for Layering. For the layers to fuse together perfectly, the first layer must be firm enough to support the second, but still slightly sticky to the touch. If it’s too liquid, the layers will bleed. If it’s fully set and hard, the layers might separate after unmolding.
- Patience is the Main Ingredient. Don’t rush the chilling times! Each step is a chemical process that needs time to work its magic. A well-chilled Jell-O is a firm Jell-O that will unmold beautifully.
- The Warm Water Unmolding Trick. A brief dip in a warm water bath is the best way to ensure a clean release. Just 10-15 seconds is all you need. Any longer, and the outside of your beautiful creation will start to melt.
Keep It Fresh! Storing Your Masterpiece
This dessert is a make-ahead dream, and here’s how to store it.
- Refrigerator: The Jell-O mold must be stored in the refrigerator. Once unmolded on its platter, you can gently cover it with plastic wrap. It will stay fresh and delicious for up to 3-4 days.
- Freezing: Do not freeze Jell-O! The ice crystals that form will destroy the delicate gelatin structure, and upon thawing, it will turn into a watery, separated mess.
FAQs: Your Jell-O Mold Questions, Answered!
Why is my Jell-O cloudy?
Cloudiness is often caused by foam that forms on the top of the gelatin mixture as it’s prepared or chilled. Be sure to skim off any foam that rises to the surface during the ice bath step for a crystal-clear result.
My layers separated after I unmolded it! What happened?
This usually happens when the first layer has set too firmly before the second layer is poured on top. You’re looking for that “just set” sweet spot where it’s firm but still has a slightly tacky surface, which acts like glue for the next layer.
Can I use fresh fruit instead of frozen?
Yes, absolutely! Just be sure to avoid certain fresh tropical fruits like pineapple, kiwi, mango, and papaya. They contain an enzyme (bromelain) that breaks down gelatin and will prevent your Jell-O from ever setting.
What is “cream of coconut” and can I use coconut milk instead?
Cream of coconut (like Coco Lopez brand) is a very thick, sweet, syrupy product used in cocktails. It is NOT the same as canned coconut milk or coconut cream. Using coconut milk will result in a much thinner, less sweet, and less flavorful creamy layer, so it’s important to use the correct product.
Final Thoughts: The Triumphant Return of a Classic
There is something so incredibly fun and satisfying about making a Jell-O mold. It’s a delightful journey of patience that results in a truly spectacular, edible work of art. This layered creation is a celebration of color, texture, and pure, simple joy. I hope it brings a little bit of nostalgic magic and a whole lot of deliciousness to your next celebration. Happy chilling!


![[EASY] Vegan Choc Banana Muffins: Your Ultimate 30-Min Treat!](https://wiserecipes.com/wp-content/uploads/2025/09/image-4-768x1097.jpg)