The Ultimate Lemon and Blueberry Cheesecake Tarts (with Filo Pastry!)
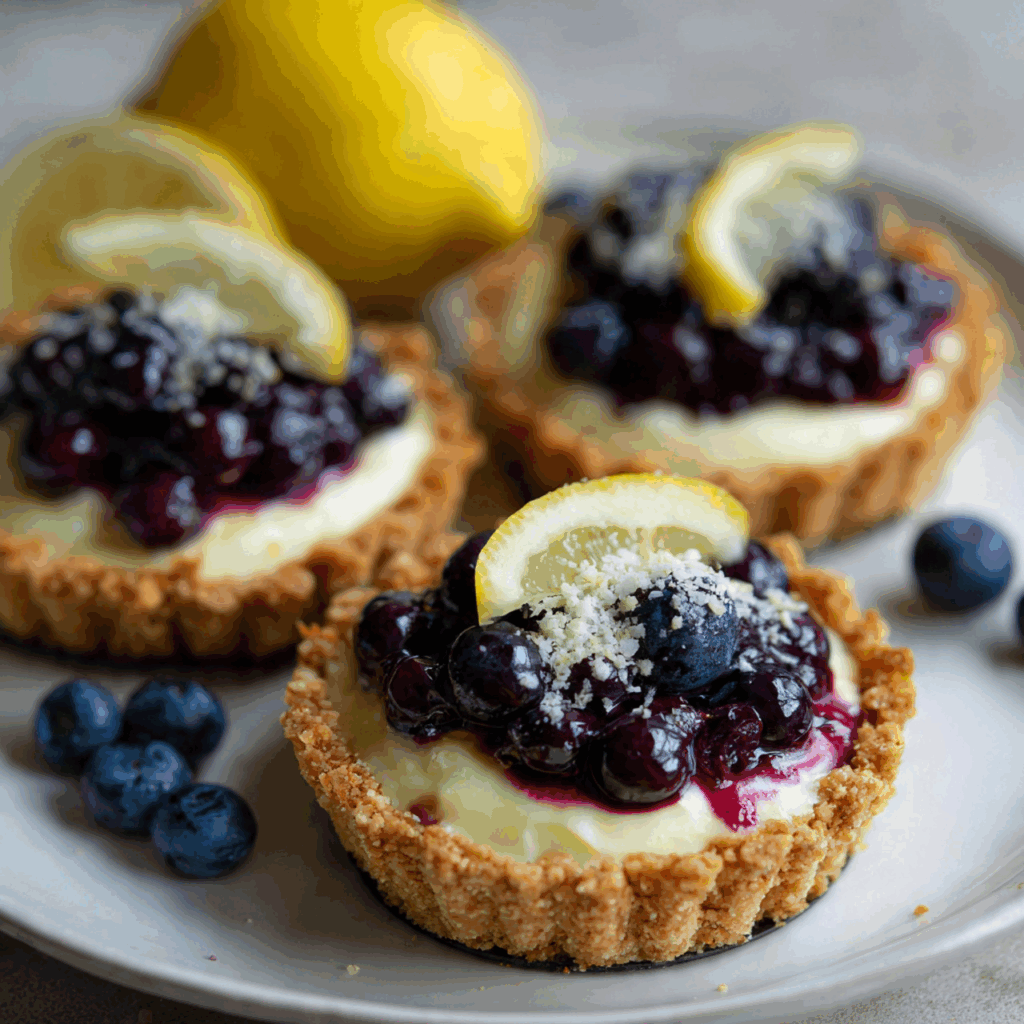
Imagine the most elegant, rustic, and utterly delicious pastry you can dream of. Picture a stunning, nest-like cup, handcrafted from layers of buttery, crispy, and shatteringly delicate filo pastry. Now, imagine that beautiful cup is filled with a smooth, creamy, and tangy lemon cheesecake filling and jeweled with sweet, bursting blueberries. That, my friends, is…
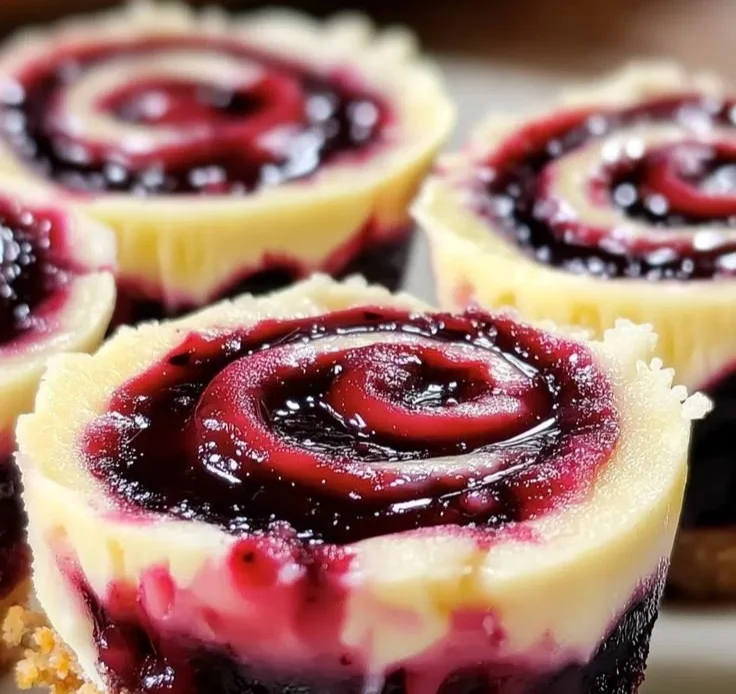
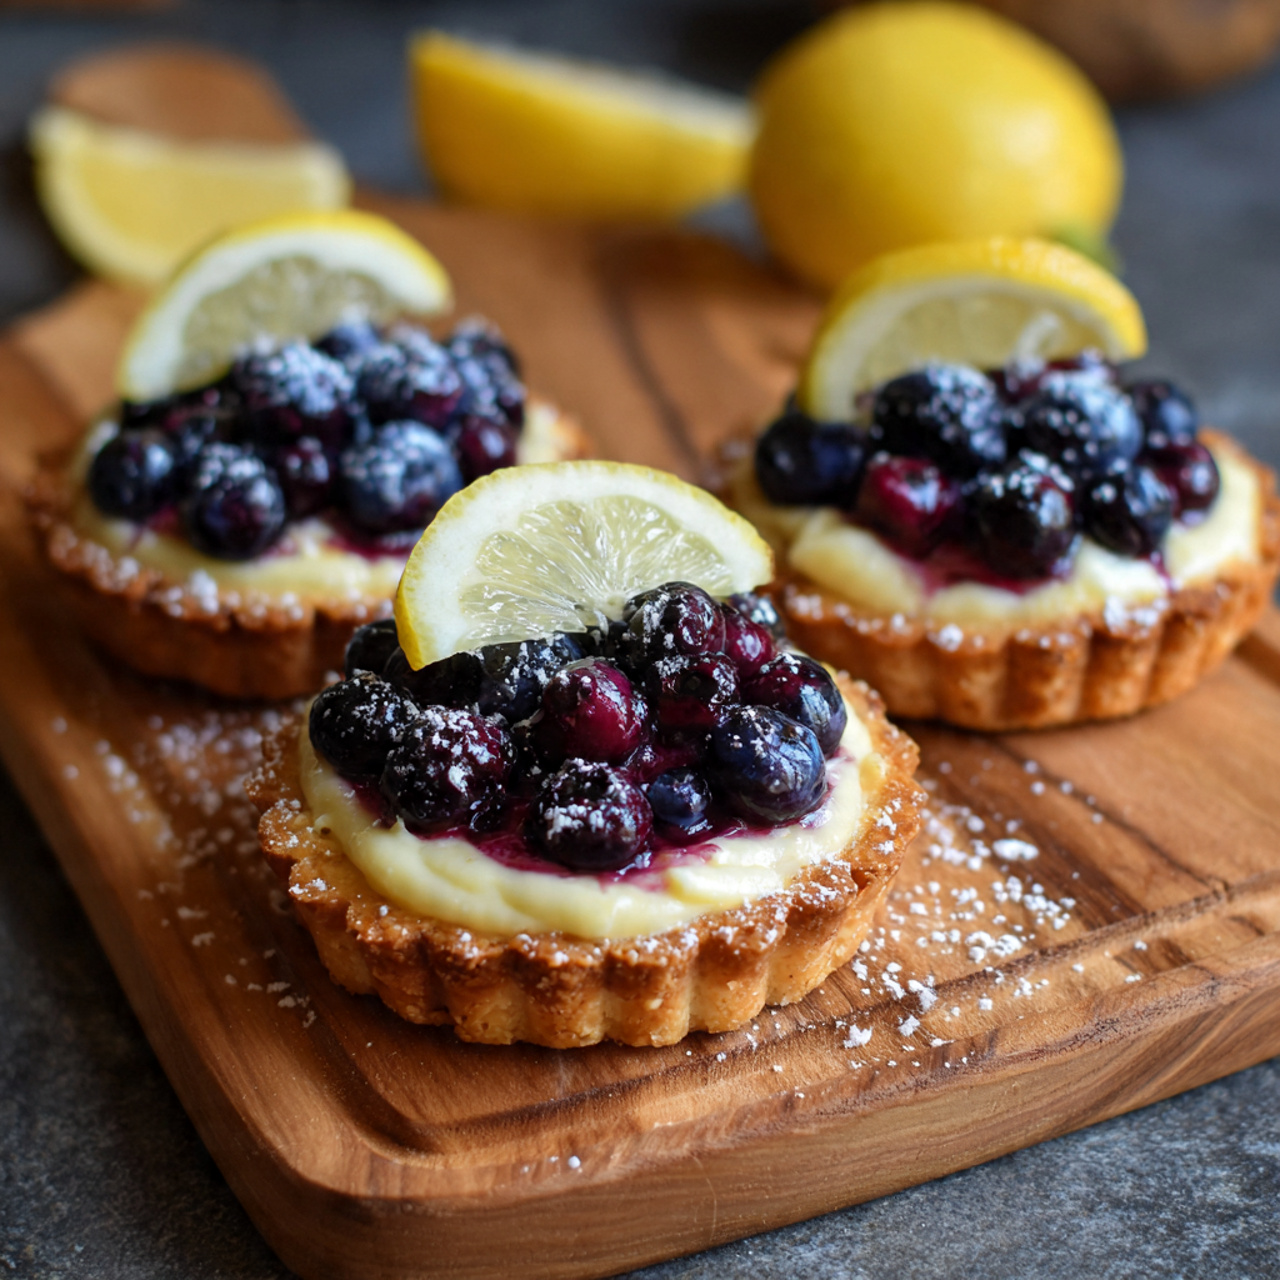
Imagine the most elegant, rustic, and utterly delicious pastry you can dream of. Picture a stunning, nest-like cup, handcrafted from layers of buttery, crispy, and shatteringly delicate filo pastry. Now, imagine that beautiful cup is filled with a smooth, creamy, and tangy lemon cheesecake filling and jeweled with sweet, bursting blueberries. That, my friends, is the impressive, patisserie-level magic of these Lemon and Blueberry Cheesecake Tarts. This is, without a doubt, the most beautiful and unique pastry you will ever create at home.
I promise you, these tarts are a true show-stopper. The contrast between the incredibly crisp, flaky filo and the smooth, rich, and tangy lemon cheesecake filling is pure bliss. The fresh blueberries on top add a perfect burst of juicy, sweet-tart flavor that brings everything together. They are perfect for an elegant brunch, a special afternoon tea, or a sophisticated dessert for a dinner party.
Get ready to transform simple filo pastry into an edible work of art and create a stunning, unforgettable dessert that will have everyone in awe.

Why You Will Be Obsessed with These Cheesecake Tarts!
You are going to be so incredibly proud of these beautiful and delicious little tarts. They are a guaranteed sensation. Here’s why you have to make them:
- A Stunning, Rustic-Chic Presentation: The handcrafted, spiraled filo pastry nests are absolutely breathtaking, creating a unique and professional-looking pastry that is incredibly impressive.
- Incredible Textural Contrast: This is a true texture lover’s dream! The shatteringly crisp and flaky filo is the perfect counterpoint to the ultra-smooth, rich, and creamy cheesecake filling.
- Easier Than They Look: While the final result looks incredibly complex, the process of creating the filo nests is surprisingly simple and fun, and the no-bake style filling comes together in minutes.
- The Perfect Individual Dessert: These beautiful tarts are perfectly portioned, making them an elegant and easy-to-serve dessert for any party, brunch, or special occasion.
Recipe Snapshot
| Prep Time | 20 minutes |
| Cook Time | 20 minutes |
| Total Time | 40 minutes |
| Servings | 8-10 tarts |
| Calories | ~380 kcal per tart |
| Course | Dessert, Brunch |
| Cuisine | French-Inspired / American |
| Difficulty/Method | Easy / Baking |
Your Shopping List for These Elegant Tarts
This recipe uses a handful of beautiful ingredients and a smart pastry shortcut. Here’s what you’ll need:
→ For the Filo Tart Shells
- 375g package of Filo Pastry, thawed → Found in the freezer aisle, this is our magical, paper-thin pastry.
- 100g unsalted butter, melted → For creating those beautiful, flaky layers.
- 1/2 cup white sugar → For sprinkling between the layers to help them caramelize and crisp up.
→ For the Lemon Cheesecake Filling
- 1/2 cup icing sugar, sifted → Also known as powdered sugar.
- 1 tsp vanilla bean paste → Or vanilla extract, for a beautiful, aromatic flavor.
- Zest of one lemon → For that bright, fresh, and tangy citrus kick.
- 250g fresh blueberries → The beautiful, jewel-like topping.
Let’s Get Baking! Your Step-by-Step Guide
Ready to create the most beautiful pastries of your life? The filo technique is so much fun and yields stunning results.
Part 1: The Crispy Filo Nests
- Prep the Filo: Before you begin, make sure your filo pastry is thawed to room temperature according to the package directions. Preheat your oven to 200°C fan-forced (400°F).
- Layer the Pastry: Lay one sheet of filo pastry on your clean work surface. Gently brush it all over with melted butter, then sprinkle it evenly with a little of the white sugar. Place another sheet of filo directly on top, and repeat the butter and sugar process.
- Crinkle and Spiral: This is the fun, artistic part! Using your fingers, gently scrunch or “crinkle” the two-layered sheet of filo from one side to the other, like you’re making a paper fan (a concertina design).
- Form the Nest: Carefully take your crinkled strip of pastry and spiral it around itself to create a circular, nest-like shape. Gently press down and flatten the center of the spiral to create a shallow well for the filling. Place your finished nest on a parchment-lined baking tray. Repeat this process with the remaining filo pastry.
Part 2: The Filling and Bake
- Make the Cheesecake Filling: In a medium bowl, use a spatula to beat the softened cream cheese until it’s completely smooth. Add the sifted icing sugar, vanilla bean paste, and lemon zest. Mix everything together until it’s well combined and creamy.
- Fill the Tarts: Place about two tablespoons of the creamy cheesecake mixture into the center cavity of each filo nest.
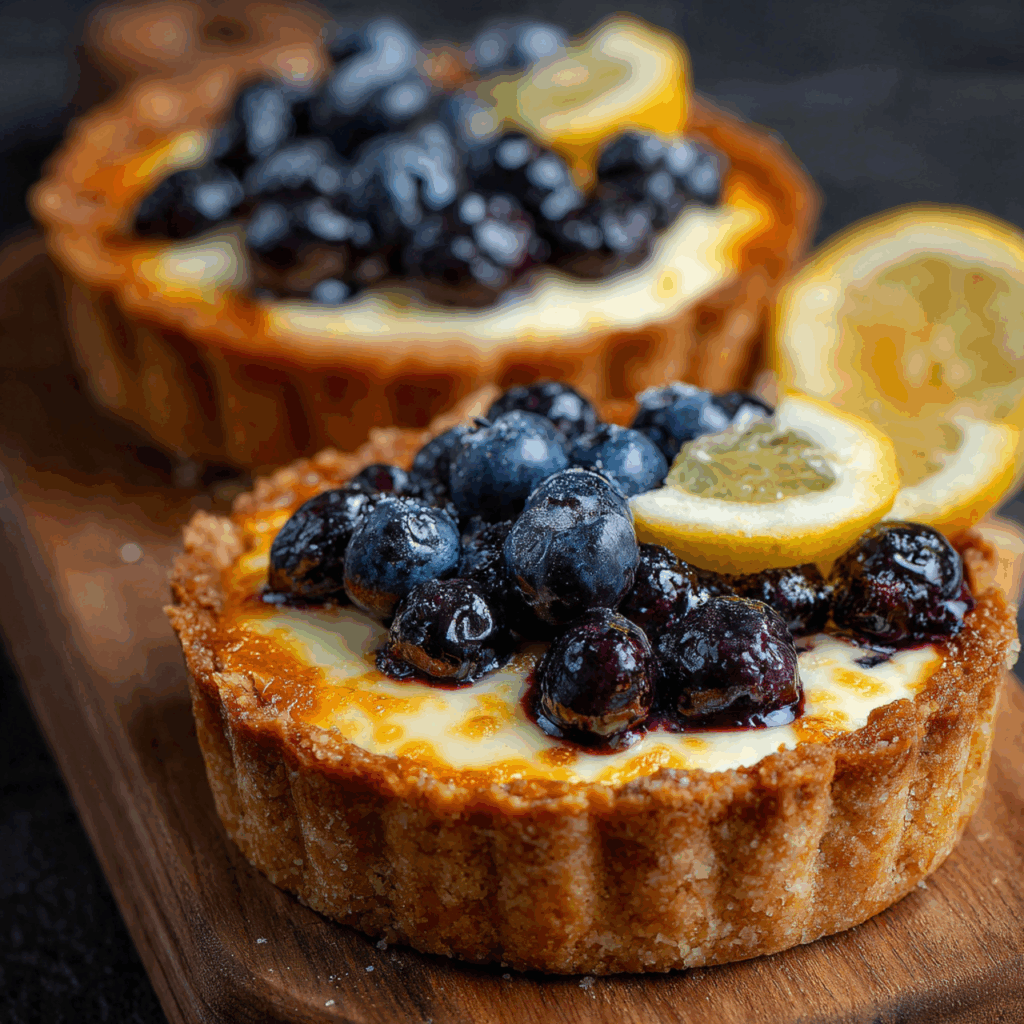
- Top with Blueberries: Artfully arrange a small pile of fresh blueberries on top of the cheesecake filling in each tart.
- Bake to Golden Perfection: Bake for about 20 minutes, until the edges of the filo pastry are a beautiful, deep golden brown and super crispy.
- Cool and Serve: Remove the tarts from the oven and let them cool on the tray. Just before serving, give them a beautiful, final dusting of icing sugar.
WiseRecipes’ Top Tips for Perfect Filo Tarts
These simple secrets will ensure your elegant pastries are flawless and delicious.
- Keep Your Filo Dough from Drying Out. Filo pastry is paper-thin and dries out incredibly fast. While you are working with one sheet, always keep the rest of the stack covered with a piece of plastic wrap and then a slightly damp kitchen towel.
- Room Temperature is Key. Your filo dough must be thawed to room temperature, and your cream cheese must be softened to room temperature. This will prevent the filo from cracking and ensure your cheesecake filling is perfectly smooth and lump-free.
- Be Gentle but Confident. Don’t be intimidated by the crinkling and spiraling process. Filo is delicate, but it’s also forgiving. Just work gently and have fun with creating the rustic, beautiful nest shapes. No two will look exactly alike, and that’s part of their charm!
- Don’t Underbake the Pastry. The goal is a deep, rich, golden-brown color. This is what ensures that every single layer of the filo is cooked through and shatteringly crisp. A pale filo tart will be chewy and disappointing.
- Serve the Same Day. These tarts are at their absolute peak of deliciousness on the day they are made, when the contrast between the crispy filo and the creamy filling is at its maximum.
Lemon and Blueberry Cheesecake Tarts
Ingredients
Equipment
Method
- Preheat oven to 200°C (400°F) fan-forced. Lay one sheet of Fillo Pastry on your bench, brush with melted butter, and sprinkle with sugar. Lay another sheet on top and repeat.
- Using your fingers, crinkle the layered pastry into a concertina (fan) design. Spiral the crinkled strip into a circular shape to create a tart base.
- Press and flatten the center of the pastry to create a cavity for the filling. Transfer to a parchment-lined baking tray. Repeat with remaining pastry.
- In a bowl, mix the room-temperature cream cheese with a spatula until smooth. Add the icing sugar, vanilla bean paste, and lemon zest, and mix until well combined.
- Place two tablespoons of the cheesecake mixture into each tart and top with fresh blueberries.
- Bake for 20 minutes or until the pastry turns a deep golden brown. Let cool before dusting with icing sugar to serve.
Notes
Keep Them Fresh! Storing Your Tarts
These delicate tarts are best enjoyed fresh, but here’s how to handle them.
- Storage: Unfortunately, the crisp filo pastry will begin to soften from the moisture of the cheesecake filling overnight. These tarts are truly best enjoyed within a few hours of being baked for the most incredible textural experience. If you do have leftovers, you can store them in an airtight container in the refrigerator for a day, but be aware the crust will no longer be crispy.
FAQs: Your Cheesecake Tart Questions, Answered!
Can I make these ahead of time for a party?
While the finished tarts are best served fresh, you can absolutely prep the components ahead! You can make the cheesecake filling and store it in an airtight container in the fridge for up to 3 days. Let it soften slightly at room temperature before filling the freshly made filo nests on the day of your party.
Can I use a different kind of fruit?
Yes! This would be beautiful with other berries like raspberries or chopped strawberries. A swirl of lemon curd on top of the cheesecake filling before adding the fruit would also be a delicious and tangy addition.
Can I make these in a muffin tin?
Yes, a standard muffin tin is a great way to help the tarts hold their shape even more uniformly. Just press the spiraled filo nests into the wells of a greased muffin tin before you add the filling and bake.
My filo dough is cracking and breaking. What am I doing wrong?
This is almost always because the dough has dried out. Make sure your filo is fully thawed, and always keep the sheets you aren’t actively working with covered by plastic wrap and a damp towel.
Final Thoughts: A Taste of Rustic Elegance
There is something so special about a dessert that looks like it came from a Parisian patisserie but was made with simple, accessible ingredients in your own kitchen. These Lemon and Blueberry Cheesecake Tarts are a true celebration of texture, flavor, and creative baking. They are a rewarding, impressive, and utterly delicious treat that I know will become a new star in your dessert repertoire. Happy baking!