The Most Magical Christmas Morning Breakfast: Fail-Proof Popovers!
Imagine a breakfast that looks like a culinary magic trick. You put a simple, liquid batter into the oven, and thirty-five minutes later, you pull out towering, golden-brown, airy masterpieces that have puffed up to three times their original size. That, my friends, is the spectacular joy of homemade Popovers. If you are looking for…
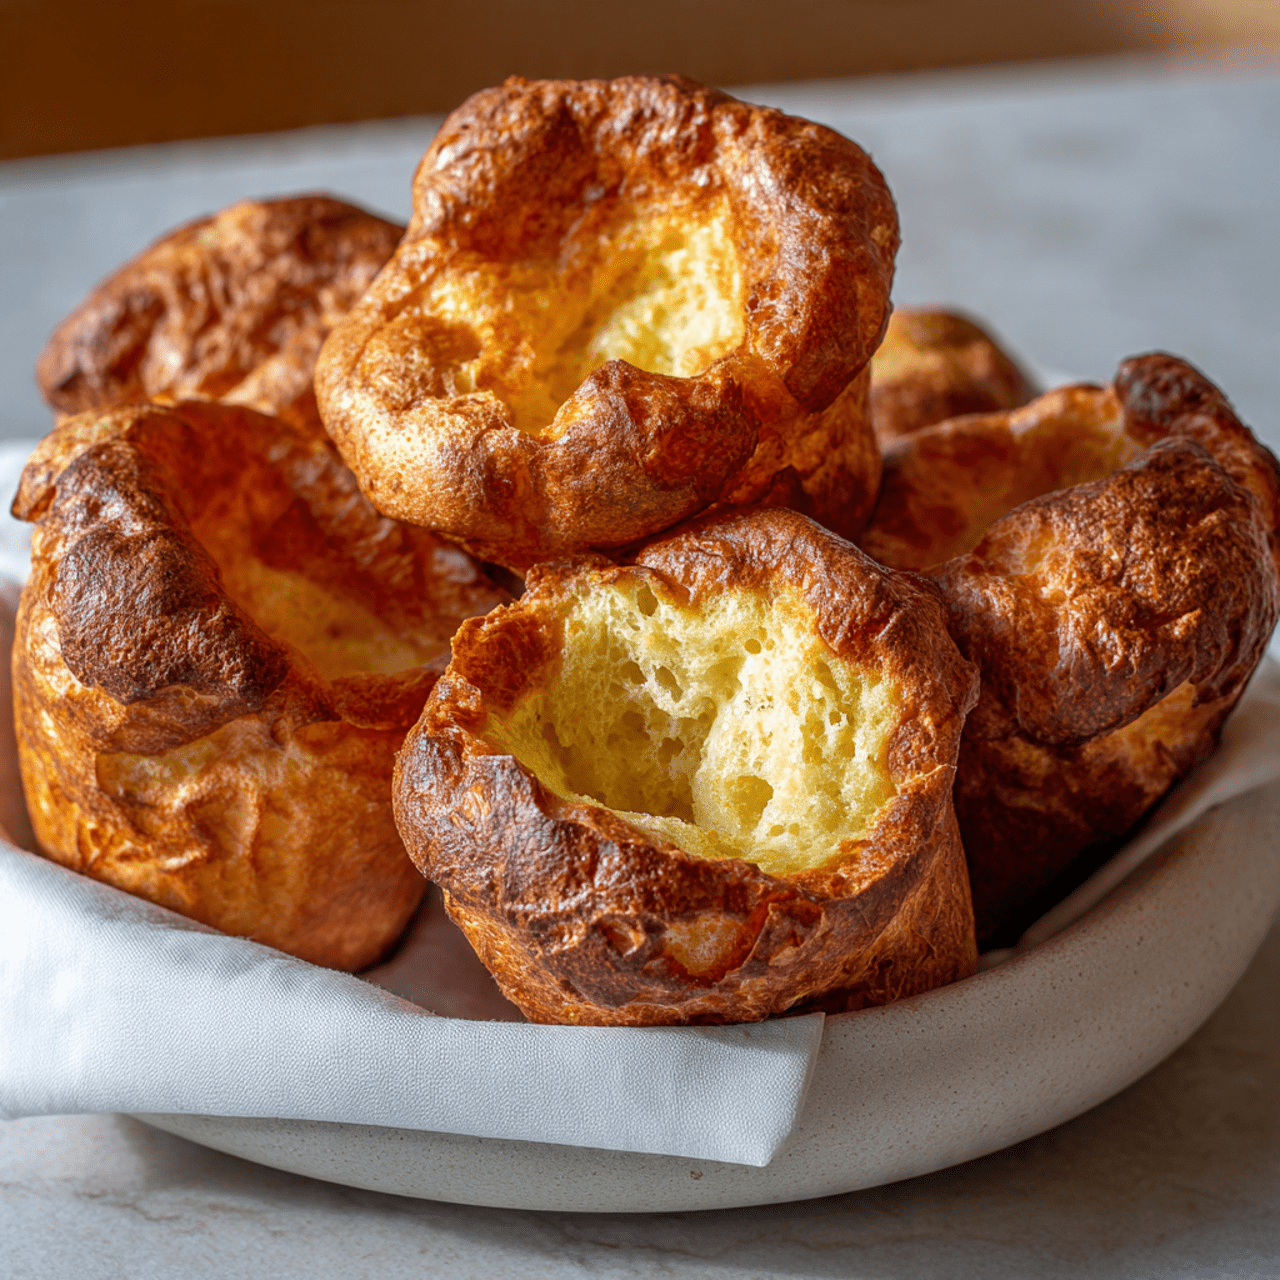
Imagine a breakfast that looks like a culinary magic trick. You put a simple, liquid batter into the oven, and thirty-five minutes later, you pull out towering, golden-brown, airy masterpieces that have puffed up to three times their original size. That, my friends, is the spectacular joy of homemade Popovers. If you are looking for the ultimate Christmas morning breakfast that delivers maximum “wow” factor with minimal effort, this is it.
I promise you, there is no greater satisfaction than watching your family tear into these warm, hollow shells. The outside is crisp and buttery, while the inside is tender, eggy, and steaming, just waiting to be slathered with jam, lemon curd, or maple syrup. It’s a breakfast that feels like a celebration, a warm hug, and a festive treat all rolled into one.
Get ready to create a breakfast that looks like it came from a French bakery but was whipped up in your pajamas. This is the recipe that will make your holiday morning unforgettable.

Why These Popovers Are the Perfect Holiday Breakfast!
You are going to be completely obsessed with how fun and easy these are to make. They are a Christmas morning hero for so many reasons:
- The Drama and the Height: Popovers are impressive! Their towering height and golden crust make them a beautiful, festive centerpiece for your breakfast table.
- Ready in 40 Minutes: With only 5 minutes of hands-on mixing time, you can whisk these up while the coffee brews and let the oven do the rest of the work while you open presents.
- Pantry Staple Ingredients: You don’t need anything fancy—just eggs, milk, flour, salt, and butter. You likely have everything you need in your kitchen right now.
- Versatile for Sweet or Savory: While they are divine with maple syrup and jam, they are just as good with herb butter or gravy, making them perfect for brunch or dinner too.
- Kid-Friendly Fun: Kids love watching these “explode” in the oven (through the window—no opening the door!), and they are perfectly sized for little hands.
Recipe Snapshot
| Prep Time | 5 minutes |
| Cook Time | 35 minutes |
| Total Time | 40 minutes |
| Servings | 12 popovers |
| Calories | ~120 kcal per popover |
| Course | Breakfast, Side Dish |
| Cuisine | American / British-Inspired |
| Difficulty/Method | Easy / Baking |
Your Shopping List for Airy Perfection
This recipe relies on the science of steam to rise, so using fresh ingredients is key.

→ For the Popovers
- Butter → You’ll need some for greasing the pan generously and some melted butter for the batter itself.
- Eggs → The structural backbone of the popover. They provide the protein that allows the steam to lift the batter high.
- Milk → Whole milk usually yields the best flavor and texture, but 2% works well too.
- All-purpose flour → Standard flour is perfect here.
- Salt → Essential for flavor; without it, popovers can taste quite bland.
- Toppings → Berry jam, orange marmalade, maple syrup, or lemon curd for serving.
Let’s Bake! Your Step-by-Step Guide
Ready to make some magic happen in your oven? Let’s get whisking!
Part 1: The Simple Batter
- Heat the Oven: Preheat your oven to 450°F. This high initial heat is crucial for creating the steam that makes the popovers rise.
- Grease the Pan: Generously coat the inside of a popover tin or a standard muffin tin with butter. Be thorough! You want them to slide right out. As the recipe suggests, this is a great job for little helpers with a paper towel.
- Whisk Wet Ingredients: In a medium bowl, combine the eggs and milk. Beat them very well with a whisk until they are fully combined and frothy.
- Add Dry Ingredients: Add the flour and salt to the egg mixture. Whisk vigorously until the batter is smooth and free of lumps. The consistency should be similar to heavy cream. Stir in the melted butter.

Part 2: The Bake (No Peeking!)
- Fill the Cups: Ladle the batter into the prepared tin, filling each cup about three-quarters full. You want to give them room to grow, but enough batter to build height.
- The High Heat Blast: Place the pan in the oven and bake at 450°F for 20 minutes. This blast of heat creates the steam that forces the batter upwards.
- The Lower Heat Finish: Without opening the oven door (this is critical!), reduce the heat to 375°F. Bake for another 15 minutes until the popovers are a deep, golden brown and crisp on the outside.
- Serve Immediately: Remove from the oven and serve piping hot. Break them open and slather with butter and your favorite toppings.
Classic Homemade Popovers
Ingredients
Equipment
Method
- Preheat oven to 450°F. Generously coat the inside and top rim of a popover tin (or muffin tin) with butter.
- In a medium bowl, combine the eggs and milk and beat well with a whisk until frothy.
- Add the flour and salt to the wet mixture. Whisk vigorously until the batter is smooth and free of lumps. Stir in the melted butter.
- Ladle the batter into the prepared tin, filling each cup about three-quarters full.
- Bake at 450°F for 20 minutes. Do not open the oven door!
- Reduce the oven temperature to 375°F (without opening the door) and bake for another 15 minutes, or until the popovers are deep golden-brown and crisp.
- Serve immediately while warm with butter, jam, or maple syrup.
Notes
WiseRecipes’ Top Tips for Sky-High Popovers
These are the professional secrets to ensuring your popovers rise to the occasion every time.
- Room Temperature Ingredients are Key. If you have time, let your eggs and milk sit on the counter for 30 minutes before you start. Warm batter creates steam faster than cold batter, resulting in a higher, more dramatic rise.
- Do NOT Open the Oven Door. I cannot stress this enough! Popovers rely entirely on steam pressure to hold their shape until the crust hardens. If you open the door to peek, the temperature drops, the steam escapes, and your beautiful popovers will collapse into sad pancakes.
- Use a Blender for Ultra-Smooth Batter. While a whisk works great, if you want a perfectly lump-free batter in seconds, toss the ingredients into a blender. It also incorporates extra air bubbles which helps with the rise.
- Grease the Top of the Pan Too. Don’t just grease the cups; grease the flat surface of the pan around the cups. As the popovers rise and mushroom over the top, this prevents the “muffin top” part from sticking to the pan.
- Poke a Hole to Keep Them Crisp. If you aren’t eating them the second they come out, poke a tiny slit in the side of each popover with a paring knife as soon as you take them out of the oven. This releases the steam trapped inside and prevents them from getting soggy as they cool.
Creative Twists: Make It Your Own!
Once you master the base recipe, you can add delicious flavors.
- Cheesy Herb Popovers: Add 1/2 cup of grated Gruyère or cheddar cheese and a tablespoon of fresh chives or thyme to the batter for a savory twist.
- Cinnamon Sugar: Add a teaspoon of cinnamon and a tablespoon of sugar to the batter. After baking, brush the tops with melted butter and roll them in cinnamon sugar for a churro-style treat.
- Lemon Poppy Seed: Add the zest of one lemon and a tablespoon of poppy seeds to the batter for a bright, zesty variation that pairs perfectly with blueberry jam.
Keep It Fresh! Storing Your Popovers
Popovers are truly best eaten immediately, but they can be saved!
- Storage: Store completely cooled popovers in an airtight container at room temperature for up to 2 days. Do not refrigerate them, as they will become chewy and stale.
- Reheating: To restore their crisp exterior, reheat the popovers in a 350°F oven for 5-8 minutes. This will crisp them back up beautifully. Microwaving will make them soft and rubbery, so stick to the oven!
- Freezing: You can freeze baked popovers in a freezer bag for up to 1 month. Reheat directly from frozen in a 350°F oven for about 10-12 minutes.
FAQs: Your Popover Questions, Answered!
Can I use a muffin tin if I don’t have a popover pan?
Yes, absolutely! A standard muffin tin works very well. The popovers won’t be quite as tall and dramatic as they would be in the deeper, steeper wells of a dedicated popover pan, but they will still be delicious, airy, and puffed. You may get a few more than 12 if your muffin cups are small.
Why did my popovers deflate?
Deflated popovers are usually caused by underbaking or opening the oven door too soon. If you take them out before the exterior structure is rigid enough to support the steam inside, they will collapse. Make sure they are deep golden brown before removing them.
Why is my batter lumpy?
If you add all the flour at once to the liquid, it can clump. Try adding the flour gradually while whisking, or use a blender to ensure a perfectly smooth consistency. Small lumps usually dissolve during baking, but large dry pockets of flour are not ideal.
Do I need to preheat the pan?
Some recipes call for preheating the pan, but this one works great starting with a cold, greased pan. However, if you want an extra boost, you can place the greased pan in the oven for 2-3 minutes while you finish the batter. The hot pan will help set the crust immediately upon contact.
Final Thoughts: A Holiday Breakfast to Remember
There is something so wonderfully simple yet spectacular about popovers. They feel like a special occasion, yet they ask so little of the cook. This Christmas morning, give yourself the gift of a stress-free, delicious breakfast that looks like a million bucks. I hope these golden, puffy treats bring a little extra magic and warmth to your holiday table. Merry Christmas and happy baking!