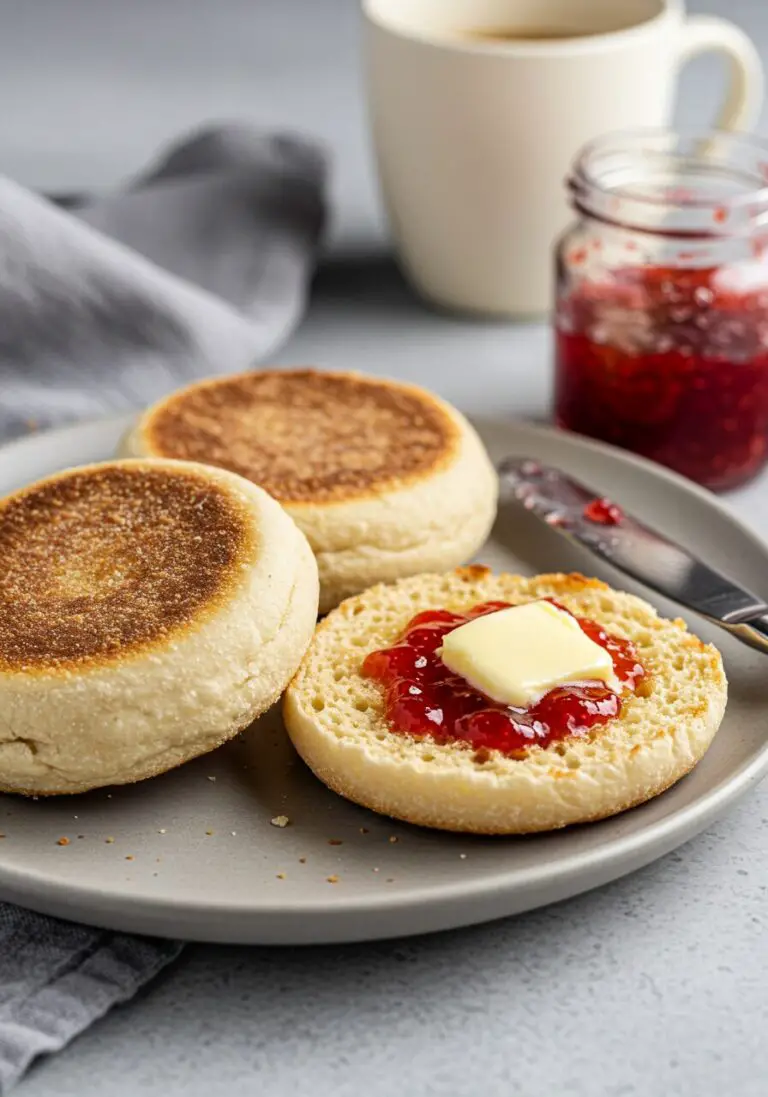
Melting Witches Bark
How I found the perfect Halloween showstopper The first time I made Melting Witches Bark, it was on a rainy October afternoon and I was trying to think of something theatrical yet simple enough to do with my niece. We had a messy kitchen, a playlist of spooky songs, and a pile of odd candies…
How I found the perfect Halloween showstopper
The first time I made Melting Witches Bark, it was on a rainy October afternoon and I was trying to think of something theatrical yet simple enough to do with my niece. We had a messy kitchen, a playlist of spooky songs, and a pile of odd candies in the pantry. If you want to see the original inspiration that nudged me toward this exact idea, I used a version I found years ago as a starting point and then made it my own by tinkering with colors and textures: my first version still makes me smile. By the time the oven timer dinged, the house smelled sweet and citrusy, and everyone agreed it was the best Halloween treat we’d ever made.
The little list of things you’ll want to gather
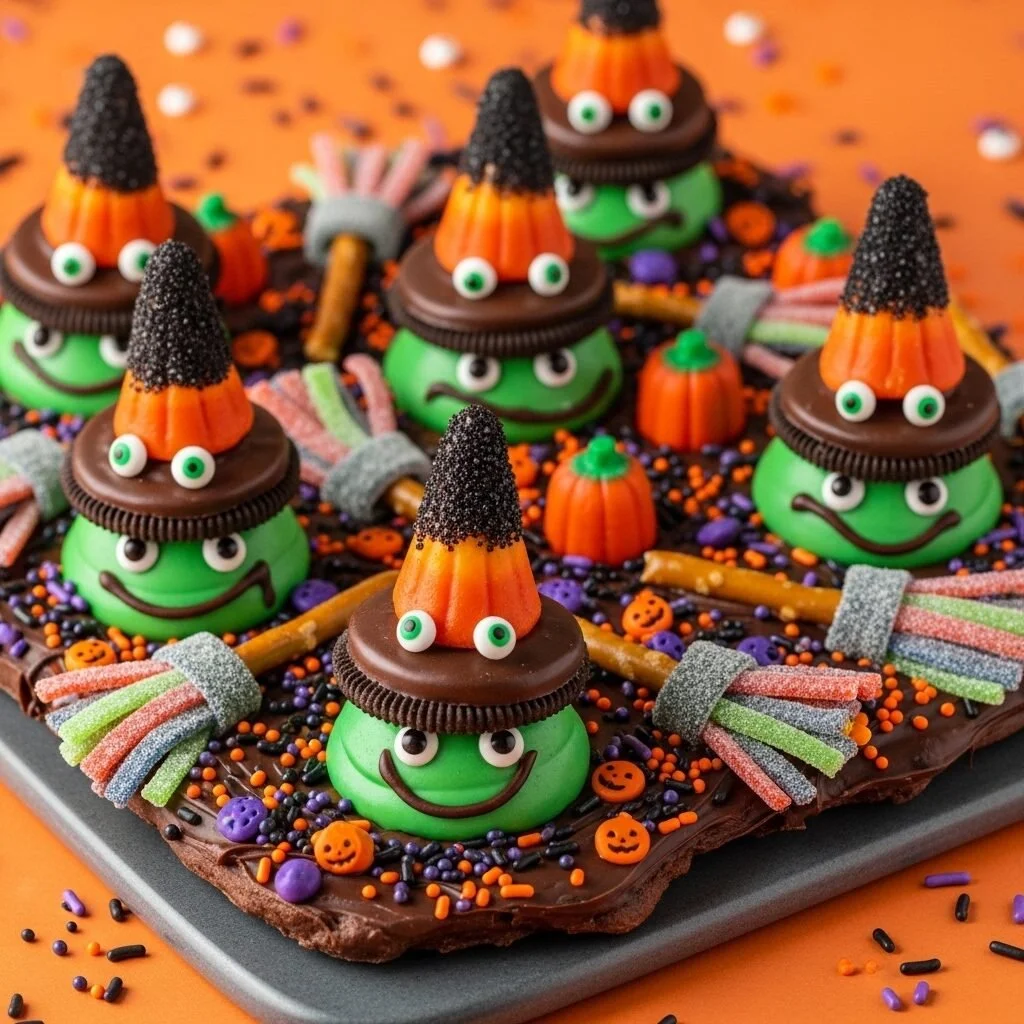
I always say the ingredients are half the fun because they’re so visual. For this you’ll want 8 (1-inch) strips sour candy belts, 8 pretzel sticks, 4 ounces orange candy melting wafers, 1 teaspoon refined coconut oil, 8 fudge-covered chocolate sandwich cookies, 8 cone-shaped corn snacks (such as Bugles), Coarse black sanding sugar (or regular sanding sugar), 8 ounces green candy melting wafers, 4 ounces black candy melting wafers, 12 ounces brown candy melting wafers, 16 candy eyeballs, Halloween sprinkles (for topping), and if you’re feeling extra festive, 8 mini candy pumpkins (optional). Having everything lined up on the counter makes the whole process feel like a craft session, not just baking.
Making brooms, hats, and that citrus-y glue
Before you do anything else, preheat the oven to 250°F (120°C). Line a baking sheet with silicone baking mat or parchment paper. That low temperature is my trick for getting the wafers to melt nicely without scorching.
I make the broomsticks first because they need to be set aside. Make the broomsticks: Cut sour candy belts into strips, wrap around pretzel sticks, and secure them to look like brooms. Set aside. It’s one of my favorite parts because the sour belts give a nice chew against the crunchy pretzel and kids love wrapping them. Next, melt orange candy wafers in an oven-safe ramekin until smooth, adding coconut oil. The teaspoon of refined coconut oil keeps the melted orange glossy and easier to brush; I learned that after a gooey, matte fail years ago. Assemble witch hats: Coat Bugles in melted orange wafers, sprinkle with sanding sugar, and place on fudge cookies. Press gently so they stay, but not so much that you squash the cookie.
A small tip: if your wafers seem thick, pop the ramekin back in the warmed oven for 30 seconds rather than adding more oil. It heats evenly and prevents the orange from getting too runny.
Green spooky sea of chocolate and the final spread
Once the hats and brooms are ready, prepare the spooky bark base: Arrange green and black wafers on the lined sheet, bake until melted, then spread with a spatula. I usually start with the 8 ounces green candy melting wafers in blobs and tuck in the 4 ounces black candy melting wafers here and there for marbling. Then add the 12 ounces brown candy melting wafers for the earthier chocolate tones; they create a witchy, forest feel. While the sheet is warm and still silky, work quickly. The bark oils will shine and the colors swirl into one another in the most satisfying way.
Decorate the bark while still warm with witch hats, candy eyeballs, pretzel broomsticks, and sprinkles. It’s crucial to place the little elements now so they sink slightly and adhere when the bark sets. If you wait until it hardens, things sit on top and fall off easily. Let set at room temperature until solid (about 1 hour). Break into pieces and serve. When it’s done right the pieces snap with a clean edge, the green layer has a glossy finish, and the little witch hats look like they’re perched on a haunted hill.
A few tricks, tiny variations, and what to do with leftovers
I always have a handful of tricks that save the day: first, work on a cool, dry counter because humidity can make the sanding sugar dissolve. Second, if you want shiny pieces, let the bark set at room temperature rather than in the fridge; chilling can cause a dull finish or small white streaks. Third, use tweezers or the dull end of a spoon when placing candy eyeballs so you don’t smudge the melted surface. Those are the three I lean on every time.
If you like experimenting, try a couple of variations. Swap the orange wafers for purple or neon green for a different hat color, add chopped nuts for crunch, or make a gluten-free version by using gluten-free pretzel sticks and skipping the fudge cookies. Another playful idea is to turn smaller pieces into party favors by bagging them in clear cellophane.
You can serve this with hot apple cider, strong coffee, or a creamy pumpkin spice latte to balance the sweetness. If you’re wondering about making it ahead, it keeps well for a few days: store in an airtight container at room temperature away from direct sunlight for up to a week. In warmer climates, I put it in the fridge in a single layer separated by parchment and let it come back to room temperature before serving to avoid condensation. If you want inspiration for other bark-style treats to alternate in your seasonal lineup, I always refer to a lighter winter-style idea like the apple crumble yogurt bark I made last year.
How do you know you nailed it? The right piece should have a firm snap, the decorations should be snug, and the melted wafers should have lost that wet sheen but remain glossy. If the surface blooms with white streaks, you likely had temperature shifts; it’s still tasty, just less pretty.
I have a memory of bringing this to a neighborhood Halloween potluck where someone mistook a whole sheet for decoration and tried to place it on a centerpiece. We laughed, and by the time I turned around there were only a few shards left—the telltale sign of a hit recipe. It’s easy to make with kids, slightly indulgent, and just odd enough to stand out on a cookie tray.
Conclusion
If you’d like a straight reference version or want to compare techniques, this recipe aligns closely with classic instructions and presentation seen in the Melting Witches Bark Recipe | Food Network Kitchen.
Melting Witches Bark
Ingredients
Method
- Preheat the oven to 250°F (120°C) and line a baking sheet with a silicone mat or parchment paper.
- Cut sour candy belts into strips and wrap around pretzel sticks to form broomsticks. Set aside.
- Melt the orange candy wafers in an oven-safe ramekin with refined coconut oil until smooth.
- Coat Bugles in the melted orange wafers, sprinkle with sanding sugar, and place on fudge cookies. Press gently.
- Arrange the green and black candy melting wafers on the lined sheet and bake until melted.
- Spread the melted wafers evenly with a spatula.
- Quickly decorate the bark with witch hats, candy eyeballs, and pretzel broomsticks while it's warm.
- Let the bark set at room temperature for about 1 hour until solid, then break into pieces.