The Ultimate Mini Chocolate Snowball Cakes (Hostess Copycat!)
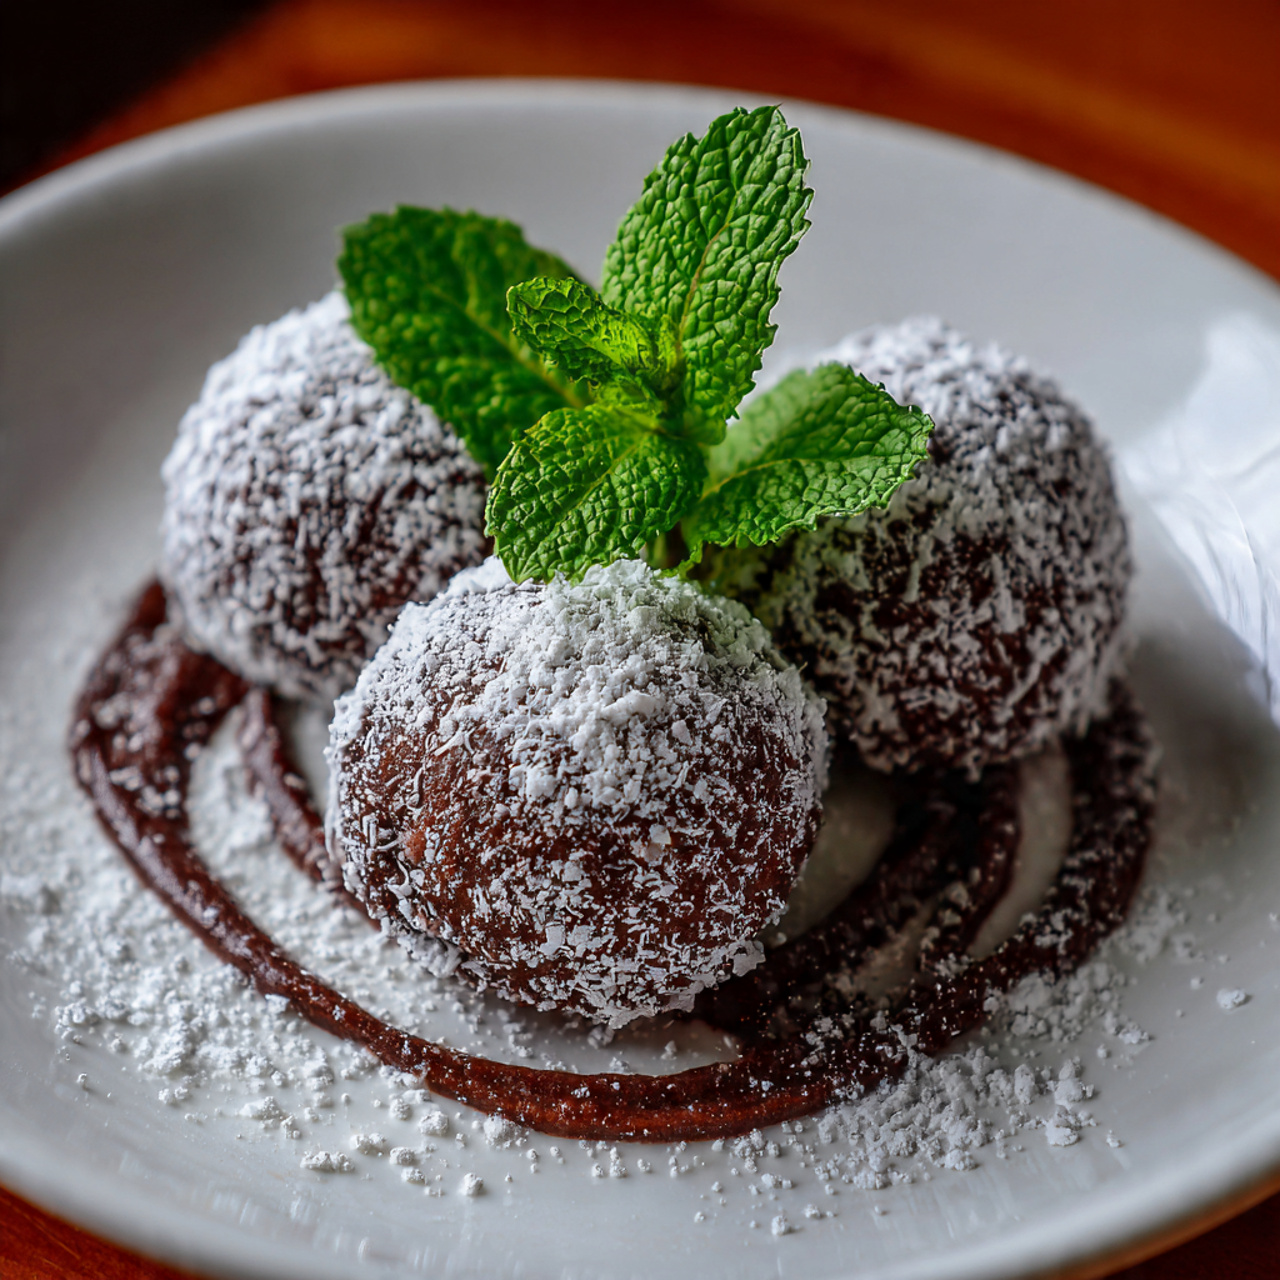
Imagine a soft, deeply chocolatey cake, filled with a light and fluffy cream, then enrobed in a snowy coating of sweet coconut. That, my friends, is the iconic, nostalgic magic of a classic Snowball Cake, and today, we’re making a homemade version that is a thousand times better. These are, without a doubt, the most…
Imagine a soft, deeply chocolatey cake, filled with a light and fluffy cream, then enrobed in a snowy coating of sweet coconut. That, my friends, is the iconic, nostalgic magic of a classic Snowball Cake, and today, we’re making a homemade version that is a thousand times better. These are, without a doubt, the most delightful and charming little cakes you will make this year.
I promise you, there is no greater joy than biting into one of these and discovering the perfect ratio of moist cake to creamy filling and sweet coconut. They are a true show-stopper for birthday parties, holiday dessert tables, or just because you deserve a wonderfully nostalgic treat. They are pure, unadulterated fun in cake form.
Get ready to recreate a beloved classic that will transport you right back to the best parts of childhood.

Why You’ll Absolutely Adore These Snowball Cakes!
You are going to be so proud of these stunning little cakes. They are a true labor of love that is as fun to make as it is to eat. Here’s why you have to try this recipe:
- A Taste of Pure Nostalgia: This recipe perfectly captures the magic of the classic Hostess Snowball cakes but with a richer, more delicious from-scratch flavor.
- Incredibly Moist Chocolate Cake: Thanks to buttermilk and a perfect blend of sugars, these little chocolate cakes are unbelievably tender, moist, and flavorful.
- Perfect Individual Portions: Each mini cake is a perfect, self-contained dessert, making them ideal for parties, bake sales, and elegant serving.
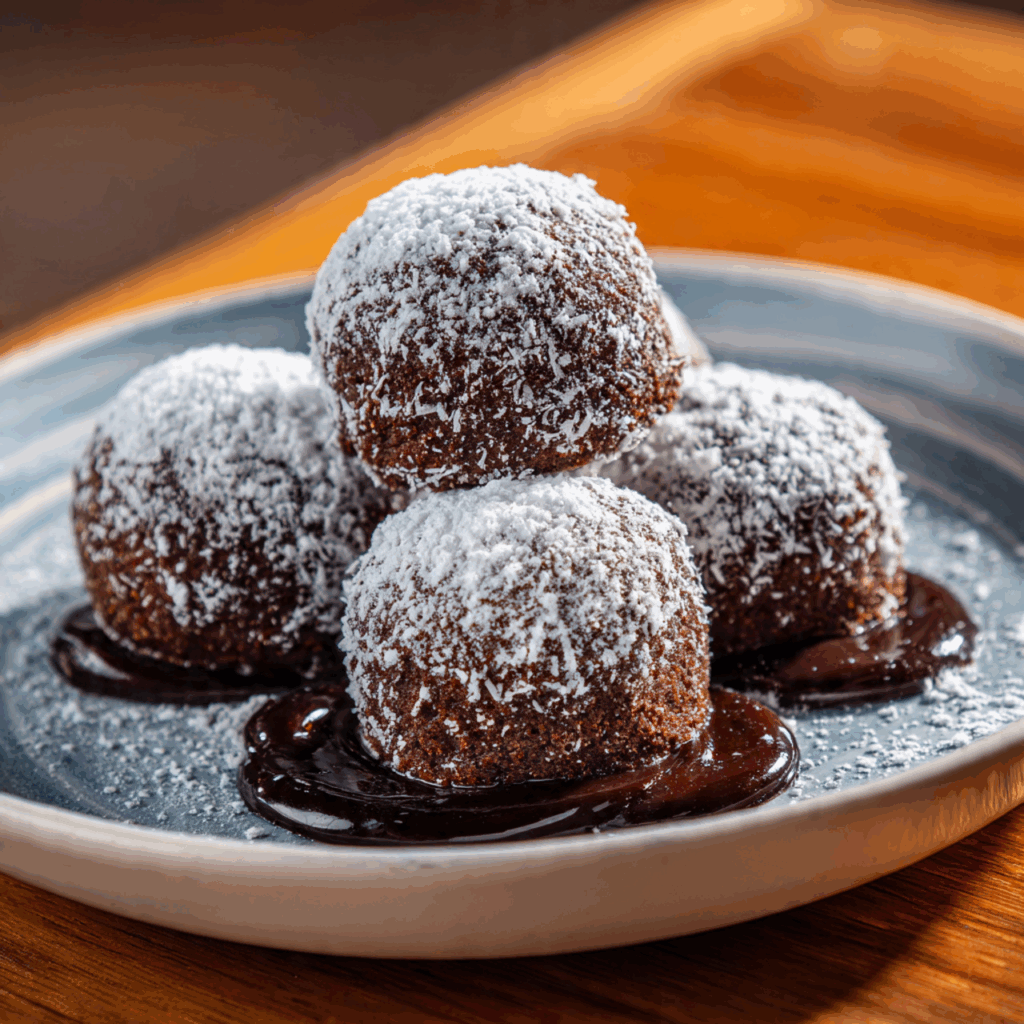
- Stunningly Beautiful Results: The contrast of the dark chocolate cake with the bright white filling and snowy coconut coating is simply beautiful. They look so impressive!
- Fun to Assemble: From scooping the batter to trimming the cakes and rolling them in coconut, this is a wonderfully fun and satisfying baking project.
Recipe Snapshot
| Prep Time | 30 minutes |
| Cook Time | 15 minutes |
| Cooling & Assembly | 30 minutes |
| Total Time | 1 hour 15 minutes |
| Servings | 8 mini cakes |
| Calories | ~673 kcal per cake |
| Course | Dessert |
| Cuisine | American |
| Difficulty/Method | Intermediate / Baking |
Your Shopping List for These Nostalgic Treats
This recipe uses classic baking staples to create its signature taste and texture.
→ For the Moist Chocolate Cakes
- ½ cup unsalted butter → Must be at room temperature to cream properly with the sugars.
- 1 cup light brown sugar & ½ cup granulated sugar → This combination provides moisture, flavor, and the perfect sweetness.
- 2 large eggs → The binder for our cakes.
- 1½ teaspoons pure vanilla extract → Enhances the rich chocolate flavor.
- 2¾ cups all-purpose flour → Provides the structure for our tender cakes.
- ½ cup unsweetened cocoa powder → Use a good quality one for the best deep chocolate flavor.
- 1¼ teaspoons baking soda → Our leavening agent for a nice lift.
- ¾ teaspoon salt → Balances all the sweetness.
- ½ cup buttermilk & ½ cup warm water → The secret duo for an incredibly moist and tender crumb.
→ For the Finishing Touches
- 3 cups shredded coconut → Sweetened or unsweetened works, depending on your preference.
- 2⅔ cups whipped topping or whipped cream → For the light, fluffy filling and coating.
Let’s Bake Cakes! Your Step-by-Step Guide
Ready to create these adorable snowballs? Let’s break it down into simple, manageable steps.
Part 1: The Rich Chocolate Cakes
- Preheat and Prep: Preheat your oven to 350°F. Line two baking sheets with parchment paper.
- Cream Butter and Sugars: In the bowl of an electric mixer fitted with the paddle attachment, cream the room temperature butter with both the brown sugar and granulated sugar. Beat on medium-high speed for 4-5 minutes until the mixture is very light and fluffy.
- Add Eggs and Vanilla: Add the eggs one at a time, scraping down the side of the bowl well after each addition. Mix in the vanilla extract.
- Combine Dry Ingredients: In a separate medium bowl, whisk together the flour, cocoa powder, baking soda, and salt.
- Alternate Wet and Dry: With the mixer on low speed, add about half of the flour mixture to the butter mixture. Once it’s just combined, slowly stream in the buttermilk and warm water. Finally, add the remaining flour mixture and mix just until no dry streaks remain. Do not overmix!
- Scoop and Bake: Use a medium ice cream scoop to portion 16 even mounds of batter onto your prepared baking sheets. Stagger them and leave at least 2 inches of space between each one, as they will spread.
- Bake!: Bake for 12 to 15 minutes, or until a toothpick inserted into the center of a cake comes out clean. Let them cool completely on the baking sheets.

Part 2: Assemble the Snowballs
- Trim the Cakes: For a professional, uniform look, trim the uneven edges from the cakes. You can do this by pressing a 3-inch round cookie cutter or the rim of a large glass into the center of each cake. You will now have 16 perfect, flat-topped chocolate circles.
- Prep the Coconut: Spread the shredded coconut into an even layer on a large plate or a clean baking sheet.
- Build the Cakes: Take one cake circle and scoop a generous ⅓ cup of whipped topping onto its flat side. Place another cake circle on top, flat side down, and press gently until the filling starts to ooze out the sides.
- Frost the Outside: Use a small offset spatula to spread this excess filling all over the sides and top of the mini cake, creating a thin, even layer for the coconut to stick to. Repeat with the remaining 7 cakes.
- Roll in Coconut: Gently pick up each frosted cake and roll it in the shredded coconut, pressing lightly to ensure it’s coated completely on all sides.
- Chill and Serve: Place the finished snowball cakes on a platter and refrigerate until you’re ready to serve.
Mini Chocolate Snowball Cakes
Ingredients
Equipment
Method
- Preheat the oven to 350°F. Line two baking sheets with parchment paper.
- In a large bowl, cream the butter with the brown sugar and granulated sugar until light and fluffy, 4 to 5 minutes.
- Add the eggs one at a time, scraping the bowl after each addition. Mix in the vanilla extract.
- In a medium bowl, whisk the flour, cocoa powder, baking soda and salt. Add half of the flour mixture to the mixer on low speed.
- Gradually add the buttermilk and water, then add the remaining flour mixture. Mix just until combined.
- Scoop the batter into 16 even mounds on the prepared baking sheets, leaving at least 2 inches of space between them.
- Bake for 12 to 15 minutes, or until a toothpick inserted into the center comes out clean. Cool completely.
- Trim the cooled cakes into 16 perfect circles using a 3-inch round cookie cutter. Spread the coconut on a large plate.
- Scoop ⅓ cup whipped topping onto the flat side of one cake circle and top with another cake circle. Press down gently.
- Use a spatula to spread the excess filling all over the sides and top of the mini cake. Repeat for all 8 cakes.
- Roll the cakes in the shredded coconut to coat completely. Refrigerate until ready to serve.
Notes
WiseRecipes’ Top Tips for Perfect Snowball Cakes
These are the little secrets that make this recipe foolproof and yield bakery-quality results.
- Cream the Butter and Sugar Properly. Don’t rush this first step! Beating the butter and sugars for a full 4-5 minutes whips air into the mixture, which is the foundation for a light and tender cake crumb.
- Use Room Temperature Ingredients. For a smooth, well-emulsified batter, ensure your butter, eggs, and buttermilk are all at room temperature. This helps all the ingredients combine evenly.
- Don’t Overmix the Flour. Once you start adding the flour, mix on the lowest speed and only until it’s just combined. Overmixing develops gluten, which can lead to tough, dense cakes instead of soft, tender ones.
- A Cookie Scoop is Essential. For perfectly uniform cakes that will stack neatly, using an ice cream or cookie scoop to portion the batter is a must. This ensures all your mounds are the same size and bake evenly.
- Trimming is the Pro Secret. Don’t skip the step of trimming the baked cakes with a round cutter! This creates flat, even surfaces for stacking and gives your mini cakes that clean, professional look. (Bonus: you get to eat the delicious scraps!)
Keep Them Fresh! Storing Your Snowball Cakes
These cakes are a great make-ahead treat and store beautifully.
- Refrigerator: The finished snowball cakes must be stored in an airtight container in the refrigerator. The flavors will actually meld and get even better on day two! They will stay fresh and delicious for up to a week.
- Freezing: You can freeze the unfrosted, trimmed cake circles. Stack them with parchment paper in between and store them in a freezer-safe bag or container for up to 3 months. Thaw at room temperature before assembling.
FAQs: Your Snowball Cake Questions, Answered!
Can I make these into a single large cake?
You could, but the magic of this recipe is really in the individual “snowball” format. If you wanted to, you could bake the batter in two 8-inch round cake pans, then assemble it as a layer cake, filling and frosting it with the whipped topping and pressing coconut onto the sides.
Do I have to use buttermilk?
Buttermilk provides incredible moisture and a slight tang that really complements the chocolate. If you don’t have any, you can make a quick substitute! Just add ½ tablespoon of lemon juice or white vinegar to a measuring cup, then fill it to the ½ cup line with regular milk. Let it sit for 5 minutes before using.
Can I use homemade whipped cream instead of whipped topping?
Yes, but you will need to stabilize it so it holds up between the layers. For a homemade substitute, whip 2 cups of very cold heavy cream with ½ cup of powdered sugar and 1 teaspoon of vanilla until stiff peaks form. Stabilized whipped cream is a sturdier option for filling and frosting.
My cakes came out dry. What went wrong?
Dry chocolate cake is usually the result of one of two things: overmixing the batter after adding the flour, or overbaking. Mix the flour on the lowest speed and only until it disappears. Start checking the cakes for doneness at the 12-minute mark—they’re ready as soon as a toothpick comes out clean.
Final Thoughts: A Sweet Trip Down Memory Lane
There is something so wonderful about recreating a beloved treat from scratch and discovering it’s even more delicious than you remembered. These Mini Chocolate Snowball Cakes are a joyful baking project that results in a truly special dessert. I hope they bring a little bit of sweet, nostalgic fun to your kitchen. Happy baking!