Monster Popcorn Balls
How I First Met Monster Popcorn Balls The first time I made Monster Popcorn Balls it was a rainy October afternoon and my niece was on a sugar-high mission. We were digging through the pantry when I remembered a goofy photo of gooey green popcorn monsters I had saved ages ago. I even looked up…
How I First Met Monster Popcorn Balls
The first time I made Monster Popcorn Balls it was a rainy October afternoon and my niece was on a sugar-high mission. We were digging through the pantry when I remembered a goofy photo of gooey green popcorn monsters I had saved ages ago. I even looked up a version online, but I ended up improvising from memory and a couple of pantry staples. If you want a different take later, there’s a tidy version I checked against here: a monster popcorn balls inspiration. What followed was sugar-scented chaos, sticky fingers, and a cookie-tray full of monsters that grinned back at us with plastic vampire fangs.
The Ingredients That Make the Magic
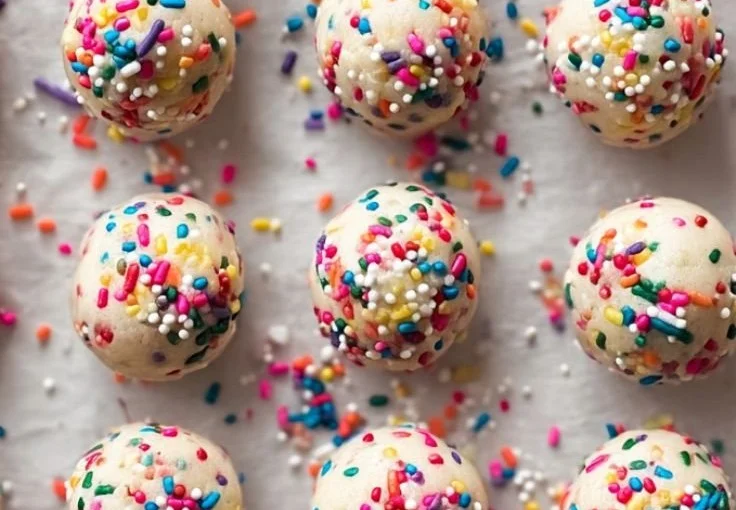
This recipe is charming because it reads like candy and comfort all at once. You only need 10 oz mini marshmallows, 1 tbsp butter, and 1 tsp vanilla extract as your marshmallow base, plus green food coloring to get that perfect spooky hue. For the body you want 6 cups popped popcorn, and for the faces and menace, grab 6 sets of plastic vampire fangs, candy eyeballs, and some sour belts or fruit roll-ups to tuck in as tongues. Simple things, but they sing together: the marshmallows give shine and chew, the butter and vanilla give warmth and aroma, and the popcorn keeps everything light and crackly.
Stirring, Shaping, and the Marshmallow Moment
There is a particular sound I love: marshmallows settling into buttery liquid with a gentle hiss when they hit the warm pot. You want to be patient here. 1. In a large pot or double boiler over medium-low heat, melt the mini marshmallows, butter, and vanilla extract until smooth., stirring constantly so nothing scorches. Once those marshmallows are glossy and silky, 2. Remove from heat and stir in green food coloring until you reach your desired color., starting with a drop or two and increasing until the green looks monster-worthy.
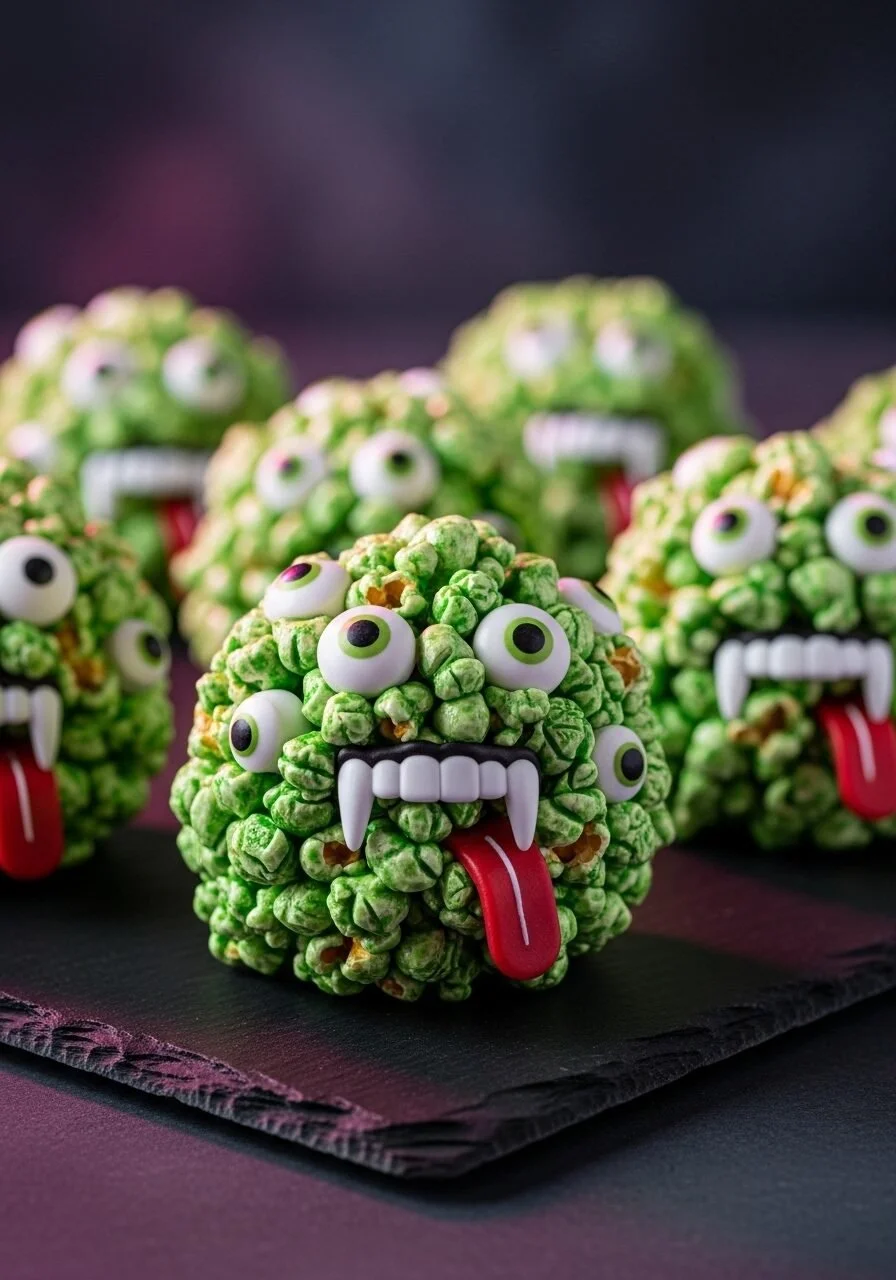
Now for the messy, happiest part. 3. Pour the green marshmallow mixture over the popped popcorn in a large bowl and mix with a greased spatula until evenly coated., and that smell of vanilla-tinted sugar will make anyone in the room nostalgic. The key trick here is to grease the spatula and your hands lightly with butter so the marshmallow mixture does not cling like chewing gum. After mixing, let the bowl cool just enough that you can handle it. 4. Once cool enough to handle, use greased hands to form 6 equally-sized, firm balls. Press a deep well into the center of each ball., which makes space for the dramatic fangs without the ball falling apart.
Once shaped, chill them briefly. 5. Refrigerate the popcorn balls for 15-20 minutes until firm., which firms the exterior and gives you a nice, clean surface to decorate. Finally, the moment the kids love: 6. Press a set of plastic vampire fangs into the well of each ball. Use a dab of frosting or leftover marshmallow mixture to ‘glue’ on candy eyeballs. Tuck a piece of a sour belt into the fangs for a tongue. The sticky leftover marshmallow is perfect for little glue dots.
A Few Tricks I Swear By
I learned a handful of small things that make the whole process less sticky and far more fun. One, always melt the marshmallows over medium-low heat or use a double boiler to prevent burning. Two, keep everything lightly greased; it saves you from wrestling with marshmallow strings. Three, when forming balls, press firmly but not so much that you crush the popcorn and end up with dense bricks. You want them compact and firm yet still airy, the way they crack on the first bite. If the mixture is too hot and gooey, pop the bowl in the fridge for a few minutes before shaping. That cool-down also makes the color steadier so the green stays vivid.
You will know it is done right when the balls hold their shape without crumbling and are not so tacky that they stick to your fingers. They should have a glossy surface with little popcorn peeking through, a satisfying crunch when you bite in, and the vanilla and butter aroma should come forward before the sugar hits you. If they feel too soft after chilling, a few more minutes in the fridge will firm them up. For parties, I make them a little sturdier so kids can carry one without disaster.
Variations I Play With
This is where I get mischievous. Sometimes I swap half the popcorn for caramel corn to make a sweet-and-sour monster. Other times I sprinkle in a handful of chopped pretzels for salt contrast. If you want something a touch more grown-up, I have adapted the idea using protein-friendly mix-ins inspired by other snacks, like the monster cookie protein balls I read about, swapping in oats and a nut butter drizzle to stretch the snack further. For color, try neon lime for a bright Frankenstein vibe or teal for a more whimsical creature.
What to Serve, How to Store, and a Memory
These are best served fresh the same day if you want them extra tacky and soft, but they do keep. I usually tell people they are great with a big mug of hot cocoa or a plate of sliced apples. If you need to make them ahead, shape them, chill until firm, and store in an airtight container layered with parchment so they do not stick together. They will keep in the refrigerator for about three days, and at room temperature for one day if your kitchen is cool. I once made a batch the night before a Halloween party and brought them out chilled; they were still perfectly chewy and the fangs stayed put.
A favorite memory: my niece, proud as anything, named each monster and declared one "Sir Chews-a-Lot" because it made that big crunchy sound when you bit it. We played a game guessing whose tongue was the sourest, laughing as the sour belts curled out of plastic vampire teeth. That is why I love this recipe. It is fast, theatrical, and invites play.
Conclusion
If you want to compare versions or pick up extra decorating ideas, I often look at other takes to spark inspiration, like the playful approach found on Sprinkle Bakes Monster Popcorn Balls. Give it a try the next time you want something spooky, shareable, and impossible to resist.

Monster Popcorn Balls
Ingredients
Method
- In a large pot or double boiler over medium-low heat, melt the mini marshmallows, butter, and vanilla extract until smooth, stirring constantly so nothing scorches.
- Remove from heat and stir in green food coloring until you reach your desired color.
- Pour the green marshmallow mixture over the popped popcorn in a large bowl and mix with a greased spatula until evenly coated.
- Let the bowl cool just enough that you can handle it.
- Use greased hands to form 6 equally-sized, firm balls and press a deep well into the center of each ball.
- Refrigerate the popcorn balls for 15-20 minutes until firm.
- Press a set of plastic vampire fangs into the well of each ball.
- Use a dab of frosting or leftover marshmallow mixture to 'glue' on candy eyeballs.
- Tuck a piece of a sour belt into the fangs for a tongue.