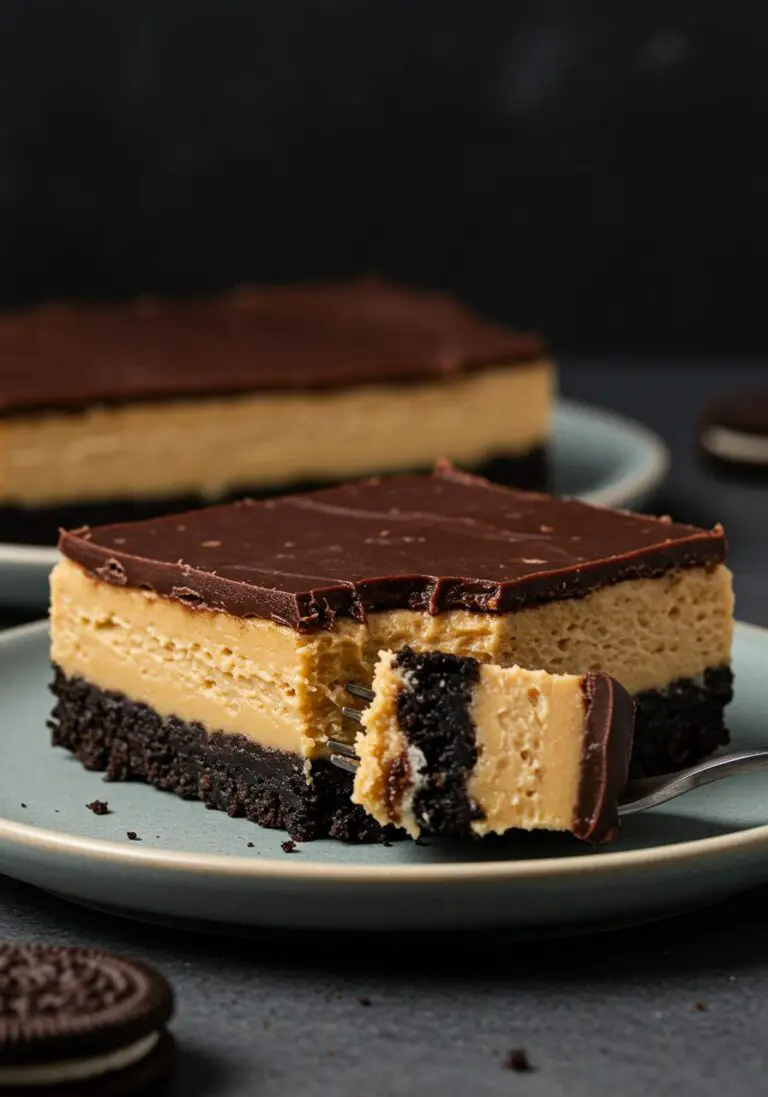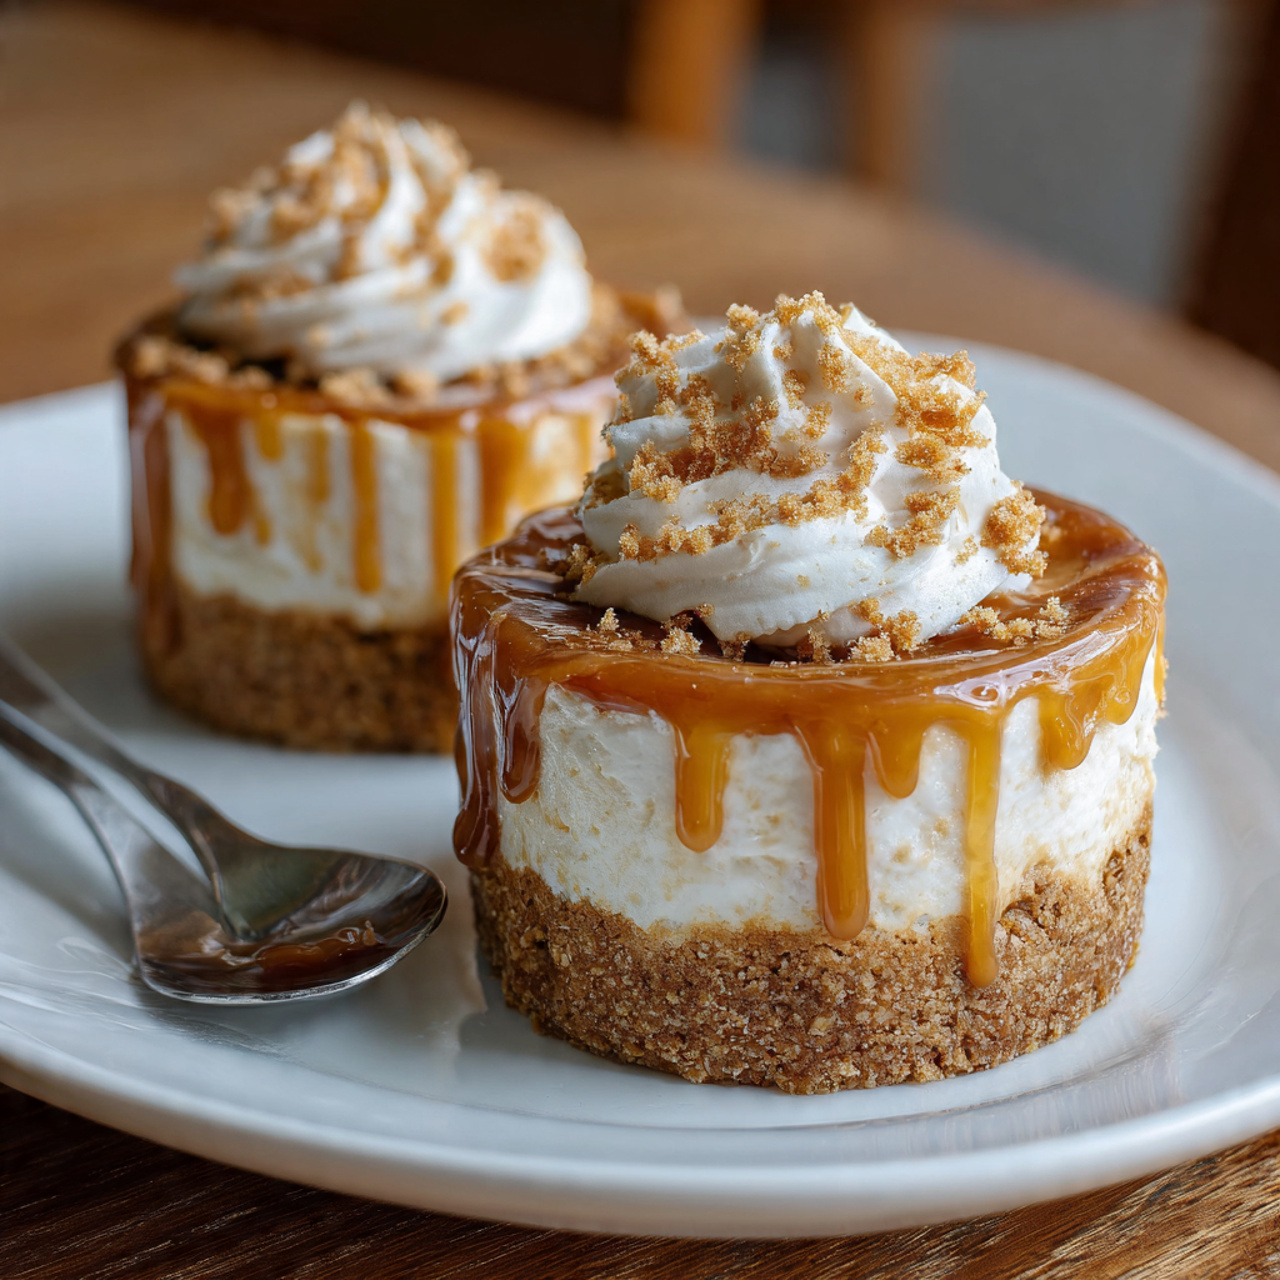
The Ultimate No-Bake Biscoff Cheesecakes (So Creamy!)
Imagine a dessert that requires no oven, comes together in minutes, and tastes like a luxurious, decadent treat from a fancy cafe. That, my friends, is the pure, unadulterated magic of these No-Bake Biscoff Cheesecakes. We’re talking about a buttery, spiced-cookie crust topped with a ridiculously creamy, cloud-like filling that’s bursting with the warm caramel…
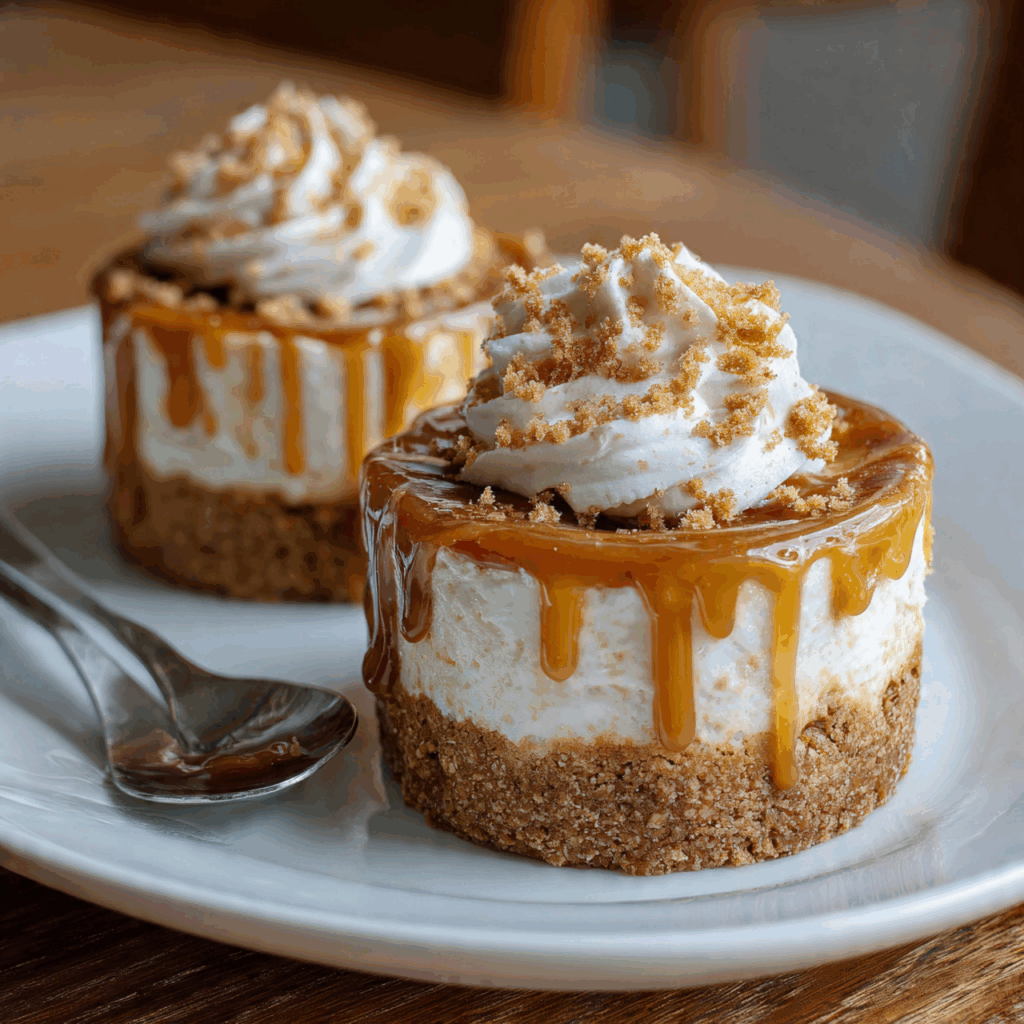
Imagine a dessert that requires no oven, comes together in minutes, and tastes like a luxurious, decadent treat from a fancy cafe. That, my friends, is the pure, unadulterated magic of these No-Bake Biscoff Cheesecakes. We’re talking about a buttery, spiced-cookie crust topped with a ridiculously creamy, cloud-like filling that’s bursting with the warm caramel and cinnamon flavor of Biscoff spread.
I promise you, there is no greater feeling than serving these elegant individual cheesecakes and watching your guests’ eyes widen with that first creamy, crunchy bite. The smooth, tangy cheesecake filling perfectly balances the sweet, spiced Biscoff, creating a dessert that is sophisticated yet ridiculously easy to make. They are a true game-changer for dinner parties, special occasions, or just a Tuesday night treat.
Get ready to fall in love with your new favorite no-bake dessert. This is a recipe that proves you don’t need an oven to create a masterpiece.
Why You Will Be Obsessed With These Cheesecakes!
You are going to be amazed at how something so simple can taste so incredibly luxurious. This recipe is a keeper for so many reasons:
- Absolutely No Baking Required: Keep your kitchen cool! This entire dessert comes together without ever turning on the oven, making it perfect for any time of year.
- Ready in 20 Minutes (Plus Chilling!): The hands-on prep time is incredibly fast. Whip it up in the morning or the day before and let the refrigerator do all the hard work.
- Insanely Creamy & Flavorful: The combination of tangy cream cheese and rich, spiced Biscoff spread creates a smooth, velvety filling with a flavor that is simply unforgettable.
- Perfectly Portioned Individual Servings: Serving these in individual dishes not only looks elegant and professional but also makes serving a breeze. No slicing required!
- The Ultimate Make-Ahead Dessert: These cheesecakes need to chill to set up perfectly, making them the ideal stress-free dessert to prepare in advance for parties or gatherings.
Recipe Snapshot
| Prep Time | 20 minutes |
| Cook Time | 0 minutes |
| Chilling Time | 2 hours |
| Total Time | 2 hours 20 minutes |
| Servings | 6 (6-ounce) servings |
| Calories | 440 kcal per serving |
| Course | Dessert |
| Cuisine | American |
| Difficulty/Method | Easy / No-Bake |
Your Shopping List for Biscoff Bliss
This recipe uses just a handful of simple ingredients to create its signature flavor. Let’s get what you need!
→ For the Buttery Biscoff Crust
- 12 Biscoff cookies → Crushed into fine crumbs. This forms our crunchy, flavorful base.
- 2 tablespoons unsalted butter → Melted, to bind the cookie crumbs together.
→ For the Creamy Biscoff Filling
- 8 ounces cream cheese → It MUST be softened to room temperature for a smooth, lump-free filling.
- ⅔ cup Biscoff Spread → The star of the show! This creamy, spiced spread is pure magic.
- 1 teaspoon pure vanilla extract → Enhances the warm flavors of the filling.
- 8 ounces frozen whipped topping → Thawed completely. This is the secret to the light, airy, cloud-like texture.
→ For the Optional Garnish
- Whipped topping → A little extra for a pretty swirl on top.
- Biscoff cookie crumbs → A final sprinkle for that professional touch.
Let’s Make Cheesecakes! Your Step-by-Step Guide
Ready for the easiest dessert you’ll make all year? Let’s whip these up. It’s so simple!
Part 1: The Buttery Biscoff Crust
- Mix the Crumbs: In a medium bowl, stir together the finely crushed Biscoff cookie crumbs and the melted butter until the mixture resembles wet sand.
- Press the Crust: Evenly divide the crumb mixture between your 6 individual serving dishes. Use the back of a spoon or your fingertips to press the crumbs down firmly to form a compact crust layer.
Part 2: The Creamy Biscoff Filling
- Beat the Base: In a large bowl, using an electric mixer, beat the softened cream cheese and Biscoff Spread on medium-high speed. Keep beating for about 3 minutes, scraping down the sides of the bowl as needed, until the mixture is completely smooth, creamy, and free of lumps.
- Add the Vanilla: Add the vanilla extract and mix briefly to combine.
- Fold in the Fluff: Switch to a rubber spatula and gently fold in the thawed whipped topping. Use gentle, sweeping motions to fold until everything is well blended and no white streaks remain. Be careful not to overmix and deflate the mixture!
Part 3: Assemble, Chill, and Garnish
- Fill the Dishes: Evenly spoon or pipe the creamy filling into the individual serving dishes, right on top of the crusts. Using a piping bag (or a zip-top bag with the corner snipped off) gives the cleanest results.
- Chill Out!: Cover each dish with plastic wrap and place them in the refrigerator to chill for at least 2 hours. This step is crucial for the cheesecake to set properly.
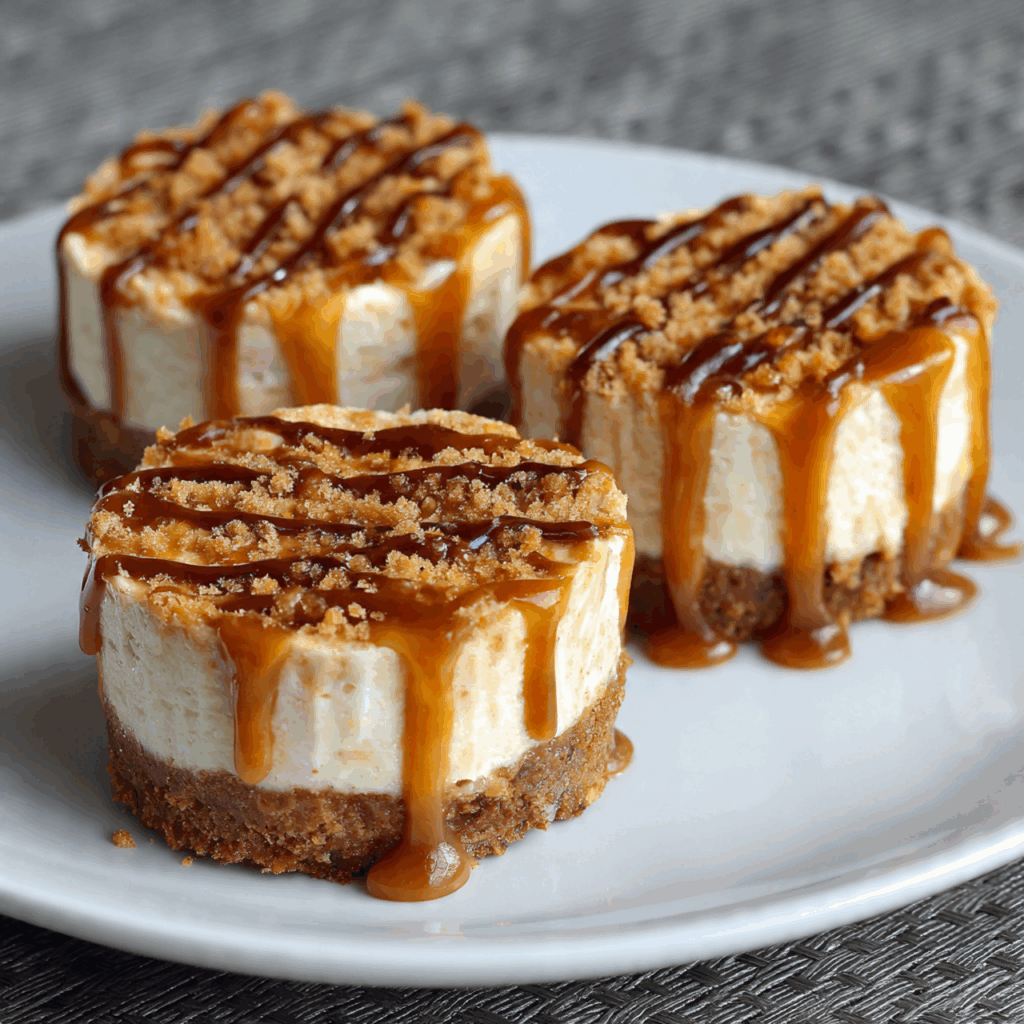
- Garnish and Serve: Just before serving, if desired, top each cheesecake with a dollop of additional whipped topping and a sprinkle of Biscoff cookie crumbs.

No-Bake Biscoff Cheesecakes
Ingredients
Equipment
Method
- In a medium bowl, stir together the Biscoff cookie crumbs and melted butter until combined.
- Evenly divide the crumbs between your individual serving dishes and press firmly into the bottoms to form a crust layer.
- In a large bowl with an electric mixer, beat the softened cream cheese and Biscoff Spread on medium-high speed until smooth and creamy, about 3 minutes.
- Add vanilla extract and mix to combine.
- Using a rubber spatula, gently fold in the thawed whipped topping until well blended and no streaks remain.
- Evenly pipe or spoon the filling into the individual serving dishes over the crust.
- Cover with plastic wrap and refrigerate for at least 2 hours before serving to allow the cheesecakes to set.
- If desired, garnish with additional whipped topping and Biscoff cookie crumbs just before serving.
Notes
WiseRecipes’ Top Tips for Cheesecake Perfection
These simple secrets will guarantee your no-bake cheesecakes are flawless every single time.
- Room Temperature Cream Cheese is Non-Negotiable. I cannot stress this enough. If your cream cheese is even slightly cool, it will not blend smoothly, and you will end up with a lumpy filling. Set it on the counter for at least an hour before you begin.
- Use a Mixer for the Cream Cheese. To get that ultra-smooth, velvety texture, you really need an electric mixer to beat the cream cheese and Biscoff spread. Doing this by hand makes it very difficult to eliminate all the lumps.
- Fold, Don’t Stir, the Whipped Topping. The whipped topping is what gives the cheesecake its light, airy texture. If you stir or beat it in aggressively, you’ll knock all the air out. Use a spatula and gentle folding motions until it’s just combined.
- Pipe the Filling for a Pro Look. For clean, beautiful layers, spoon the filling into a large piping bag or a zip-top bag and snip off the corner. This allows you to fill the dishes neatly without smudging the sides of the glass.
- Do NOT Skip the Chilling Time. This is what sets the cheesecake. The 2-hour chill time is the minimum required for the filling to firm up into a proper cheesecake texture. If you can let it chill for 4 hours or even overnight, it will be even better!
Keep Them Fresh! Storing Your Mini Cheesecakes
These little desserts store beautifully, making them a perfect make-ahead treat.
- Refrigerator: Store the cheesecakes covered with plastic wrap in the refrigerator. They will stay fresh and delicious for up to 3 days. The crust may soften slightly over time, but they will still be incredible.
- Freezing: I do not recommend freezing these cheesecakes. The texture of the no-bake cream cheese filling can become grainy and separate upon thawing. They are best enjoyed fresh from the fridge.
FAQs: Your Biscoff Cheesecake Questions, Answered!
Can I make this in one large pie dish instead of individual dishes?
Absolutely! You can press the crust into the bottom of a standard 9-inch pie dish and spread the filling over the top. Just be sure to chill it for at least 4-6 hours (or preferably overnight) to ensure it’s firm enough to slice cleanly.
My cheesecake filling is lumpy. What did I do wrong?
Lumps in the filling are almost always caused by using cream cheese that is too cold. It needs to be fully softened to room temperature to blend smoothly with the other ingredients. Make sure you beat the cream cheese and Biscoff spread together until they are perfectly smooth before folding in the whipped topping.
Can I use homemade whipped cream instead of frozen whipped topping?
You can, but the texture will be slightly different. Frozen whipped topping contains stabilizers that help the cheesecake set up very firmly. If using homemade whipped cream, whip 1 cup of heavy cream with 1/4 cup of powdered sugar until stiff peaks form, and be sure to chill the finished cheesecakes for at least 4-6 hours to ensure they set properly.
What exactly is Biscoff Spread?
Biscoff Spread (also known as cookie butter) is a creamy, spreadable paste made from crushed Lotus Biscoff cookies. It has a unique deep caramel, cinnamon, and spiced flavor that is absolutely irresistible. You can typically find it in the peanut butter aisle of most major grocery stores.
Final Thoughts: Your Sweetest No-Bake Victory
There is no feeling quite like creating a stunning, elegant dessert with such minimal effort. These No-Bake Biscoff Cheesecakes are a true testament to the magic of simple ingredients. They are the perfect, stress-free dessert for any occasion, guaranteed to impress anyone who tries them. I hope you love this recipe as much as I do. Happy (no) baking!