The Ultimate No-Churn Peppermint Ice Cream (Easy Holiday Treat!)
Imagine the creamiest, most decadent homemade ice cream, bursting with the cool, bright flavor of peppermint and laced with rich, fudgy swirls of chocolate-peppermint sauce. Now, imagine you created this gourmet-quality ice cream without an ice cream maker, using just a few simple ingredients. That, my friends, is the pure, show-stopping magic of this Peppermint…
Imagine the creamiest, most decadent homemade ice cream, bursting with the cool, bright flavor of peppermint and laced with rich, fudgy swirls of chocolate-peppermint sauce. Now, imagine you created this gourmet-quality ice cream without an ice cream maker, using just a few simple ingredients. That, my friends, is the pure, show-stopping magic of this Peppermint No-Churn Ice Cream. This is, without a doubt, the most impressive and ridiculously easy frozen dessert you will make this Christmas.
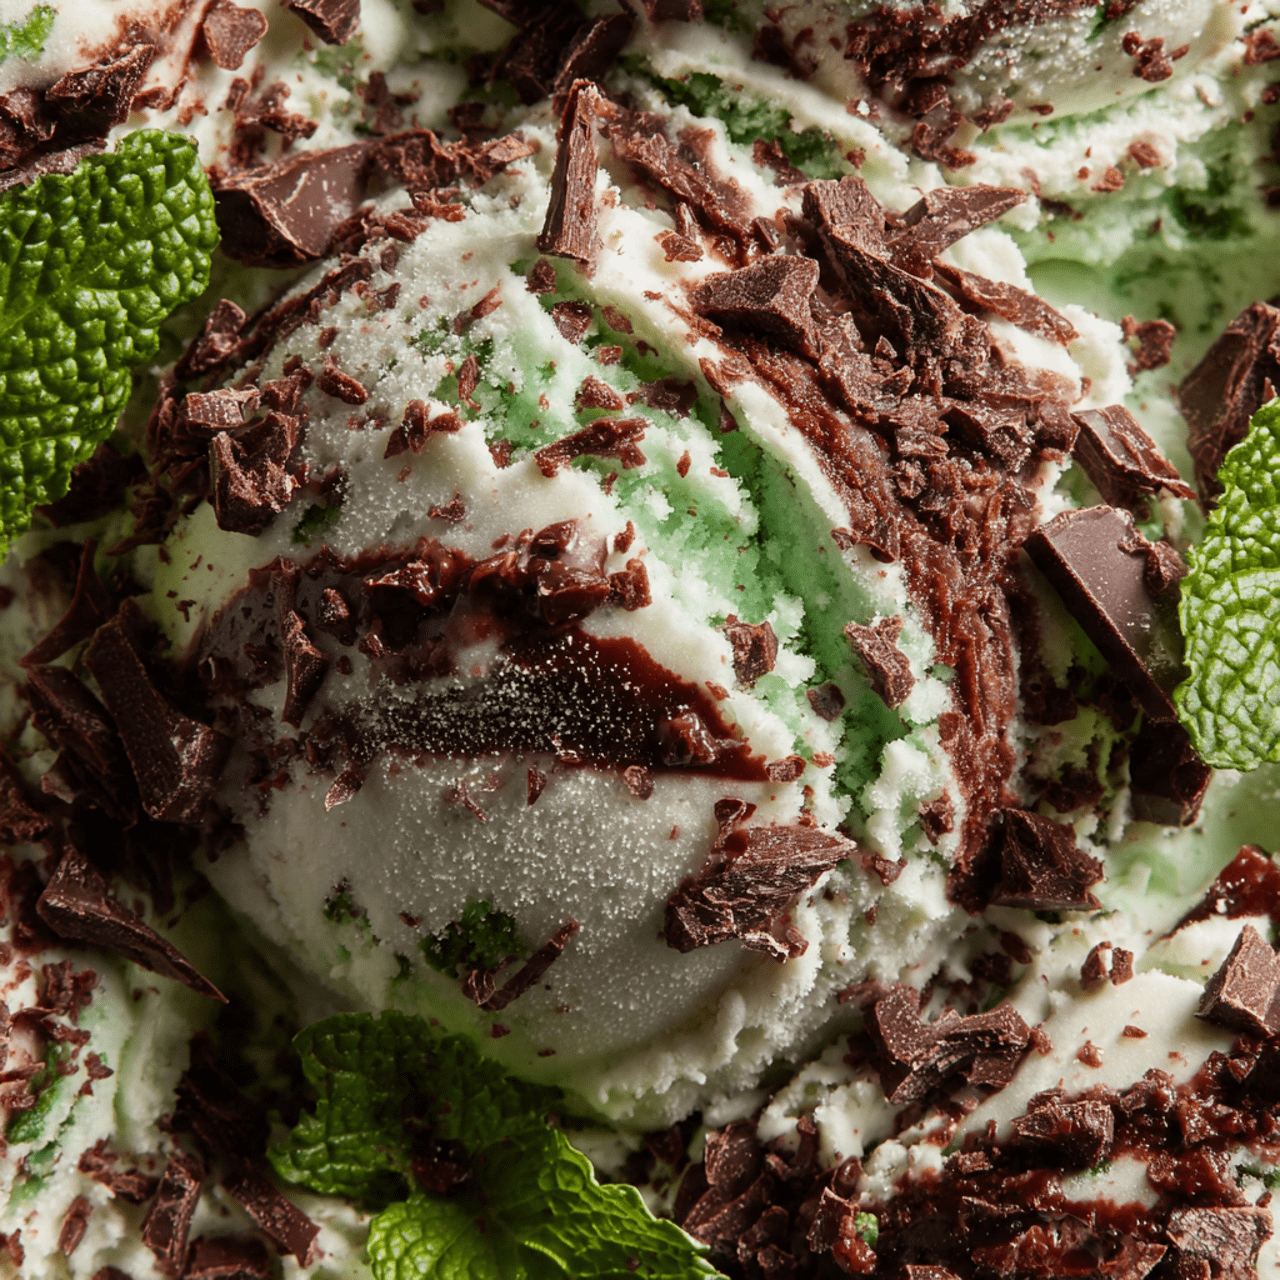
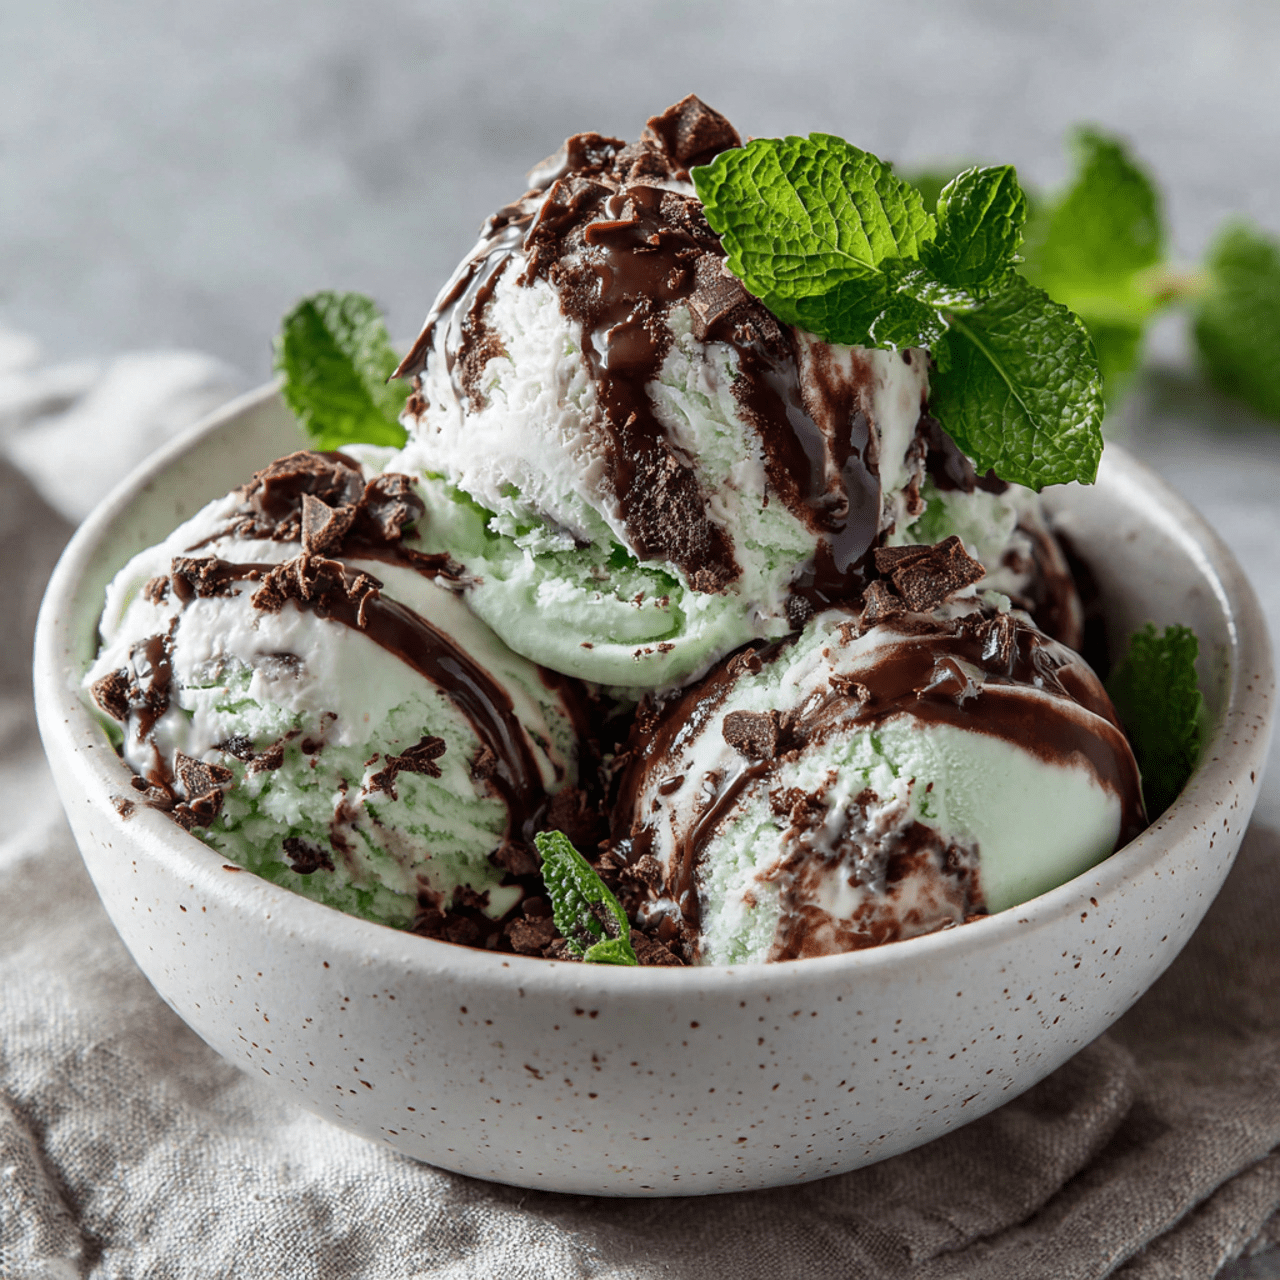
I promise you, there is no greater holiday delight than serving a scoop of this beautiful, festive ice cream. The light, airy peppermint base is studded with fluffy mini marshmallows, with beautiful ribbons of deep, rich chocolate-peppermint sauce running through it. It’s a true symphony of textures—creamy, chewy, and crunchy—and the perfect, refreshing end to a rich holiday meal.
Get ready to master the art of no-churn ice cream and create a stunning, delicious, and incredibly simple holiday dessert that will have everyone believing you have a secret, professional ice cream machine.

Why This No-Churn Ice Cream is a Holiday Miracle
You are going to be completely amazed by the rich, creamy texture and incredible flavor of this easy frozen treat. It’s a true holiday show-stopper. Here’s why:
- No Ice Cream Maker Required!: This genius recipe uses a base of whipped cream and sweetened condensed milk to create a perfectly smooth, creamy, and scoopable ice cream without any special equipment.
- Incredibly Rich and Decadent: The flavor and texture are absolutely top-tier, rivaling any gourmet store-bought brand. The swirls of chocolate-peppermint sauce make it truly luxurious.
- A Perfect Make-Ahead Dessert: Ice cream is the ultimate make-ahead party dessert! Make it days or even weeks in advance to free up your time during the busy holiday season.
Recipe Snapshot
| Prep Time | 20 minutes (active) |
| Freeze Time | 4 hours |
| Total Time | 4 hours 20 minutes |
| Servings | 12-14 servings |
| Calories | 380 kcal per serving (estimated) |
| Course | Dessert |
| Cuisine | American |
| Difficulty/Method | Easy / No-Bake, Freezing |
Your Shopping List for This Frozen Treat
This impressive dessert comes together with a handful of simple, easy-to-find ingredients.
→ For the Peppermint No-Churn Ice Cream
- 18 chocolate-peppermint candies → Such as peppermint patties. These create the rich, fudgy chocolate sauce.
- 2 ¾ cups cold heavy cream → Divided. This is the key to our light and airy ice cream base.
- One 14-ounce can sweetened condensed milk → The magic ingredient for no-churn ice cream! Do not substitute.
- 2 cups mini marshmallows → For a fun, chewy texture throughout the ice cream.
- ½ cup crushed peppermint puffs or candy canes → For a final, crunchy, festive topping.
- Candy canes → Optional, for a festive garnish when serving.
Let’s Get Churning (Without a Churner)!
Ready to make the creamiest, easiest ice cream of your life? Let’s get started.
Part 1: The Chocolate-Peppermint Sauce
- Prep Your Pan: Place a 9×5-inch metal loaf pan in the freezer to get it nice and cold. This helps the ice cream set faster.
- Melt the Candies: In a medium saucepan over medium heat, combine the chocolate-peppermint candies and ¾ cup of the heavy cream.
- Stir Until Smooth: Cook, stirring frequently, for about 5 minutes, until the candies are completely melted and the sauce is smooth and glossy. Remove from the heat and let it cool completely to room temperature.
Part 2: The No-Churn Ice Cream Base
- Whip the Cream: In a large, chilled bowl, use an electric mixer to whip the remaining 2 cups of cold heavy cream on medium-high speed until firm peaks form.
- Lighten the Condensed Milk: In a separate medium bowl, pour in the sweetened condensed milk. Gently fold in about 1 cup of the whipped cream with a rubber spatula. This lightens the condensed milk and makes it easier to incorporate without deflating your cream.
- Combine the Base: Gently fold the lightened condensed milk mixture back into the large bowl of whipped cream until it is well blended and no white streaks remain. Finally, gently fold in the mini marshmallows.

Part 3: Layer, Swirl, and Freeze
- Layer the Ice Cream: Remove your chilled loaf pan from the freezer. Reserve about 2 tablespoons of the cooled chocolate-peppermint sauce for the topping. Pour one-third of the white ice cream mixture into the pan. Drizzle half of the remaining chocolate sauce over the top.
- Repeat and Swirl: Add another third of the ice cream mixture, then drizzle with the rest of the chocolate sauce. Top with the final third of the ice cream mixture.
- Garnish and Freeze: Sprinkle the crushed peppermint puffs evenly over the top. Drizzle with the reserved 2 tablespoons of chocolate-peppermint sauce. Loosely cover with plastic wrap and freeze for at least 4 hours, or until solid and scoopable.
- Serve: Scoop into bowls or cones and garnish with a candy cane, if desired!
No-Churn Peppermint Ice Cream with Chocolate Swirl
Ingredients
Equipment
Method
- Place a 9×5-inch metal loaf pan in the freezer to chill.
- In a medium saucepan over medium heat, combine the chocolate-peppermint candies and 3/4 cup of the heavy cream. Cook, stirring frequently, until the candies are melted, about 5 minutes. Cool the sauce completely.
- Meanwhile, whip the remaining 2 cups of cold heavy cream in a large bowl with an electric mixer until firm peaks form.
- In a separate bowl, pour the condensed milk. Fold in 1 cup of the whipped cream to lighten it. Then, fold this lightened mixture back into the main bowl of whipped cream until well blended. Gently fold in the marshmallows.
- Reserve 2 tablespoons of the cooled chocolate-peppermint sauce. Pour a third of the ice cream mixture into the chilled pan. Top with half of the remaining chocolate sauce. Repeat with another third of the ice cream and the rest of the sauce.
- Cover with the remaining ice cream mixture. Sprinkle the crushed peppermint puffs on top and drizzle with the reserved chocolate sauce.
- Loosely cover with plastic wrap and freeze until solid, at least 4 hours or up to overnight. Serve with a candy cane, if desired.
Notes
WiseRecipes’ Top Tips for Perfect No-Churn Ice Cream
These simple secrets will ensure your homemade ice cream is perfectly creamy and never icy.
- Use Very Cold Cream and a Chilled Bowl. For the heavy cream to whip up to its maximum volume with stable peaks, it needs to be as cold as possible. Chilling your mixing bowl and beaters in the freezer for 15 minutes beforehand is a pro move that makes a big difference.
- Don’t Over-Whip the Cream. You’re looking for “firm peaks.” This means when you lift the beaters, a peak will form that holds its shape and stands tall. If you keep whipping beyond this point, the cream can start to turn grainy and buttery.
- Cool the Chocolate Sauce Completely. This is crucial! If you try to swirl in a warm chocolate sauce, it will melt and deflate your beautifully whipped cream base, resulting in a dense, soupy ice cream. Let it cool fully to room temperature first.
- Fold Gently! When combining the whipped cream and the condensed milk mixture, use a large spatula and a gentle folding motion (scraping from the bottom and folding over the top). This keeps all the air you whipped into the cream, which is the secret to a light, non-icy texture.
- Freeze in a Metal Pan. A metal loaf pan is recommended because metal conducts cold much more efficiently than glass or ceramic, which helps the ice cream freeze faster and more evenly, preventing large ice crystals from forming.
Keep It Fresh! Storing Your Homemade Ice Cream
Homemade ice cream is a dream for making ahead. Here’s how to store it properly.
- Freezer: Store the no-churn ice cream tightly covered in the freezer. You can press a piece of plastic wrap or parchment paper directly onto the surface of the ice cream before covering to help prevent ice crystals from forming. It will keep well for up to 2 weeks.
FAQs: Your No-Churn Ice Cream Questions, Answered!
Can I use a different kind of candy for the sauce?
Yes, this would be delicious with other chocolatey candies! Andes mints would create a wonderful mint-chocolate chip style sauce. You could even use something like chopped Reese’s cups for a peanut butter swirl.
Do I have to use sweetened condensed milk?
Yes, for a no-churn recipe, sweetened condensed milk is essential. Its high sugar content and low water content are what prevent the ice cream from freezing into a solid, icy block, keeping it smooth and scoopable.
Can I add other mix-ins?
Absolutely! Finely chopped chocolate cookies (like Oreos), mini chocolate chips, or a different kind of crushed candy would all be fantastic folded in at the end with the marshmallows.
My ice cream is very hard to scoop right out of the freezer. What should I do?
This is normal for homemade ice cream! Just let the pan sit on the counter for 5-10 minutes to soften slightly before scooping. Running your ice cream scoop under hot water also helps to get a clean, easy scoop.
Final Thoughts: Your Easiest, Most Impressive Holiday Dessert
There is nothing more special than serving a truly decadent, homemade ice cream at a holiday gathering. This Peppermint No-Churn Ice Cream proves that you don’t need any fancy equipment to create a dessert that is creamy, festive, and absolutely show-stopping. I hope this simple recipe brings a little bit of cool, creamy, minty magic to your Christmas celebration. Happy Holidays!