Onion Ring Chips
The onion-scented memory that started this The first time I bitten into a crunchy ring of breaded onion was on a summer picnic, sun leaking through the trees and an ice-cold soda sweating in my hand. The little bit of sweet onion that peeked out from under the crumbs felt like a tiny surprise every…
The onion-scented memory that started this
The first time I bitten into a crunchy ring of breaded onion was on a summer picnic, sun leaking through the trees and an ice-cold soda sweating in my hand. The little bit of sweet onion that peeked out from under the crumbs felt like a tiny surprise every time. Years later I chased that exact contrast—sweet-tangy onion inside, crisp, almost shattery exterior—and landed on what I call Onion Ring Chips. If you want a quick inspiration, take a look at a slightly different take on this idea with classic onion ring chips which helped shape my technique.
These are not heavy pub onion rings. They are thin, chip-like, made from 1/4-inch slices so each bite gives you more crunch than chew. Below I explain how I arrived at this version, the exact ingredients I use, and a few playful swaps for when you want something different.
The cast of characters
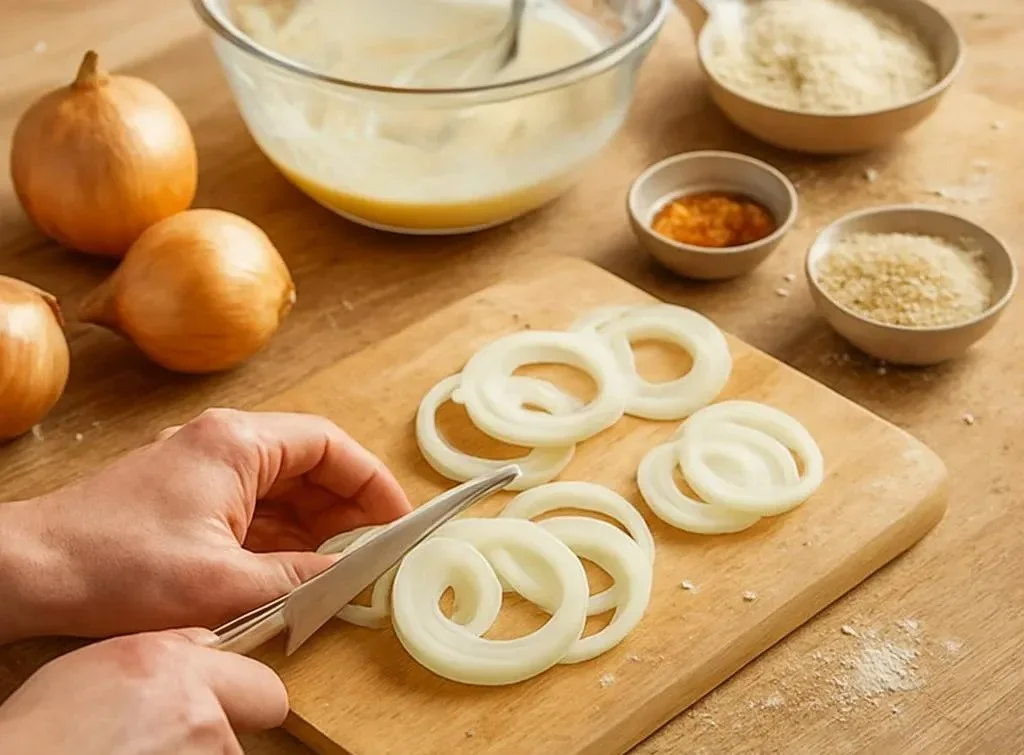
- 2 large onions sliced into 1/4-inch rings
- 1 cup all-purpose flour
- 1 teaspoon garlic powder
- 1 teaspoon paprika
- 1/2 teaspoon salt
- 1/2 teaspoon black pepper
- 1 cup buttermilk
- 2 cups panko breadcrumbs
- Vegetable oil for frying
I list them all here because, as an experimental cook, I like to know the full palette before I start improvising. If you are curious about using other crunchy starters, I once made a quick riff that borrowed ideas from my favorite parmesan chive chips and it gave me a bright, herb-forward alternative.
The wet-dry-wet trick that changed everything
I used to think a single dip would do. Then I learned the wet-dry-wet approach produces the crunchiest, most stubborn coating: the onion is dunked in buttermilk, dusted in seasoned flour, returned to the buttermilk, then pressed into panko. That extra wet step gives the breadcrumbs something to stick to and avoids the sad case of breadcrumbs sliding off in the oil.
Full cooking method:
- Begin by heating vegetable oil in a deep fryer or a large pot to 350°F (175°C). Ensure there is enough oil to submerge the onion rings completely.
- In a medium bowl, combine the flour, garlic powder, paprika, salt, and black pepper. Mix well.
- In another bowl, pour the buttermilk.
- Dip each onion ring first into the buttermilk, allowing any excess to drip off, then coat it in the flour mixture, shaking off any excess.
- Return the coated onion ring to the buttermilk, then dredge it in the panko breadcrumbs, pressing gently to ensure the crumbs adhere well.
- Carefully place the coated onion rings into the hot oil, frying in batches to avoid overcrowding. Fry for about 2-3 minutes or until golden brown and crispy.
- Remove the onion rings with a slotted spoon and place them on a paper towel-lined plate to drain excess oil.
- Serve warm with your favorite dipping sauce.
I prefer not to number domestic rituals too strictly, but I highlight three moments you cannot skip: temperature control, the second buttermilk dip, and frying in small batches.
The garlic situation and flavor balance
Garlic powder and paprika are the backbone here. Garlic adds savory depth while paprika brings a hint of color and warmth without heat. The half teaspoons of salt and pepper keep the onion’s natural sweetness on stage rather than overpowering it. Panko is deliberately chosen for its light, flaky texture that gives you that shatter rather than a dense crust.
If you want a smokier profile, swap regular paprika for smoked paprika. If you prefer more herb notes, fold in a tablespoon of finely chopped chives or parsley into the panko. For a tangy lift, try serving with a yogurt-based dip rather than ketchup.
When to stop frying
There is an easy way to know when these are done right: look for a pale golden tan that deepens only slightly while the onion softens to a gentle bite. Overbrown and the crumbs will taste stale; undercook and the interior may still be crunchy raw onion. At 350°F (175°C) the rings usually take about 2-3 minutes—fast, because the rings are thin. If your oil is cooler, they will absorb more oil and feel greasy; if hotter, they will brown too quickly on the outside while the inside remains raw. A kitchen thermometer is worth its weight here.
Practical pointers from experiments
- Heat matters: Keep your oil steady at 350°F (175°C). A thermometer saves time and oil.
- Don’t overcrowd: Fry in batches so the oil returns to temperature quickly. Crowding equals soggy.
- Press don’t slam: When coating with panko, press gently so the crumbs adhere without compacting them.
- Dry the rings: Pat sliced rings dry before the first dunk if your onions are extra juicy.
- Rest briefly: Let fried rings sit on a rack or paper towels for a minute so steam escapes and the crust firms.
Keeping or changing them tomorrow
Leftovers will lose their peak crispness but they reheat well. Store cooled rings in an airtight container in the refrigerator for up to 2 days. To revive them, bake at 375°F for 6 to 8 minutes or pop them under the broiler for a minute while watching closely—this brings the texture back better than microwaving. If you plan to store them longer, freeze cooked rings flat on a sheet then transfer to a bag; reheat from frozen in a hot oven for best results.
If you want substitutions: use whole wheat flour for a nuttier crust, swap buttermilk for a mixture of milk and a teaspoon of lemon juice if you do not have buttermilk, or replace panko with crushed cornflakes for a different crunch. For a vegetarian-friendly dip, try mixing plain yogurt with lemon zest and a pinch of smoked paprika.
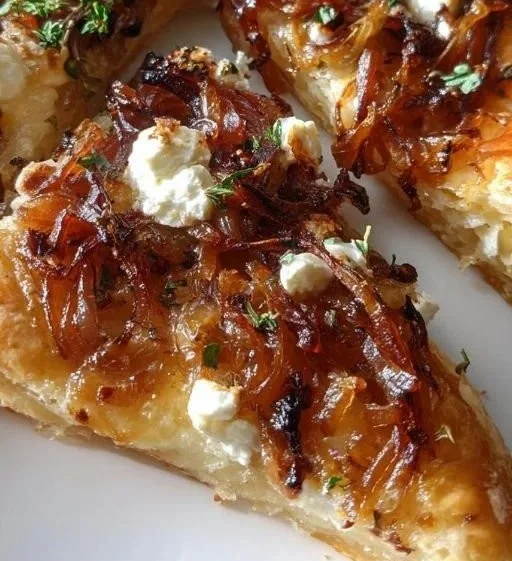
I often pair these with simple things: a sharp ranch, a spicy mayo, or a lemony aioli. For a fuller meal, serve alongside sandwiches, burgers, or a green salad dressed with a vinaigrette. One of my favorite combinations is a tart arugula salad with cherry tomatoes; the peppery leaves cut through the fried richness beautifully. If you like caramelized sweetness with your crunch, consider making a small side inspired by my favorite caramelized onion and goat cheese tarts for an elegant finish.
A couple of surprising variations I actually use
- Beer batter instead of the flour-buttermilk-panko route gives a classic pub feeling, but loses some of the shatter.
- Add grated parmesan into the panko for a nuttier savory edge. I borrowed an idea from experimenting with boiled onions once, where a quick blanch made the rings milder and more tender before frying.
One more practical edge: if you want an herb-scented crumb, toss in dried thyme or finely grated lemon zest into the panko. I mixed lemon zest into panko one afternoon on a whim, and that brightened the fried flavor enough to make me stop and write the combination down.
Final little confession
I still make a batch and eat a few before anyone else arrives. The temptation is real. When I host, I usually make double because the first plate vanishes while I’m still prepping. For a lighter service, I make smaller, thinner rings so guests can try more dips.
Conclusion
If you want a visual primer and step-by-step photos that inspired my version, the recipe at Viral Onion Ring Chips – Healthy Fitness Meals is a helpful complementary resource. Another popular variation I referenced while refining technique can be found at Viral Onion Ring Chips – Sugar and Soul.