Pancake Poppers
How I Found These Little Pancake Poppers I have this habit of turning lazy weekend breakfasts into tiny experiments, which is how I stumbled on Pancake Poppers. One rainy morning, craving pancakes but pressed for patience, I decided to make bite-sized versions and the whole house smelled like comfort within ten minutes. If you like…
How I Found These Little Pancake Poppers
I have this habit of turning lazy weekend breakfasts into tiny experiments, which is how I stumbled on Pancake Poppers. One rainy morning, craving pancakes but pressed for patience, I decided to make bite-sized versions and the whole house smelled like comfort within ten minutes. If you like quick, snackable breakfasts that feel a little indulgent, you’ll get it. If you’re curious about other pared-down pancake ideas, I’ve also been known to make a fuss-free version like the 3-ingredient banana oatmeal pancakes when I want something even simpler.
The ingredients are laughably basic: I usually measure out 1 cup all-purpose flour, 2 tablespoons sugar, 1 tablespoon baking powder, 1/2 teaspoon salt, 1 cup milk, 1 large egg, 2 tablespoons butter, melted, and then I decide between chocolate chips, blueberries, or chopped nuts as an optional add-in. Those pantry staples mean these poppers are not only fast but forgiving, and that’s part of why I love them so much.
A Few Things That Make Them So Good
The first thing that hits you is the smell: warm butter and a faint sweetness that makes everyone wander into the kitchen. To get there I preheat my oven to 350°F (175°C) while I grease a mini muffin tin so it’s ready as soon as the batter is mixed. I mix together the dry ingredients—flour, sugar, baking powder, and salt—in a large bowl, then whisk the milk, egg, and melted butter in another bowl. When I pour the wet into the dry and stir until just combined, the batter looks lumpy but smooth enough to drop into the cups. It’s important not to overmix; that little rule keeps the poppers tender instead of chewy.
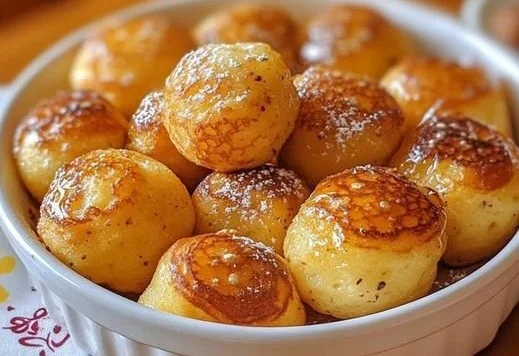
If I’m feeling playful, I fold in a handful of chocolate chips, some blueberries, or chopped nuts. Each choice gives a different mood: chocolate makes them dessert-like, blueberries add bright juice that pops in your mouth, and nuts give a satisfying crunch. I spoon the batter into the mini muffin tin, filling each cup about 2/3 full so they puff up without spilling over. Then they go into the oven to bake for 10-12 minutes, until golden brown and a toothpick inserted into the center comes out clean. I let them cool for a few minutes before I fish them out of the tin and serve warm with syrup or whatever topping I’m in the mood for.
Getting the Batter Right (and a few tricks)
A trick I learned the hard way is to melt the butter and let it cool just a bit; hot butter can start cooking the egg and ruin the texture. Another tip is to use room-temperature milk and egg when possible—cold ingredients can make the batter stubborn and dense. When I say stir until just combined, I mean it: overworking the gluten makes the poppers tough. I usually stop when I still see fine streaks of flour.
When it comes to timing, the 10-12 minute window is my guideline. You’ll know they’re done when the tops are lightly golden, they spring back when you press them gently, and a toothpick inserted into the center comes out clean. The edge may be slightly crisp but the inside should be soft and slightly fluffy. If you ever get soggy centers, try giving the tin an extra minute or two in the oven next time, or fill the cups a touch less than 2/3—little adjustments make a big difference.
I also have a few very practical tricks: first, I spray the mini muffin tin with a nonstick spray rather than trying to butter every crevice—saves time and the poppers release more cleanly. Second, if you’re making them for a crowd, you can keep batches warm on a low oven setting while the rest finish baking. Third, if you want perfectly even poppers, use a small cookie scoop to drop the batter into the tin; it keeps things tidy.
The Texture, What to Serve Them With, and Variations
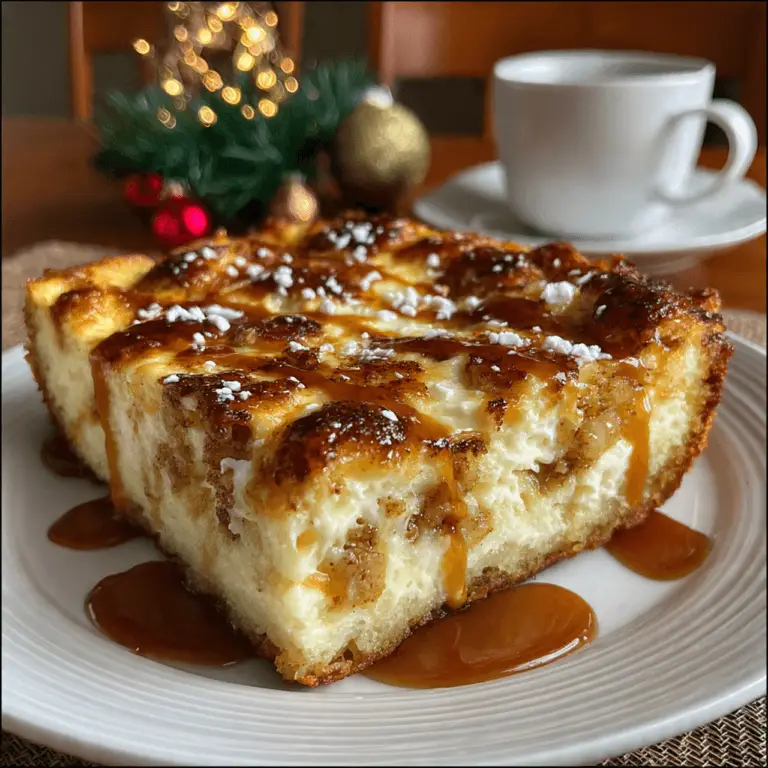
Texturally these are a dream: a slightly crisp exterior with a soft, pancake-y interior that’s almost cake-like in miniature. I like to serve them warm with the classic maple syrup, but they’re also lovely with honey, jam, or a smear of cream cheese. When I have guests over, I set out a little toppings bar—sliced bananas, a jar of peanut butter, and a bowl of whipped cream—and people love building their own combinations.
If you want to change things up, try these simple variations. For a lemony summer version, fold in a tablespoon of lemon zest and a few fresh blueberries so every bite is bright. For a savory twist, reduce the sugar to a teaspoon, add a tablespoon of chopped chives, and fold in a sprinkle of shredded cheddar for a brunch-friendly popper. You can also make them with gluten-free flour if needed; just keep in mind the texture shifts slightly and may need a touch more liquid.
How to store leftovers? I usually let any extras cool completely, then stack them in an airtight container in the fridge where they keep well for up to three days. To reheat, pop them in a toaster oven or conventional oven at 325°F for a few minutes to revive the exterior crispness; microwaving works for speed but can make them a bit rubbery. For longer storage, freeze them on a tray until solid, then transfer to a freezer bag; they’ll thaw quickly and reheat beautifully for a quick breakfast later.
Small Memories That Make Them Feel Like Home
This recipe carries a few small memories for me—my niece once insisted on helping and managed to add a whole tablespoon of chocolate chips to each cup, so the batch was delightfully sweet chaos. Another time I made them before a camping trip and packed them in a container; eating warm, syrup-drizzled poppers by a lake felt like an over-the-top luxury. Those little stories are part of what makes these feel like more than just a recipe to me.
I also appreciate how forgiving these are. I’ve swapped milk for a bit more melted butter in a pinch, added oats for texture, and once used almond milk with chopped nuts for a nut-forward version. Each time they come out just a little different but always comforting.
Conclusion
If you want a classic reference to compare notes or to see another version of this idea, the original Pancake Poppers Recipe – Allrecipes is a great place to start and inspired a lot of the tiny tweaks I mention above.
Pancake Poppers
Ingredients
Method
- Preheat the oven to 350°F (175°C) and grease a mini muffin tin.
- In a large bowl, mix together the dry ingredients: flour, sugar, baking powder, and salt.
- In another bowl, whisk the wet ingredients: milk, egg, and melted butter.
- Pour the wet ingredients into the dry ingredients and stir until just combined; the batter will be lumpy but smooth enough to drop.
- Fold in any optional add-ins if desired.
- Spoon the batter into the muffin tin, filling each cup about 2/3 full.
- Bake in the preheated oven for 10-12 minutes, until golden brown and a toothpick comes out clean.
- Let cool for a few minutes before serving warm.