Perfect Vanilla Cake
How I Discovered This Cake The first time I baked what I now call my Perfect Vanilla Cake, I was trying to recreate the simple birthday cake my grandmother used to make. It wasn’t fussy—just a tender, buttery sponge with a warm vanilla smell that filled the whole house—but it stuck with me. If you…
How I Discovered This Cake
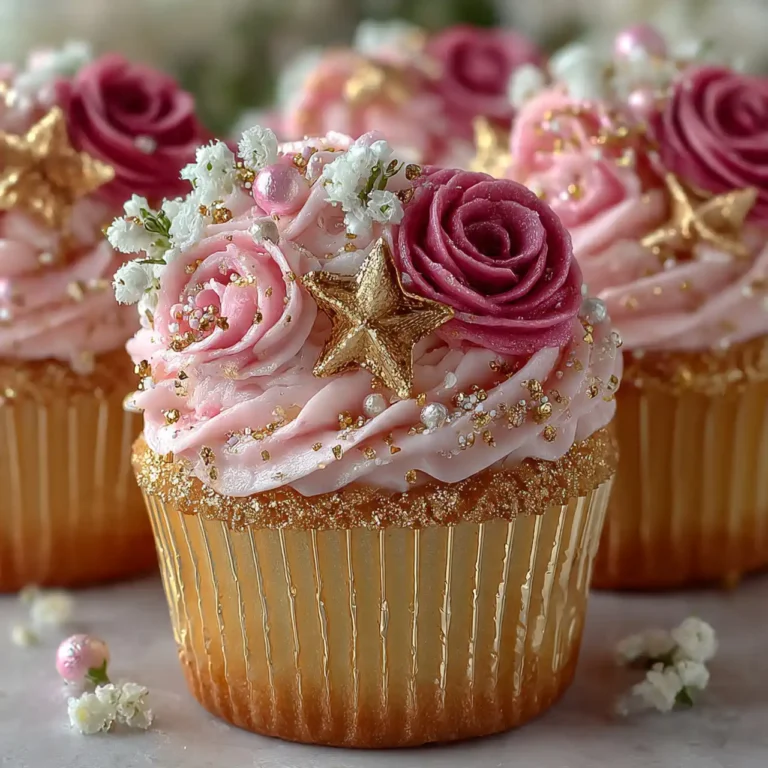
The first time I baked what I now call my Perfect Vanilla Cake, I was trying to recreate the simple birthday cake my grandmother used to make. It wasn’t fussy—just a tender, buttery sponge with a warm vanilla smell that filled the whole house—but it stuck with me. If you ever want a slightly different format, I even nudged this into cupcakes once for a party and people loved them; there’s a recipe I liked for chocolate and vanilla birthday cupcakes that gave me a few ideas about portion and timing. That weekend kitchen memory is why I keep these ingredients on hand and why this cake turns up at so many family gatherings.
You’ll need everyday pantry stuff: 2 cups all-purpose flour, 1 ½ cups granulated sugar, ½ cup unsalted butter, softened, 1 cup milk, 3 ½ teaspoons baking powder, 1 teaspoon vanilla extract, ½ teaspoon salt, and 3 large eggs. Nothing exotic, just reliable building blocks for a cake that is plain and perfect. The smell of vanilla hitting warm batter is one of those small luxuries of home baking—like the house pressing a soft pause button for thirty minutes while something delicious happens.
The Ingredient Mix That Matters
When I tell friends how to make this, I always start with the basics of temperature and texture. Preheat your oven to 350°F (175°C) and make sure you grease and flour two 9-inch round cake pans. I say this first because a hot oven and prepared pans are non-negotiable; you don’t want to be fiddling with pans while the oven is ramping up.
In a large mixing bowl, cream together the butter and sugar until light and fluffy. I use a stand mixer most days, but a hand mixer works fine; the goal is airy butter that will give your cake lift. Add the eggs one at a time, mixing well after each addition so the batter stays smooth and emulsified. Then stir in the vanilla extract so that fragrant note is evenly distributed. In another bowl, whisk together the flour, baking powder, and salt; I like to take a second to break up any lumps—flour sifting isn’t always necessary, but whisking is.
Now the important choreography: gradually add the dry ingredients to the creamed mixture, alternating with milk. Mix until just combined. I can’t stress enough not to overmix at this stage; the batter should be smooth, but a few streaks are okay because gluten will relax and the cake will remain tender. If you like to see pictures as you go, I sometimes compare early stages to other desserts and have bookmarked a version of this recipe on a site I use for reference—it helped me the first few times.
Baking and Finishing Touches
Once your batter is ready, divide it evenly between the prepared cake pans. I weigh the pans on a kitchen scale when I’m feeling precise, but eyeballing works too; the goal is even layers so you get the same bake time. Slide them into the oven and bake for 25-30 minutes or until a toothpick inserted into the center comes out clean. You’ll know it’s close when the cake pulls slightly away from the pan edges and the top springs back when you touch it lightly.
Allow the cakes to cool in the pans for 10 minutes, then turn out onto wire racks to cool completely. This short rest prevents the cake from tearing and lets the steam settle, keeping the crumb fine and moist. Once cool, frost with your favorite frosting and enjoy. I often reach for a simple buttercream, sometimes a tangy cream cheese frosting if I’m aiming for contrast; either way, the cake’s pale, soft crumb and the vanilla aroma shine through.
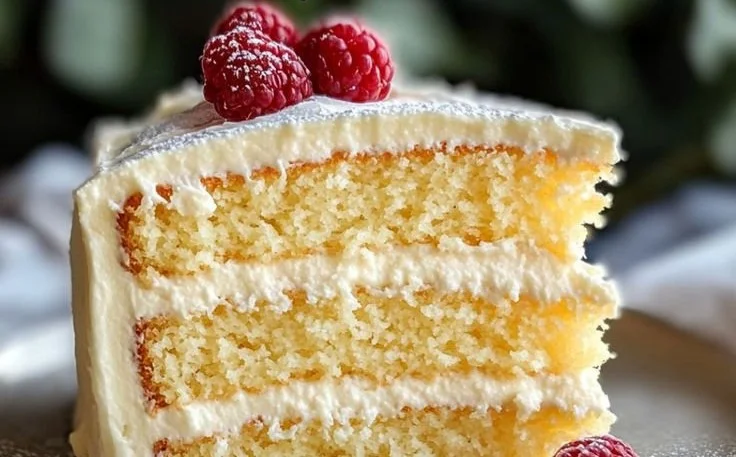
How to know it’s done right? Besides the toothpick test, look for a uniform golden color and a moist, light crumb when you slice into it. When cooled, the layers should be springy, not gummy. If you bake it, slice it, and it feels heavy or wet in the center, give the next batch a couple more minutes in the oven and check for doneness with the toothpick again.
Variations and Little Tricks I Swear By
I don’t always make the cake the same way. A few small changes can take it in new directions. For a citrus lift, fold in a teaspoon of finely grated lemon zest and swap half the vanilla for a touch of almond extract. If I want something more indulgent, I’ll sprinkle a handful of mini chocolate chips into the batter before dividing it—just toss them in a tablespoon of flour first so they don’t sink. For a light twist, you can pour the batter into cupcake tins; that’s when the cupcake idea I mentioned earlier becomes handy.
Here are a few tips I share with friends when they try this: use room-temperature eggs and butter so everything emulsifies easily; measure flour by spooning into the cup and leveling rather than scooping directly from the bag; and when you cream butter and sugar, stop when the mixture is visibly lighter in color and fluffy—overcreaming wastes time without improving texture. If you’re time-pressed, this recipe is forgiving: you can make the layers a day ahead and keep them wrapped airtight in the fridge. In a past holiday rush, I baked the layers in the morning, wrapped them, and assembled in the evening; having the cakes chilled actually made assembly neater.
I also like to pair this cake with other cozy desserts when hosting. A strong cup of coffee or a slice alongside something nutty works well; one of my favorite pairings for a chilly afternoon is something like a coffee and walnut cake, which you can see an example of at a recipe I’ve bookmarked for inspiration.
A Few Things I’ve Learned
There are tiny emergencies in baking: a cake that cracked a little, a frosting that’s too runny, a pan that stuck. My grandfather always said the kitchen needs a calm person; the cake will forgive a lot if you stay patient. If the top cracks, level it and use that extra as filling between layers. If you have leftover crumbs, freeze them—they make an excellent base for mini desserts or a quick crust for something like mini cheesecakes with a vanilla wafer crust if you’re feeling creative.
For leftovers, I store slices in an airtight container at room temperature for up to two days, or refrigerated for up to four days. You can also freeze individual slices wrapped tightly in plastic and foil for up to two months; thaw at room temperature when you’re ready. I recommend bringing chilled slices back to room temperature before serving so the flavor and texture feel fresh.
I love this recipe because it’s simple, dependable, and warm in the way only a vanilla cake can be—comfortable, classic, and easy to dress up for a celebration or keep plain for a quiet afternoon treat. It reminds me of kitchen light in the mornings when I used to bake for neighbors, and that’s really why this is my go-to: it’s more than a list of ingredients, it’s a small ritual that makes the house smell like something worth sharing.
Conclusion
If you want to compare notes or try a slightly different method that also keeps the cake moist, I often look at My very best Vanilla Cake – stays moist 4 days! – RecipeTin Eats for technique ideas and timing adjustments. For a different take and a beautiful write-up that inspired some of my small tweaks, the recipe at Finally. The Perfect Vanilla Cake Recipe. – Sugar & Sparrow is a lovely companion to this version. Happy baking—may your kitchen smell like vanilla and good memories.
Perfect Vanilla Cake
Ingredients
Method
- Preheat your oven to 350°F (175°C) and grease and flour two 9-inch round cake pans.
- In a large mixing bowl, cream together the softened butter and granulated sugar until light and fluffy.
- Add eggs one at a time, mixing well after each addition. Stir in vanilla extract.
- In another bowl, whisk together flour, baking powder, and salt.
- Gradually add the dry ingredients to the creamed mixture, alternating with milk until just combined.
- Divide the batter evenly between the prepared cake pans.
- Bake for 25-30 minutes or until a toothpick inserted into the center comes out clean.
- Allow the cakes to cool in the pans for 10 minutes before turning out onto wire racks to cool completely.
- Once the cakes are cool, frost with your choice of frosting.