The Ultimate Pumpkin Cake Pops (Easy Fall Recipe!)
Imagine a whole platter of the most adorable, miniature pumpkins, each one a perfect, poppable bite of fall flavor. That, my friends, is the irresistible charm of these Pumpkin Cake Pops. This isn’t just a dessert; it’s an edible craft project, a show-stopping centerpiece, and the most delicious way to celebrate the season. We’re talking…
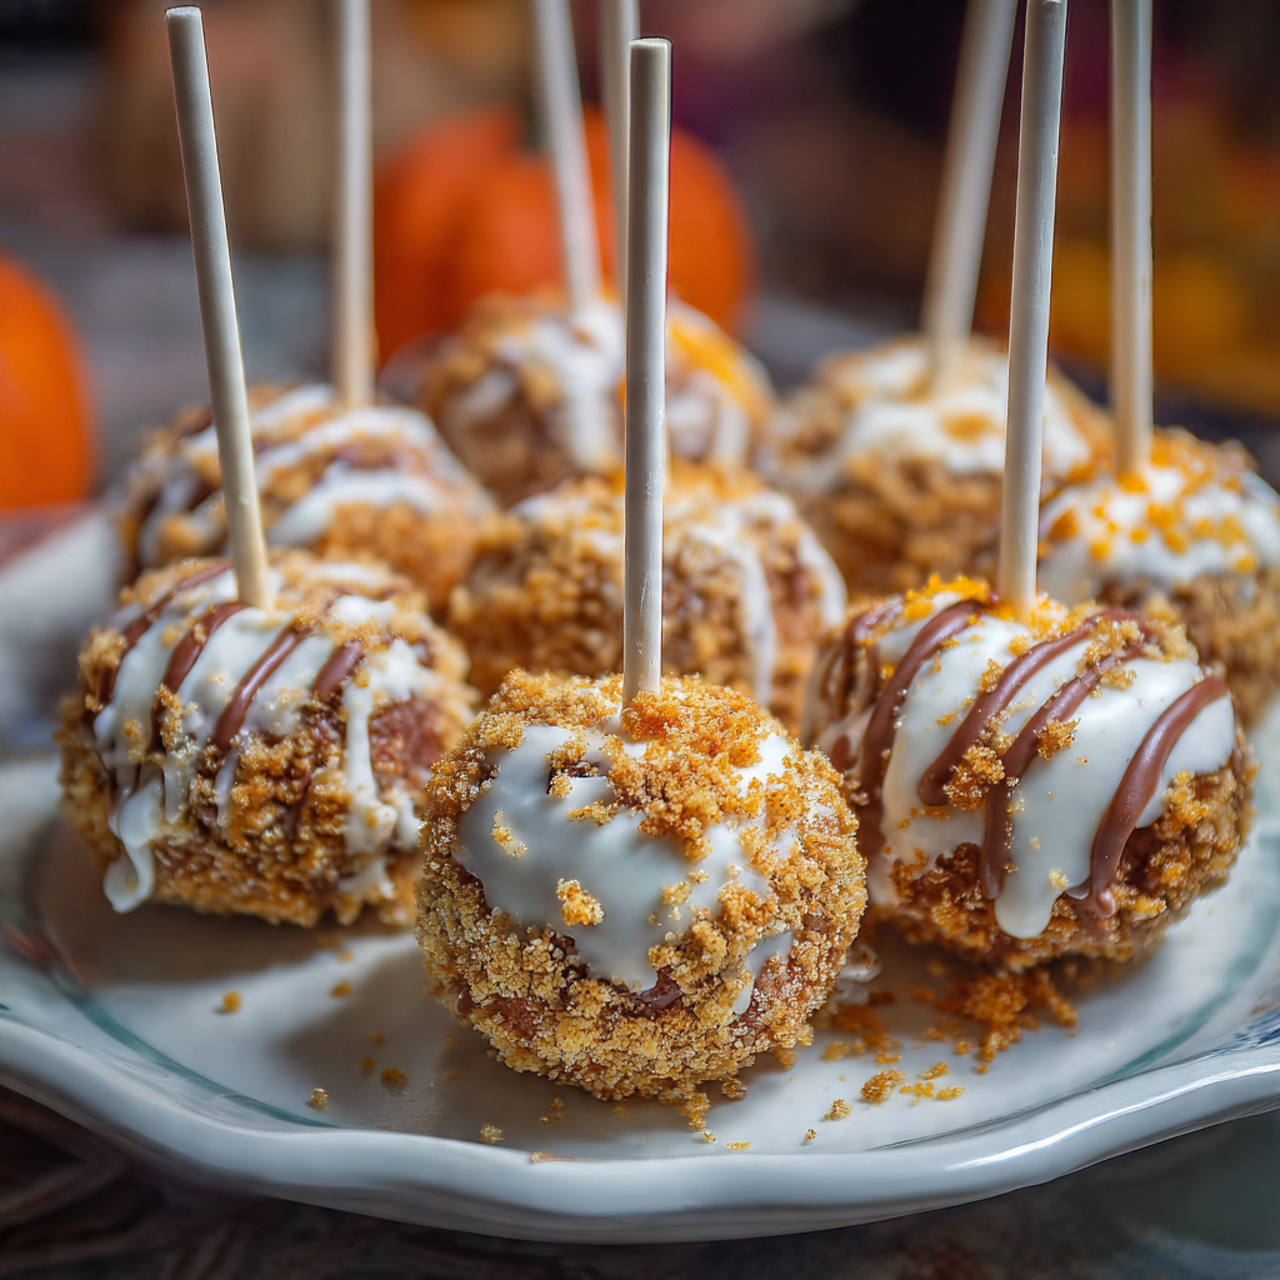
Imagine a whole platter of the most adorable, miniature pumpkins, each one a perfect, poppable bite of fall flavor. That, my friends, is the irresistible charm of these Pumpkin Cake Pops. This isn’t just a dessert; it’s an edible craft project, a show-stopping centerpiece, and the most delicious way to celebrate the season. We’re talking about an incredibly moist, warmly spiced pumpkin cake, blended with tangy cream cheese frosting, and dipped into a festive orange shell.
I promise you, there is no greater joy than presenting a “pumpkin patch” of these cake pops at a Halloween party or Thanksgiving gathering. Each bite is a perfect harmony of tender, spiced cake and sweet, creamy frosting, all encased in a delightful candy shell. They are a true labor of love that is worth every single step.
Get ready to create the most talked-about treat of the season. This is a recipe that’s as fun to make as it is to eat!

Why You’ll Absolutely Fall for These Cake Pops!
You are going to have so much fun creating these adorable autumn bites. They are a holiday must-have for so many reasons:
- The Cutest Fall Treat: Shaped like tiny pumpkins with little stems and vines, these cake pops are incredibly charming and make a stunning centerpiece for any dessert table.
- Incredibly Moist & Flavorful: This isn’t just a pretty face! The from-scratch pumpkin cake is packed with warm spices and is exceptionally moist, paired perfectly with tangy cream cheese frosting.
- A Super Fun Baking Project: From crumbling the cake to rolling the balls and decorating, this is a wonderfully hands-on project that’s perfect for a weekend or to make with kids.
- Perfect for Parties & Gifting: Individual cake pops are easy to serve, easy to eat, and make fantastic homemade gifts or party favors.
- Great for Making Ahead: The entire process can be broken down into stages, and the finished pops can be made a few days in advance, making party prep a breeze.
Recipe Snapshot
| Prep Time | 2 hours |
| Cook Time | 40 minutes |
| Chilling Time | 20 minutes |
| Total Time | 2 hours 10 minutes |
| Servings | 48 cake pops |
| Calories | 171 kcal per pop |
| Course | Dessert |
| Cuisine | American |
| Difficulty/Method | Intermediate / Baking & Decorating |
Your Shopping List for a Cake Pop Pumpkin Patch
This recipe involves a few components, but each one uses simple, classic baking ingredients.

→ For the Spiced Pumpkin Cake
- 2 ½ cups all-purpose flour → The base of our delicious cake.
- A blend of warm spices → Ground cinnamon, nutmeg, ginger, and cloves for that perfect fall flavor.
- 2 tsp baking powder & 1 tsp baking soda → For lift and a tender crumb.
- ½ tsp kosher salt → To balance the flavors.
- ½ cup butter, softened → For richness.
- 1 cup light brown sugar & ⅓ cup granulated sugar → A mix for moisture and sweetness.
- 2 large eggs → The essential binder.
- 1 cup buttermilk & 1 cup pumpkin puree → The power duo for an incredibly moist cake.
- 1 tsp vanilla extract → For depth of flavor.
→ For the Cream Cheese Icing (Binder)
- 8 oz cream cheese, softened → For that classic tangy flavor.
- 4 oz unsalted butter, softened → To create a smooth, rich frosting.
- 1 pound confectioners’ sugar → For sweetness and structure.
- 1 ½ tsp vanilla extract → To complement the cream cheese.
→ For Decorating
- 24 oz orange melting wafers → The key to a smooth, vibrant pumpkin coating.
- 1 cup green melting wafers & ¼ cup dark chocolate melting wafers → For the vines and stems.
- 48 lollipop sticks → Essential for turning them into pops!
Let’s Make Cake Pops! Your Step-by-Step Guide
Ready for a fun and rewarding baking project? We’ll break it down into four manageable parts.
Part 1: The Spiced Pumpkin Cake
- Preheat and Prep: Preheat your oven to 350°F. Grease a 9×13 inch pan and line the bottom with parchment paper.
- Mix Dry and Wet: Sift together the flour, spices, salt, baking powder, and baking soda. In a separate large bowl, use a mixer to cream the butter and both sugars until light and fluffy. Beat in the eggs one at a time. Then, blend in the buttermilk and pumpkin puree.
- Combine and Bake: Gradually stir the flour mixture into the wet ingredients, then add the vanilla, mixing only until just incorporated. Pour the batter into your prepared pan and bake for about 40 minutes, or until a toothpick comes out clean. Let it cool completely on a wire rack. This is crucial!
Part 2: The Cream Cheese Icing
- Whip the Frosting: In a large bowl, beat the softened cream cheese and butter with an electric mixer until fluffy, about 2 minutes. Gradually add the confectioners’ sugar and mix until well combined. Stir in the vanilla extract.
Part 3: Form the Cake Pops
- Crumble the Cake: Once the cake is completely cool, crumble it into fine crumbs in a large mixing bowl. You can do this by hand or in a food processor.
- Mix the “Dough”: Add 1 cup of the cream cheese frosting to the cake crumbs and mix on low speed (or by hand) until the mixture comes together like play-doh. It should be moist enough to hold its shape but not overly wet. Add another ½ cup of frosting only if needed.
- Scoop and Roll: Line a baking sheet with wax paper. Use a small ice cream scoop to measure out level scoops of the mixture. Roll each scoop between your palms into a smooth ball and place it on the lined baking sheet.
- Shape the Pumpkins: Chill the balls in the refrigerator for at least 2 hours until firm. Once firm, use a bamboo skewer to gently press six vertical indentations around the sides of each ball to create a pumpkin shape.
- Freeze: Place the shaped balls in the freezer for 20 minutes to get them very firm for dipping.

Part 4: Dip and Decorate!
- Melt the Coating: While the balls are freezing, melt the orange candy wafers according to package directions.
- Prep the Sticks: Dip about ½ inch of the tip of each lollipop stick into the melted orange coating, then insert it into a pumpkin ball. This “glues” the stick in place. Let this harden for a few minutes.
- Dip the Pops: Holding the stick, dip each pumpkin ball into the orange coating until it’s fully submerged. Lift it out and gently tap your hand (not the stick!) to let the excess coating drip off. Place the cake pops stick-up on the lined baking sheet to dry.
- Add Stems and Vines: Melt the dark chocolate wafers. Use a small paintbrush to paint a short “stem” onto the stick right above the pumpkin. Melt the green wafers, place in a piping bag with a tiny hole snipped, and pipe little curly vines and leaves around the stem. Let everything set completely.
Pumpkin Cake Pops
Ingredients
Equipment
Method
- Preheat the oven to 350°F. Grease and line a 9×13 inch pan. Sift together flour, spices, salt, baking powder, and baking soda.
- Cream butter and sugars until fluffy. Add eggs one at a time. Add buttermilk and pumpkin puree, blending well. Stir in the flour mixture and vanilla until just incorporated.
- Pour batter into the pan, smooth the top, and bake for about 40 minutes. Cool completely.
- Beat cream cheese and butter until fluffy. Gradually add confectioners sugar, then stir in vanilla.
- Crumble the cooled cake into fine crumbs. Mix in 1 to 1 ½ cups of frosting until the mixture has the consistency of play-doh.
- Scoop and roll the mixture into balls, placing them on a lined baking sheet. Chill for 2 hours.
- Use a skewer to make six indentations on the sides of each ball to create a pumpkin shape. Freeze for 20 minutes.
- Melt the orange coating. Dip the tip of a lollipop stick into the coating, then insert it into a cake ball; let harden.
- Dip each ball into the orange coating, tap off the excess, and place on the lined baking sheet to dry.
- Melt the dark chocolate wafers and use a paintbrush to paint a stem on the stick above the pumpkin. Melt the green wafers, place in a piping bag, and pipe vines and leaves at the stem.
Notes
WiseRecipes’ Top Tips for Cake Pop Success
Cake pops can be tricky, but these secrets will help you master them.
- “Play-Doh” is the Goal. When mixing the cake crumbs and frosting, aim for a consistency like play-doh. It should be moist and hold together easily, but not be greasy or wet. Always start with less frosting; you can add more, but you can’t take it away.
- Chilling and Freezing are Non-Negotiable. Don’t skip these steps! The long chill helps the flavors meld and firms up the balls for shaping. The final freeze makes them hard enough to withstand being dipped in the warm candy coating without falling apart.
- Temperature is Everything for Dipping. This is the secret to avoiding cracks. Let your frozen cake balls sit at room temperature for about 5 minutes before dipping. You want them cold and firm, but not frozen solid. Likewise, let your melted candy coating cool for a minute or two. A huge temperature difference is what causes the dreaded cracks.
- Thin Your Coating if Needed. For a smooth, even coat, your candy melts should be fluid and drip easily from a spoon. If it’s too thick, stir in a few drops of canola oil or paramount crystals (not water!) until you reach the right consistency.
- Tap Your Hand, Not the Stick. When tapping off excess coating, gently tap the wrist of the hand that’s holding the cake pop. Tapping the stick directly can cause the cake ball to vibrate right off the stick and into your bowl of melted chocolate.
Keep Them Fresh! Storing Your Pumpkin Patch
These cake pops are a perfect make-ahead treat! Here’s how to store them.
- Refrigerator: Due to the cream cheese, these cake pops must be stored in the refrigerator. Place them in an airtight container (you can stand them up in a tall container or lay them down carefully). They will stay fresh for up to a week.
- Freezing: These freeze beautifully! Once the coating is fully set, you can place them in a freezer-safe airtight container for up to 2 months. Let them thaw in the refrigerator before serving.
FAQs: Your Pumpkin Cake Pop Questions, Answered!
Why are my cake pops falling off the stick?
This usually happens for two reasons: either the cake ball wasn’t cold and firm enough when you dipped it, or you forgot the crucial step of dipping the stick in melted chocolate first to “glue” it into the cake ball. Let that little bit of chocolate on the stick harden fully before you dip the whole pop.
My candy coating is cracking as it dries. Why?
Cracking is almost always caused by a drastic temperature difference. If your cake balls are frozen solid and your candy coating is very warm, the coating will contract too quickly as it cools, causing it to crack. Let your frozen balls sit out for 5 minutes and let your melted coating cool slightly before dipping.
Can I use a different kind of cake or frosting?
Absolutely! This technique works with any sturdy cake (like spice, vanilla, or chocolate) and any thick frosting (like buttercream). Just be aware that very moist cakes, like this pumpkin one, require less frosting to bind them together.
Do I have to use candy melts? Can I use white chocolate?
Candy melts (or coating wafers) are highly recommended because they are designed to melt smoothly and set up hard without any special tempering. You can use real white chocolate, but it can be trickier to work with. You’ll need to add a bit of coconut oil to help it melt smoothly and be aware that it may not set as firm as candy melts.
Final Thoughts: Your Cutest Autumn Creation
There is nothing more rewarding than creating an edible work of art that tastes as good as it looks. These Pumpkin Cake Pops are a celebration of fall flavors and the pure fun of creating something special. They are a delightful project that results in a truly memorable and delicious treat for sharing. Happy fall baking!