The Ultimate Red Velvet Cake Truffles (Easy Valentine’s Treat!)
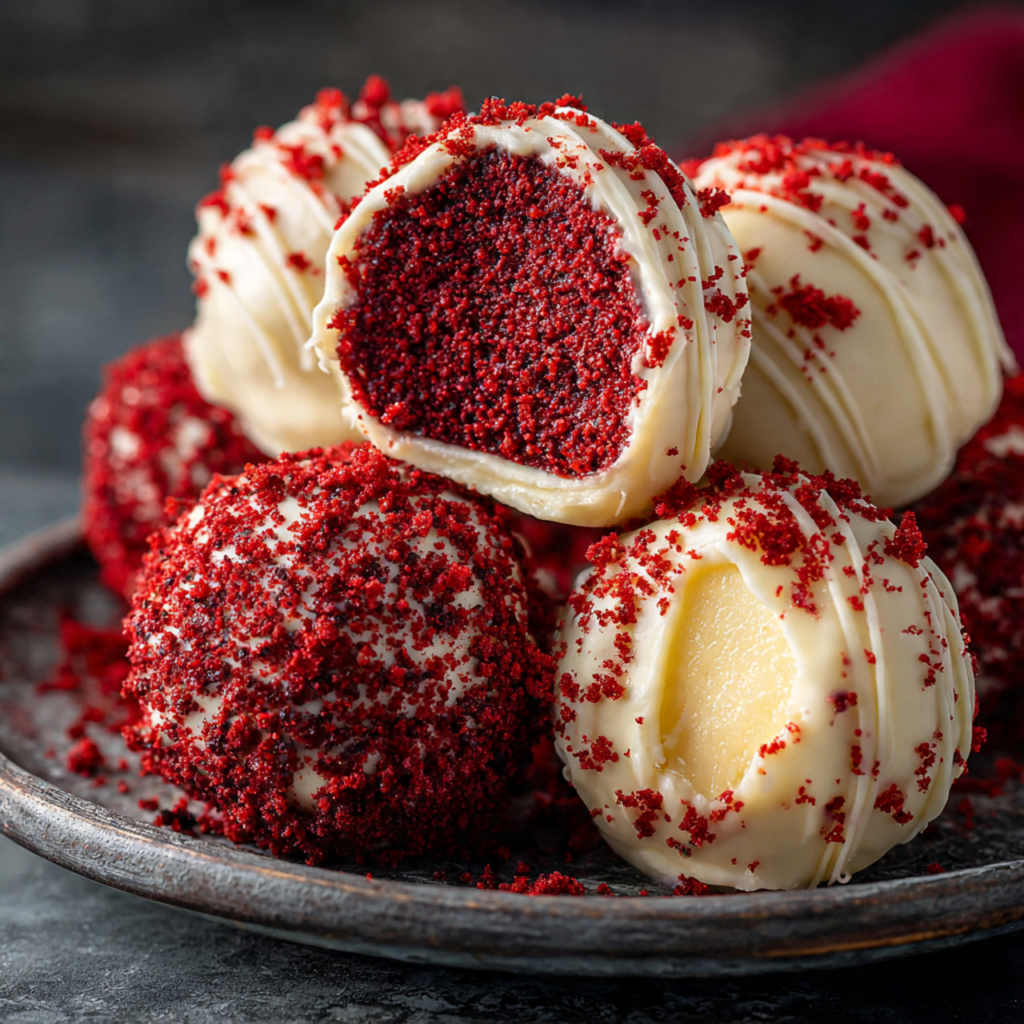
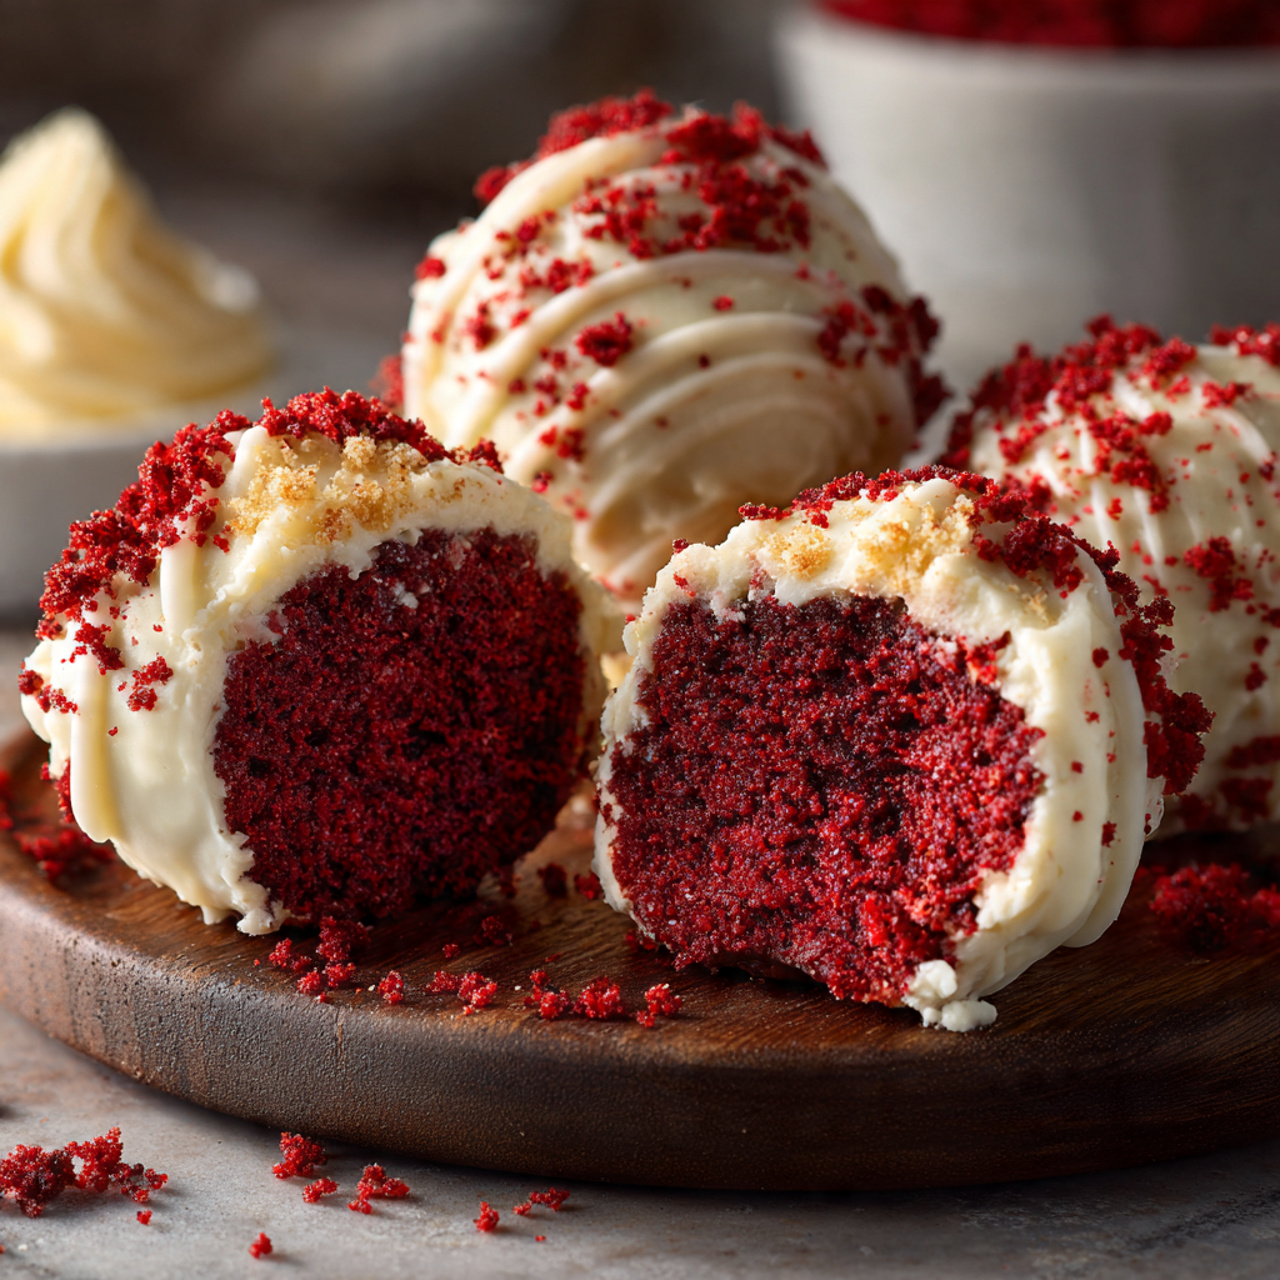
Imagine the most decadent, romantic treat you can think of: a rich, moist, ruby-red velvet cake, blended with tangy cream cheese frosting, rolled into a perfect little sphere, and dipped in a crisp, sweet white chocolate shell. That, my friends, is the irresistible, swoon-worthy magic of these Red Velvet Cake Truffles. This is, without a…
Imagine the most decadent, romantic treat you can think of: a rich, moist, ruby-red velvet cake, blended with tangy cream cheese frosting, rolled into a perfect little sphere, and dipped in a crisp, sweet white chocolate shell. That, my friends, is the irresistible, swoon-worthy magic of these Red Velvet Cake Truffles. This is, without a doubt, the most delicious and impressive-looking treat you will make for your Valentine this year.
I promise you, there is no greater joy than presenting a box of these beautiful homemade truffles. The stunning contrast between the rich red velvet interior and the snowy white chocolate shell is a true show-stopper. They are the perfect project for a cozy afternoon and the ultimate edible way to say “I love you.”
Get ready to create the most talked-about treat of the season, a recipe so simple and delicious, it’s destined to become your new Valentine’s Day tradition.

Why You’ll Fall in Love with These Cake Truffles
You are going to be completely smitten with this easy and elegant recipe. It’s a true Valentine’s Day dream. Here’s why:
- A Genius Shortcut to a Gourmet Treat: Using a red velvet cake mix is the secret to a perfect, moist, and flavorful base every time, saving you time and effort.
- Incredibly Rich and Decadent: The combination of moist red velvet cake and tangy cream cheese frosting creates a flavor that is perfectly balanced and utterly irresistible.
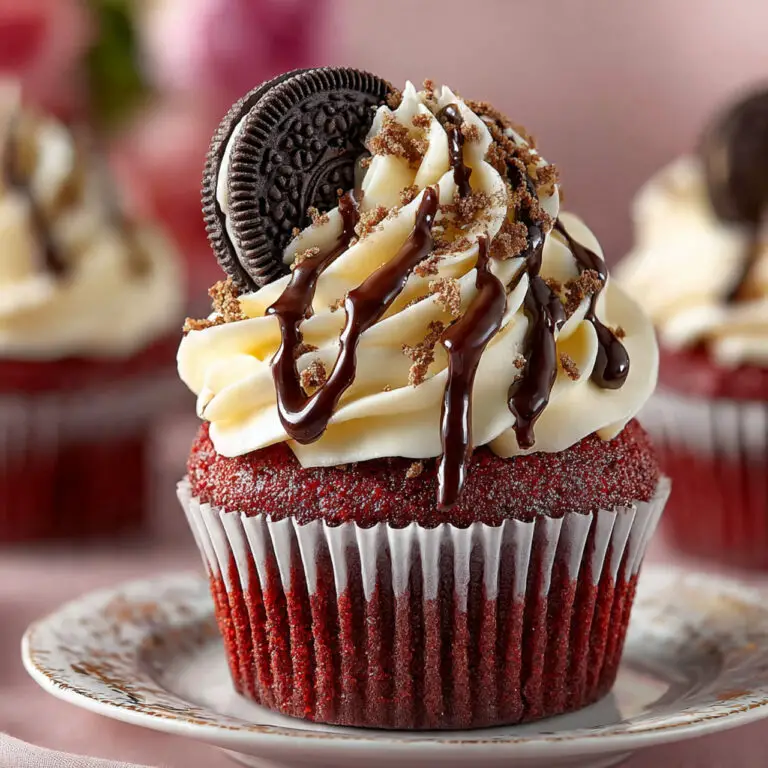
- Stunningly Beautiful for Gifting: The beautiful red and white contrast, finished with festive sprinkles, makes these truffles a perfect and impressive homemade gift for your Valentine.
- A Fun and Rewarding Project: The process of crumbling the cake, rolling the balls, and dipping them in chocolate is a wonderfully satisfying and fun activity.
- Perfectly Portioned, No-Bake Feel: Once the cake is baked, the rest of the process requires no oven, just simple, fun assembly for a perfect bite-sized treat.
Recipe Snapshot
| Prep Time | 30 minutes |
| Cook Time | 30 minutes (for cake) |
| Chill Time | 2 hours |
| Total Time | 3 hours |
| Servings | ~48 truffles |
| Calories | 150 kcal per truffle (estimated) |
| Course | Dessert |
| Cuisine | American |
| Difficulty/Method | Easy / Baking & No-Bake |
Your Shopping List for These Sweethearts
This impressive dessert comes together with just a few simple, store-bought shortcuts.
→ For the Red Velvet Cake Truffles
- 1 box red velvet cake mix → Plus the ingredients listed on the box (usually oil, water, and eggs). This is our foolproof base!
- 1 (16-oz.) can cream cheese frosting → The perfect tangy and creamy binder for our cake crumbs.
- 24 oz. bright white candy melts → The secret to a beautiful, crisp, and easy-to-work-with white coating.
- 1 tbsp vegetable shortening or coconut oil → Optional, but helps to thin the candy melts for a smoother dipping experience.
- Valentine’s Day sprinkles → For that final, festive, and romantic touch!
Let’s Get Rolling! Your Step-by-Step Guide
Ready to create the most romantic treats of the season? Let’s break it down.
Part 1: The Red Velvet Cake Base
- Bake the Cake: Prepare and bake the red velvet cake according to the package directions for a 9×13-inch pan.
- Cool Completely: This is a crucial step! Let the cake cool in the pan for 15 minutes, then turn it out onto a wire rack to cool completely to room temperature. You can speed this up in the refrigerator.
- Crumble the Cake: Once cooled, crumble the entire cake into a very large bowl. You can do this with your hands or with a fork. You want to break it down into fine crumbs.
Part 2: Form and Chill the Truffles
- Make the “Dough”: Add about three-quarters of the can of cream cheese frosting to the cake crumbs. Using your hands or a sturdy spatula, mix everything together until a thick, moist, dough-like consistency is formed. If it’s too dry, add the remaining frosting.
- Scoop and Roll: Using a small cookie scoop (about 1.5 tablespoons), scoop the mixture and roll it between your palms into smooth, uniform balls. Place the rolled balls on a baking sheet lined with parchment paper.
- Chill the Truffles: Place the baking sheet of cake balls into the refrigerator or freezer for at least 2 hours (or freezer for 30-60 minutes) until they are very firm. Do not skip this step!
Part 3: Dip, Decorate, and Set
- Melt the Coating: In a microwave-safe, deep bowl, melt the white candy melts (and shortening, if using) according to package directions, usually in 30-second intervals, stirring well, until smooth.
- Dip the Truffles: Working with one chilled cake ball at a time, drop it into the melted candy. Use a fork to turn it and coat it completely. Lift the truffle out with the fork and gently tap the fork on the rim of the bowl to allow all the excess coating to drip off.
- Decorate and Set: Carefully slide the coated truffle off the fork onto the parchment-lined baking sheet. While the coating is still wet, immediately add your Valentine’s sprinkles. Repeat with all the truffles.
- Let Them Firm Up: Let the truffles sit at room temperature or in the refrigerator until the candy shell is completely hard and set.
Red Velvet Cake Truffles with Cream Cheese Frosting
Ingredients
Equipment
Method
- Prepare and bake the red velvet cake in a 9×13-inch pan according to package directions. Let cool completely.
- Once cooled, crumble the entire cake into a large bowl until fine crumbs form.
- Add about three-quarters of the cream cheese frosting to the crumbs and mix with your hands until a thick, moist dough forms. Add more frosting if needed.
- Use a small cookie scoop to portion the mixture and roll it into smooth balls. Place on a parchment-lined baking sheet. Chill until very firm, about 2 hours in the fridge or 30-60 minutes in the freezer.
- Melt the candy melts in a deep, microwave-safe bowl in 30-second intervals until smooth. Stir in shortening if needed to thin.
- Using a fork, dip each chilled cake ball into the candy coating, tap off the excess, and slide it back onto the parchment paper.
- While the coating is still wet, decorate with Valentine’s sprinkles. Let the truffles set completely at room temperature or in the fridge.
Notes
WiseRecipes’ Top Tips for Perfect Cake Truffles
These simple secrets will ensure your truffles are beautiful and stress-free.
- Cool the Cake Completely. I cannot stress this enough. If the cake is even slightly warm when you mix it with the frosting, you’ll end up with a greasy, overly soft mess that’s impossible to roll.
- The Chill Time is Non-Negotiable. Your cake balls MUST be cold and firm before dipping. This is the secret to preventing them from falling apart in the warm candy coating and helps the shell set up quickly.
- The Fork Trick is a Game-Changer. The best way to dip truffles is by using a fork. It allows you to coat them completely and, most importantly, lets all the excess coating drip off for a clean, professional finish.
- Use Candy Melts for a Foolproof Coating. Bright white candy melts are designed to melt smoothly and set up hard and shiny. They are much more forgiving than regular white chocolate, which can be tricky to work with.
- Work in Small Batches. Keep the majority of your rolled cake balls in the fridge while you work on dipping just a few at a time. This ensures they all stay cold and firm right up until they hit the candy coating.
Keep Them Fresh! Storing Your Valentine’s Treats
These truffles are the perfect make-ahead gift or party treat.
- Refrigerator: Because of the cream cheese frosting, these must be stored in the refrigerator. Place them in an airtight container, in a single layer or separated by parchment paper, for up to one week.
- Freezer: These also freeze beautifully! Place the finished truffles on a baking sheet in the freezer until solid, then transfer them to a freezer-safe bag or container. They will keep for up to 3 months. Let them thaw in the fridge for an hour before serving.
FAQs: Your Red Velvet Truffle Questions, Answered!
Can I make my own cake and frosting from scratch?
Absolutely! If you have a favorite red velvet cake and cream cheese frosting recipe, they will work perfectly. You’ll need one 9×13-inch cake and about 12-16 ounces of frosting.
My candy coating is too thick. How do I fix it?
This is a common issue! Stir in about 1 tablespoon of vegetable shortening or coconut oil into the melted candy melts. This will thin it out into a much smoother, more fluid consistency perfect for dipping.
My cake balls are falling apart when I dip them. What went wrong?
This is almost always because the cake balls were not cold enough before dipping. Pop them back in the freezer for another 15-20 minutes to make sure they are very firm before you try again.
What are some other decoration ideas?
These are so fun to decorate! Instead of sprinkles, you could let the white coating set completely, then drizzle them with melted pink or red candy melts for a beautiful, modern look.
Final Thoughts: A Sweet Bite of Love
There is nothing more special than a homemade treat made with love, especially for Valentine’s Day. These Red Velvet Cake Truffles look and taste like they came from a high-end candy shop, but they are a simple, joyful project you can create right in your own kitchen. They are the perfect way to share a little sweetness with your favorite people. Happy Valentine’s Day!