Soft & Fudgy Red Velvet Cream Cheese Cookies (Best Christmas Cookies Recipes!)
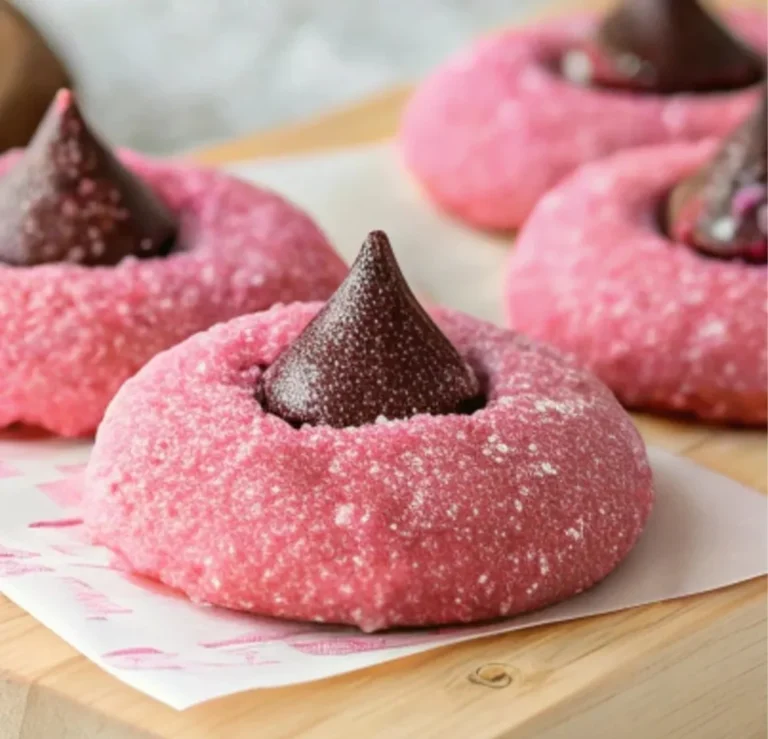
Imagine the luxurious, velvety texture of your favorite red velvet cake, condensed into a soft, chewy, melt-in-your-mouth cookie. Now, top that with a cloud of rich, tangy cream cheese frosting and a sprinkle of red velvet crumbs. That is the magic of these Red Velvet Cream Cheese Cookies. When you are hunting for the absolute…
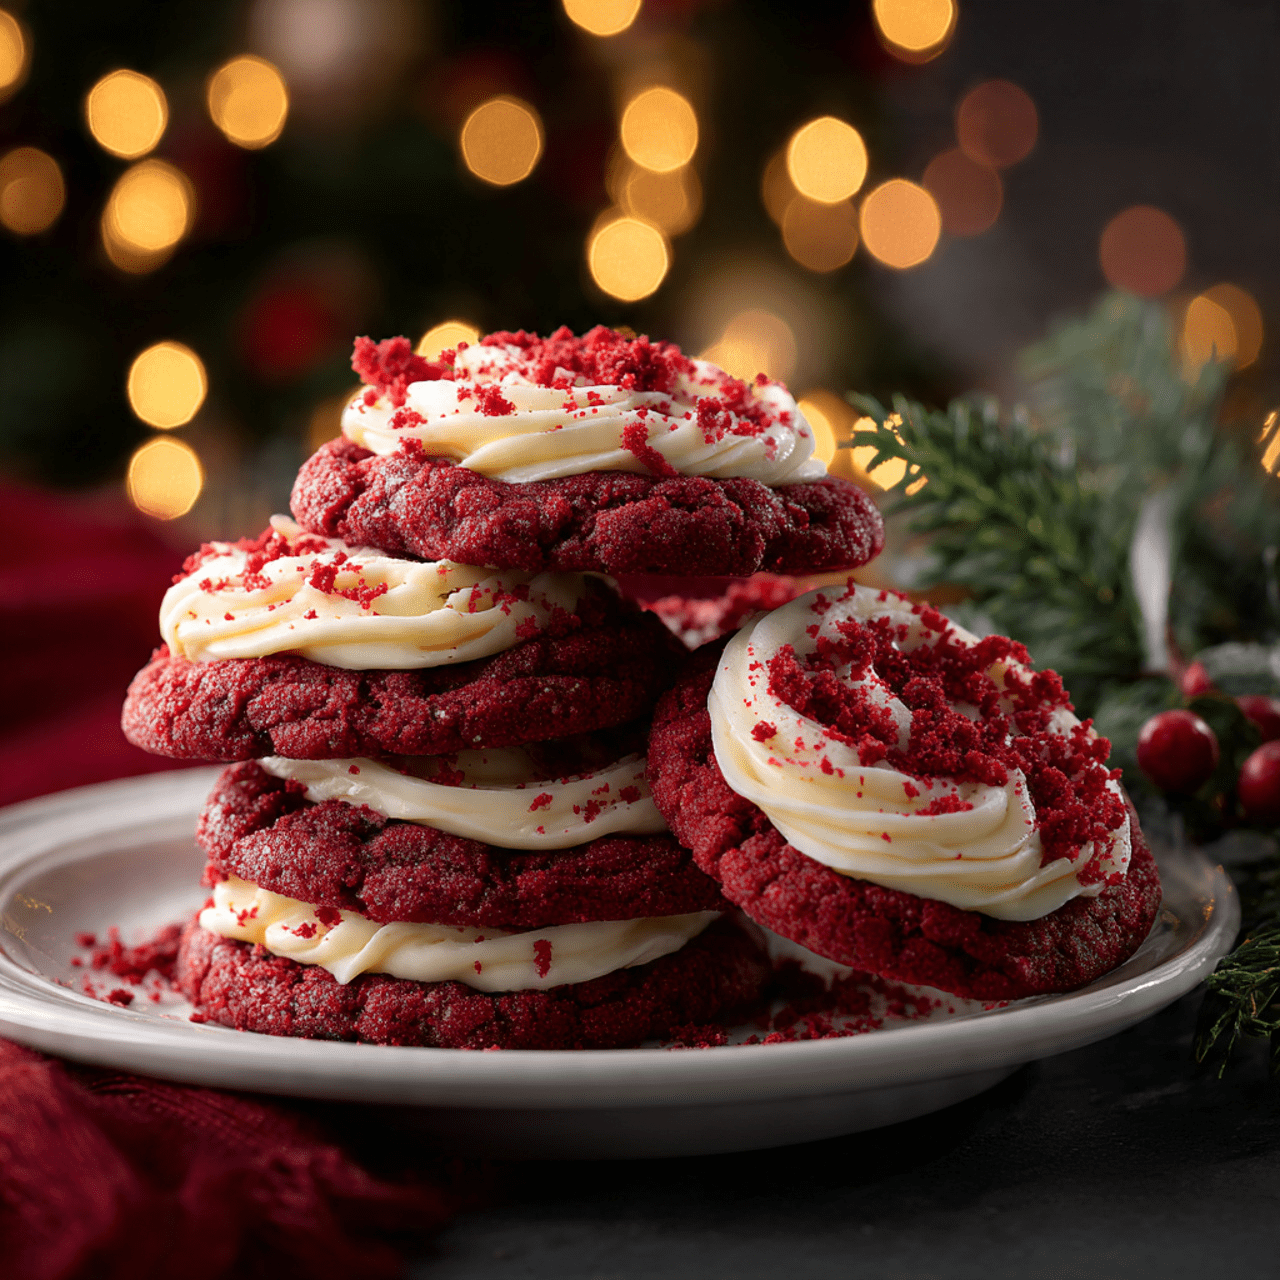
Imagine the luxurious, velvety texture of your favorite red velvet cake, condensed into a soft, chewy, melt-in-your-mouth cookie. Now, top that with a cloud of rich, tangy cream cheese frosting and a sprinkle of red velvet crumbs. That is the magic of these Red Velvet Cream Cheese Cookies. When you are hunting for the absolute best Christmas cookies recipes to wow your family and friends this holiday season, this recipe deserves a top spot on your list.
I promise you, one bite of these chilled, frosted cookies will have you hooked. The slight tang of the cream cheese perfectly cuts through the sweetness of the sugar-coated cookie base. They look like they came from a high-end bakery, but they are surprisingly simple to make at home. Whether you leave them out for Santa or bring them to a cookie swap, they are guaranteed to be the first ones to disappear.
Get ready to bake the most festive, flavorful, and crowd-pleasing cookies of the season. Let’s get started!

Why These Red Velvet Cookies Are a Holiday Must-Have!
You are going to fall in love with the unique texture and stunning appearance of these cookies. They stand out among other christmas cookies recipes for so many reasons:
- Naturally Egg-Free & Allergy Friendly: By using a cornstarch and water mixture instead of eggs, these cookies have a unique fudgy texture and are perfect for those with egg allergies. They are also easily made gluten-free or vegan!
- The Perfect Frosting-to-Cookie Ratio: This isn’t just a drizzle; it’s a generous layer of fluffy cream cheese frosting that turns every cookie into a mini cake experience.
- Stunning Festive Presentation: The vibrant red color, the white frosting, and the red crumb topping make these the most photogenic cookies on any holiday platter.
- Incredibly Moist and Chewy: Thanks to the brown sugar, butter, and that special cornstarch hack, these cookies stay soft and chewy for days.
- No Mixer Required for Dough: While a mixer helps, you can easily make this dough by hand if you prefer, making it a great accessible recipe.
Recipe Snapshot
| Prep Time | 30 minutes |
| Cook Time | 8 minutes |
| Chill Time | 30 minutes |
| Total Time | 1 hour 8 minutes |
| Servings | 34 Cookies |
| Calories | 149 kcal per cookie |
| Course | Dessert |
| Cuisine | American |
| Difficulty/Method | Easy / Baking |
Your Shopping List for Red Velvet Perfection
This recipe uses pantry staples with a few specific tweaks to get that perfect texture.

→ For the Cookie Dough
- 1 ¾ cup multipurpose gluten-free flour → If you don’t need them to be GF, you can swap this for regular all-purpose flour (see tips below). Ensure your GF blend contains xanthan gum.
- ¼ cup cocoa powder → Natural unsweetened is best for that classic red velvet flavor profile.
- 2 heaping tablespoons cornstarch + 3 tablespoons water → This is our “magic egg replacer” that binds the dough and keeps it soft.
- ½ cup unsalted butter → Room temperature is crucial. You can also use a vegan baking stick.
- 1 ⅔ cups granulated sugar → Divided. Most goes in the dough, but reserve ⅔ cup for rolling the dough balls before baking.
- 1 tablespoon red food coloring → Essential for the look! Liquid works well here; if using gel, start with less.
- 2 tablespoons milk → Dairy or non-dairy work equally well.
- 1.5 teaspoons pure vanilla extract → For that warm bakery flavor.
- ½ teaspoon baking soda & ¼ teaspoon kosher salt → For lift and flavor balance.
→ For the Cream Cheese Frosting
- 4 ounces cream cheese → Softened to room temperature.
- ½ cup unsalted butter → Softened.
- 2 cups confectioners’ sugar → Sifted to avoid lumps.
- 2 teaspoons pure vanilla extract → Flavor, flavor, flavor!
Let’s Bake! Your Step-by-Step Guide
Ready to fill your kitchen with the smell of cocoa and vanilla? Let’s break this down into simple steps.
Part 1: The Dry Mix & The Slurry
- Whisk Dry Ingredients: In a large bowl, whisk together the flour, cocoa powder, baking soda, and salt until well combined. Set this aside.
- Make the Cornstarch Slurry: In a small bowl, mix the cornstarch and water until it creates a thin, watery mixture. It might feel thick and tacky at first, but keep stirring until it smooths out. This is replacing your eggs!
Part 2: The Dough
- Cream Butter and Sugar: In the bowl of an electric mixer (or a large bowl with a hand mixer), beat the butter and 1 cup of the granulated sugar until creamy, about 1-2 minutes.
- Add Wet Ingredients: Slowly beat in your prepared cornstarch slurry, the milk, red food coloring, and vanilla extract. Don’t panic if it looks a little chunky or separated at this stage—that is completely normal!
- Combine: With the mixer on low speed, slowly add the dry flour mixture. Mix just until combined. Use a spatula to scrape down the sides and ensure everything is incorporated.
- Chill: This step is non-negotiable! Shape the dough into a flat disc, wrap it in plastic wrap, and refrigerate for at least 30 minutes to 1 hour. The dough needs to harden, or the cookies will spread into puddles in the oven.

Part 3: Roll and Bake
- Prep: Preheat your oven to 350°F and line a baking sheet with parchment paper. Place the reserved ⅔ cup sugar in a small bowl.
- Roll and Coat: Remove the dough from the fridge. Using a small cookie scoop or your hands, roll the dough into 1-inch balls. Drop each ball into the sugar bowl and coat completely.
- Bake: Place the sugar-coated balls on the baking sheet about 2 inches apart. Keep any extra dough in the fridge while the first batch bakes. Bake on the center rack for exactly 8 minutes.
- Reshape and Cool: As soon as they come out of the oven, if they aren’t perfectly round, use a spatula or a round cookie cutter to gently scoot them into a circle. If they are puffy, press them down gently with a fork to create a flat surface for frosting. Let them cool on the baking sheet for 5 minutes before moving to a rack. If you move them too soon, they will break!
Part 4: Frost and Garnish
- Make the Frosting: Beat the butter until soft (about 2 minutes). Add the cream cheese and vanilla and beat until combined. Slowly add the confectioners’ sugar and salt, beating until smooth and creamy.
- Create Crumbs: Take one of your cooled cookies and crumble it up into tiny pieces. This will be your garnish.
- Decorate: Spread a generous layer of frosting over the top of each cooled cookie. Immediately sprinkle with the red velvet cookie crumbs. Enjoy!
Red Velvet Cream Cheese Cookies
Ingredients
Equipment
Method
- In a large bowl, whisk together the gluten free flour, cocoa powder, baking soda and kosher salt. Set aside.
- In a small bowl, mix the cornstarch and water until thin and watery. Set aside.
- In a mixer, beat the butter and 1 cup granulated sugar until creamy (1-2 minutes).
- Slowly beat in the cornstarch mixture, milk, red food coloring and vanilla until combined.
- Slowly beat in the flour mixture until just combined. Scrape down the sides.
- Shape dough into a flat disc, wrap in plastic, and refrigerate for 30 minutes to 1 hour.
- Preheat oven to 350°F. Line a baking sheet with parchment paper.
- Roll chilled dough into 1-inch balls. Roll each ball in the reserved 2/3 cup granulated sugar to coat completely.
- Place on baking sheet 2 inches apart. Bake for 8 minutes.
- Immediately gently flatten tops with a fork if needed. Let cool on baking sheet for 5 minutes, then transfer to a cooling rack.
- Beat butter until creamy. Add vanilla and cream cheese, beating until combined. Slowly add confectioners’ sugar and salt, beating until smooth.
- Crumble one cooled cookie into tiny crumbs. Spread frosting on the remaining cooled cookies and sprinkle with crumbs.
Notes
WiseRecipes’ Top Tips for Cookie Success
These simple secrets will ensure your red velvet cookies turn out perfect every time.
- Don’t Skip the Chill Time. Since this dough uses melted butter or oil equivalents and no eggs, it is softer than standard dough. Chilling it solidifies the fat and hydrates the flour, ensuring your cookies stay thick and chewy instead of spreading thin.
- Cool on the Pan. These cookies are very soft when they first come out of the oven. That 5-minute rest on the hot baking sheet allows them to set up structurally. If you try to move them immediately, they will fall apart.
- The “Scoot” Trick. If your cookies bake up a little wonky, use a large round cookie cutter or a glass to “scoot” them into perfect circles immediately after taking them out of the oven while they are still hot and pliable.
- Make Your Own Crumbs. Sacrificing one cookie to make crumbs for the topping is the pro move. It adds a beautiful pop of red color on top of the white frosting and gives a hint of what flavor is inside.
- Measure Flour Correctly. If you are using cups, spoon the flour into the cup and level it off. Scooping directly from the bag packs the flour down and can lead to dry cookies.
Keep Them Fresh! Storing Your Treats
Because of the cream cheese frosting, these cookies need a little extra care.
- Refrigerator: Store the frosted cookies in an airtight container in the fridge for up to 2 days. They must be refrigerated because of the dairy in the frosting.
- Serving Tip: Cold cookies are delicious, but for the best soft texture, let them sit at room temperature for about 15-20 minutes before eating.
- Freezing Dough: You can freeze the dough disc (wrapped well) for up to 30 days. Thaw it in the fridge the night before you want to bake.
FAQs: Your Red Velvet Cookie Questions, Answered!
Can I use regular all-purpose flour instead of gluten-free?
Yes! If you don’t need them to be gluten-free, you can use regular all-purpose flour. You will want to use about 1 ¾ packed cups (approx. 294 grams). The rest of the recipe remains the same, including the chill time.
Can I make these vegan?
Absolutely. This recipe is already egg-free! To make it fully vegan, just use dairy-free gluten-free flour, vegan butter sticks, non-dairy milk, and a vegan cream cheese alternative for the frosting. Also, check your red food coloring to ensure it’s vegan-friendly.
Why use a cornstarch slurry instead of eggs?
The mixture of cornstarch and water acts as a binder, holding the cookie together much like an egg would, but it creates a slightly different texture—fudgier and softer. It’s a fantastic trick for egg-free baking!
Do I have to use the frosting?
While the frosting makes them true “red velvet” style, these cookies are delicious on their own! If you skip the frosting, you might want to roll them in a little extra sugar before baking for a sparkly, crinkly top.
Final Thoughts: A Festive Favorite
There is nothing quite like the festive pop of red velvet to make a holiday spread feel complete. These Red Velvet Cream Cheese Cookies are a joy to make and even more of a joy to eat. They are soft, sweet, tangy, and perfectly themed for the season. Add them to your list of christmas cookies recipes this year, and I guarantee they will become a new tradition. Happy baking!