Red Velvet Swiss Roll
Every bite of a Red Velvet Swiss Roll is a delightful experience, transporting you to a world of soft, airy cake and sweet, creamy icing. The sumptuous red hue is not just visually appealing; it hints at a flavor profile that is rich yet approachable, making it perfect for any occasion—from casual desserts to festive…
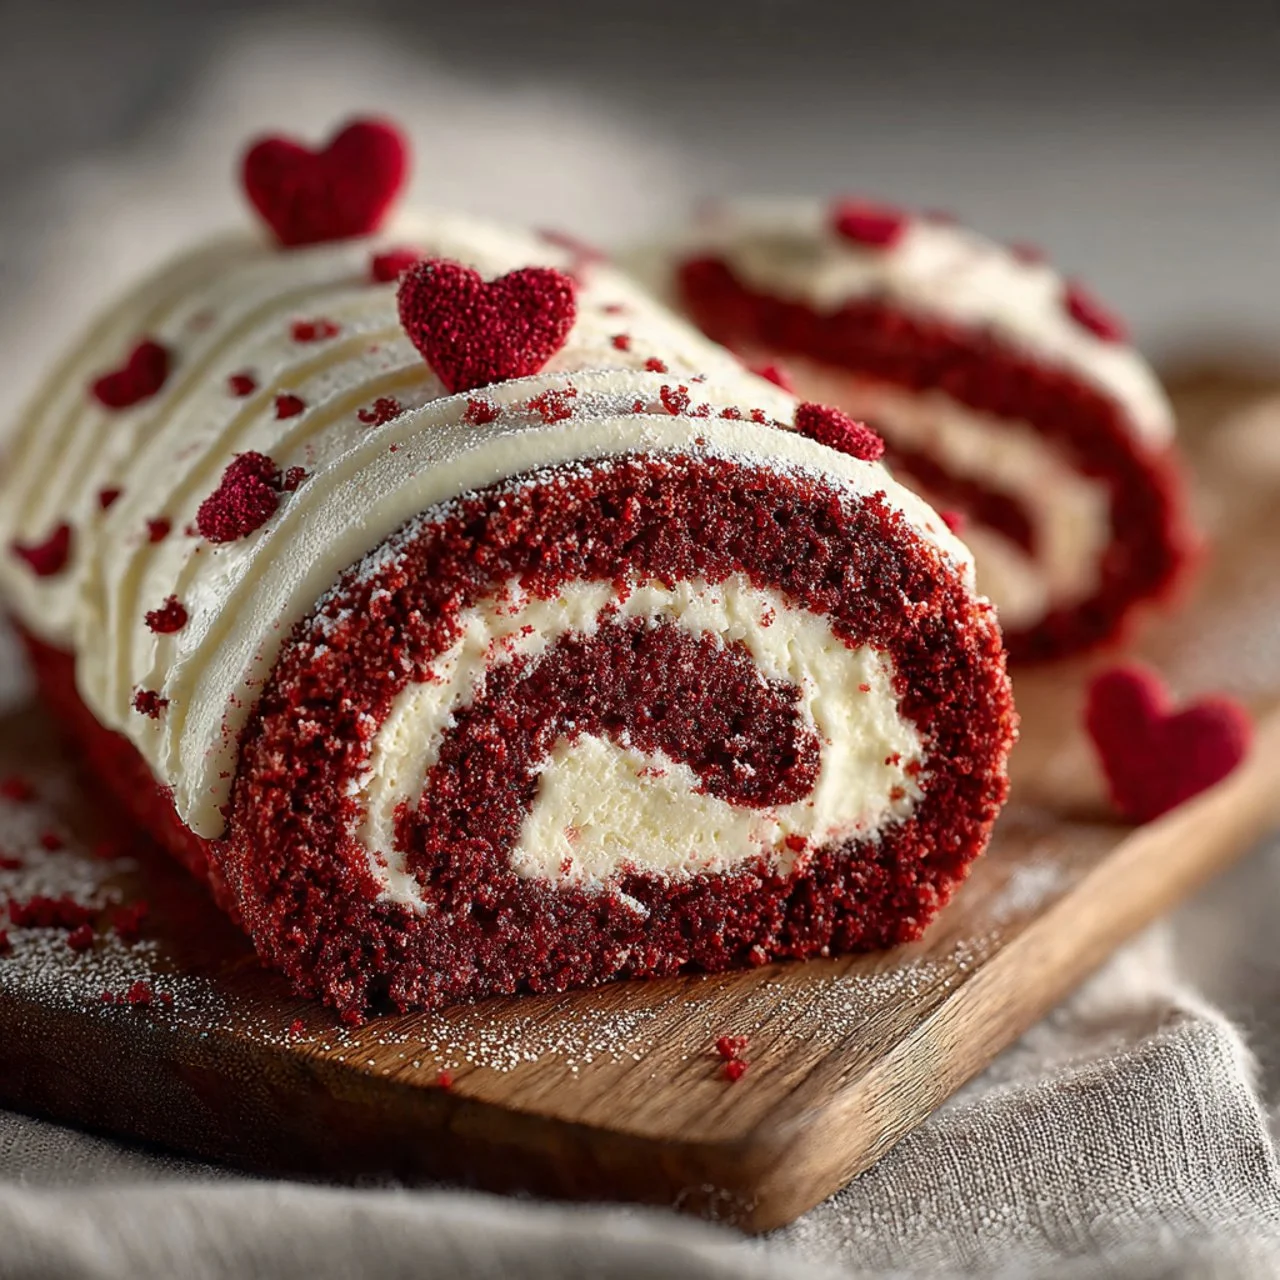
Every bite of a Red Velvet Swiss Roll is a delightful experience, transporting you to a world of soft, airy cake and sweet, creamy icing. The sumptuous red hue is not just visually appealing; it hints at a flavor profile that is rich yet approachable, making it perfect for any occasion—from casual desserts to festive gatherings. Imagine slicing through the rolled cake to reveal a stunning spiral of velvety red and white that beckons you to take a bite.
Why Red Velvet Swiss Roll is a True Delight
- Eye-Catching Presentation: The vibrant red exterior, contrasted with the pristine white glaze, makes this cake an absolute showstopper on any dessert table.
- Light and Fluffy: The airy texture of the cake creates a wonderful mouthfeel, making it feel less indulgent while still delivering on flavor.
- Versatile for Any Occasion: Whether it’s a birthday, anniversary, or just a random Tuesday, this cake brings a touch of celebration to every day.
- Simple Ingredients, Elegant Outcome: It comes together with ingredients you likely already have, making it a delightful project that won’t break the bank.
- Personal Touch: The rolling technique allows for a personal touch—each roll can be beautifully decorated to suit your taste or the occasion.
Gathering Your Ingredients
To create your very own masterpiece of a Red Velvet Swiss Roll, you’ll need the following:
- 3 large eggs: These are the building blocks for your fluffy cake, helping it rise beautifully.
- 1 cup granulated sugar: Sweetens the cake and contributes to that delightful texture.
- 1 tablespoon cocoa powder: Just a hint of chocolate enhances the overall flavor without overpowering the iconic red velvet essence.
- 1 cup all-purpose flour: Provides structure to your cake, ensuring it holds up nicely when rolled.
- 1 teaspoon baking powder: This magical ingredient makes the cake light and airy.
- 1/2 teaspoon salt: Balances the sweetness and enhances the flavor profile.
- 1 teaspoon vanilla extract: A splash of vanilla brings depth to the sweetness.
- 1 tablespoon red food coloring: The star of the show, providing that signature red hue we adore.
- 1/4 cup buttermilk: Adds moisture and tenderness to the cake, giving it that melt-in-your-mouth quality.
- For the white glaze icing:1 cup powdered sugar: Sweet and smooth, the perfect base for a drizzle.
- 2 tablespoons milk: A splash of milk helps achieve that perfectly pourable glaze.
- 1/2 teaspoon vanilla extract: Just like in the cake, this will enhance the icing’s flavor.
Crafting Your Perfect Red Velvet Swiss Roll
Are you ready to embark on this baking adventure? Let’s get to it!
- Preheat your oven to 350°F (175°C) and grease a 15×10 inch jelly roll pan. This will set the stage for your cake to rise beautifully.
- In a large bowl, beat the eggs and granulated sugar together until the mixture is light and fluffy. You want it to be almost pale in color, creating that delightful airy texture.
- In another bowl, combine the cocoa powder, flour, baking powder, and salt. This blend will be the backbone of your cake, so take a moment to whisk it well.
- Gradually add the dry ingredients to the egg mixture, mixing until you have a smooth batter. Don’t rush this part; the smoother the batter, the fluffier the cake!
- Stir in the vanilla, red food coloring, and buttermilk until it’s all beautifully combined. The mixture should be a stunning shade of red, rich and inviting!
- Pour the batter into the prepared pan and spread it evenly. You want it perfect and level, so each slice has that beautiful swirl.
- Bake for 12-15 minutes until a toothpick comes out clean. Your kitchen will start to smell divine, and you might find it hard to wait!
- Once baked, remove from the oven and let it cool slightly before moving to the next step.
- Carefully roll the cake using parchment paper while it’s still warm. This is the trick to ensuring it retains its shape without cracking. Let it sit that way until cool.
- For the icing, whisk together powdered sugar, milk, and vanilla until smooth and glossy. The contrast of this white glaze against the red cake is absolutely stunning.
- Unroll the cooled cake gently, spread it with a layer of the white glaze icing, and roll it up again. Don’t worry, the form will hold!
- Decorate with heart and rose patterns as desired, making each cake as unique as you are.
- Finally, slice into it and serve, but be prepared for oohs and aahs at your culinary creation!
Tips for Success
- Don’t Skip the Parchment Paper: Lining your baking pan is essential to avoid sticking. It makes this job so much easier!
- Cool It Brown: Let your cake cool slightly before rolling it up. This prevents cracking and helps maintain the shape.
- Roll Tight: When rolling your cake, be gentle but firm to avoid any tears. A tightly rolled cake presents beautifully!
- Chill for Best Results: If you have time, refrigerate the rolled cake before slicing to help the icing set. It makes handling much easier!
Creative Twists to Consider
Once you’ve mastered the classic Red Velvet Swiss Roll, why not try these variations?
- Cream Cheese Filling: Swap out the white glaze for a tangy cream cheese filling. Just whip together cream cheese, powdered sugar, and a splash of vanilla for a luscious twist.
- Chocolate Ganache Drizzle: For the chocolate lovers, a rich ganache provides a decadent layer on top of your roll.
- Fruit Add-ins: For a hint of freshness, add crushed raspberries or strawberries to your cream cheese filling before rolling it up.
- Different Colors: Use various food colorings to create a rainbow effect in your cake batter—perfect for celebrations!
- Spiced Version: Add a pinch of cinnamon and nutmeg to your batter for a warm, spiced flavor that’s perfect for fall gatherings.
How to Enjoy Red Velvet Swiss Roll
Serving your Red Velvet Swiss Roll is where the fun continues! Slice it into generous pieces to showcase that stunning swirl. I love plating it alongside fresh berries to balance the sweetness and add a pop of color. A dollop of whipped cream or a scoop of vanilla ice cream makes it even more inviting. Drizzle with extra glaze or melted chocolate for that gourmet touch, and watch everyone’s eyes light up!
Keep It Fresh
To ensure your Red Velvet Swiss Roll stays delicious, store any leftovers in an airtight container in the fridge for up to 3 days. You can also freeze it—just wrap it tightly in plastic wrap and then in aluminum foil, where it can happily sit for up to a month. When ready to enjoy, simply thaw in the fridge overnight and enjoy all over again!
Common Questions
- Can I make this ahead of time? Absolutely! The Swiss Roll can be made a day in advance. Just store it in the fridge once it’s assembled and it will be even more flavorful the next day.
- What if I don’t have buttermilk? You can easily make a substitute by combining milk with a bit of vinegar or lemon juice. Let it sit for 5-10 minutes, and you’re all set!
- Can I use a different food coloring? Yes! While red food coloring is traditional, using gel food colors or natural alternatives can give you other vibrant hues.
- What should I do if my cake cracks? If this happens, don’t stress! Just roll the cake more tightly when filling, and cover any cracks with extra icing; they’ll be hidden from view when served.
Warm and inviting, the Red Velvet Swiss Roll is a sweet ode to the joy of baking and sharing. It’s perfect for gatherings, celebrations, or simply an afternoon treat. Try it out, and I promise it will become a go-to dessert for any occasion!

Red Velvet Swiss Roll
Ingredients
Method
- Preheat your oven to 350°F (175°C) and grease a 15x10 inch jelly roll pan.
- In a large bowl, beat the eggs and granulated sugar together until light and fluffy.
- In another bowl, combine the cocoa powder, flour, baking powder, and salt.
- Gradually add the dry ingredients to the egg mixture, mixing until you have a smooth batter.
- Stir in the vanilla, red food coloring, and buttermilk until well combined.
- Pour the batter into the prepared pan and spread evenly.
- Bake for 12-15 minutes until a toothpick comes out clean.
- Remove from the oven and let it cool slightly.
- Carefully roll the cake using parchment paper while still warm and let it sit until cool.
- Whisk together powdered sugar, milk, and vanilla until smooth and glossy.
- Unroll the cooled cake, spread with icing, and roll it back up.
- Decorate as desired and slice to serve.