The Ultimate Red Velvet Whoopie Pies (Perfectly Soft & Tangy!)
Imagine the perfect hybrid of a soft, cake-like cookie and a decadent slice of cake, sandwiched together with the most luscious, tangy cream cheese frosting. That, my friends, is the irresistible magic of a homemade Red Velvet Whoopie Pie. This isn’t just a dessert; it’s a hand-held celebration, a beautiful, vibrant treat that is pure,…
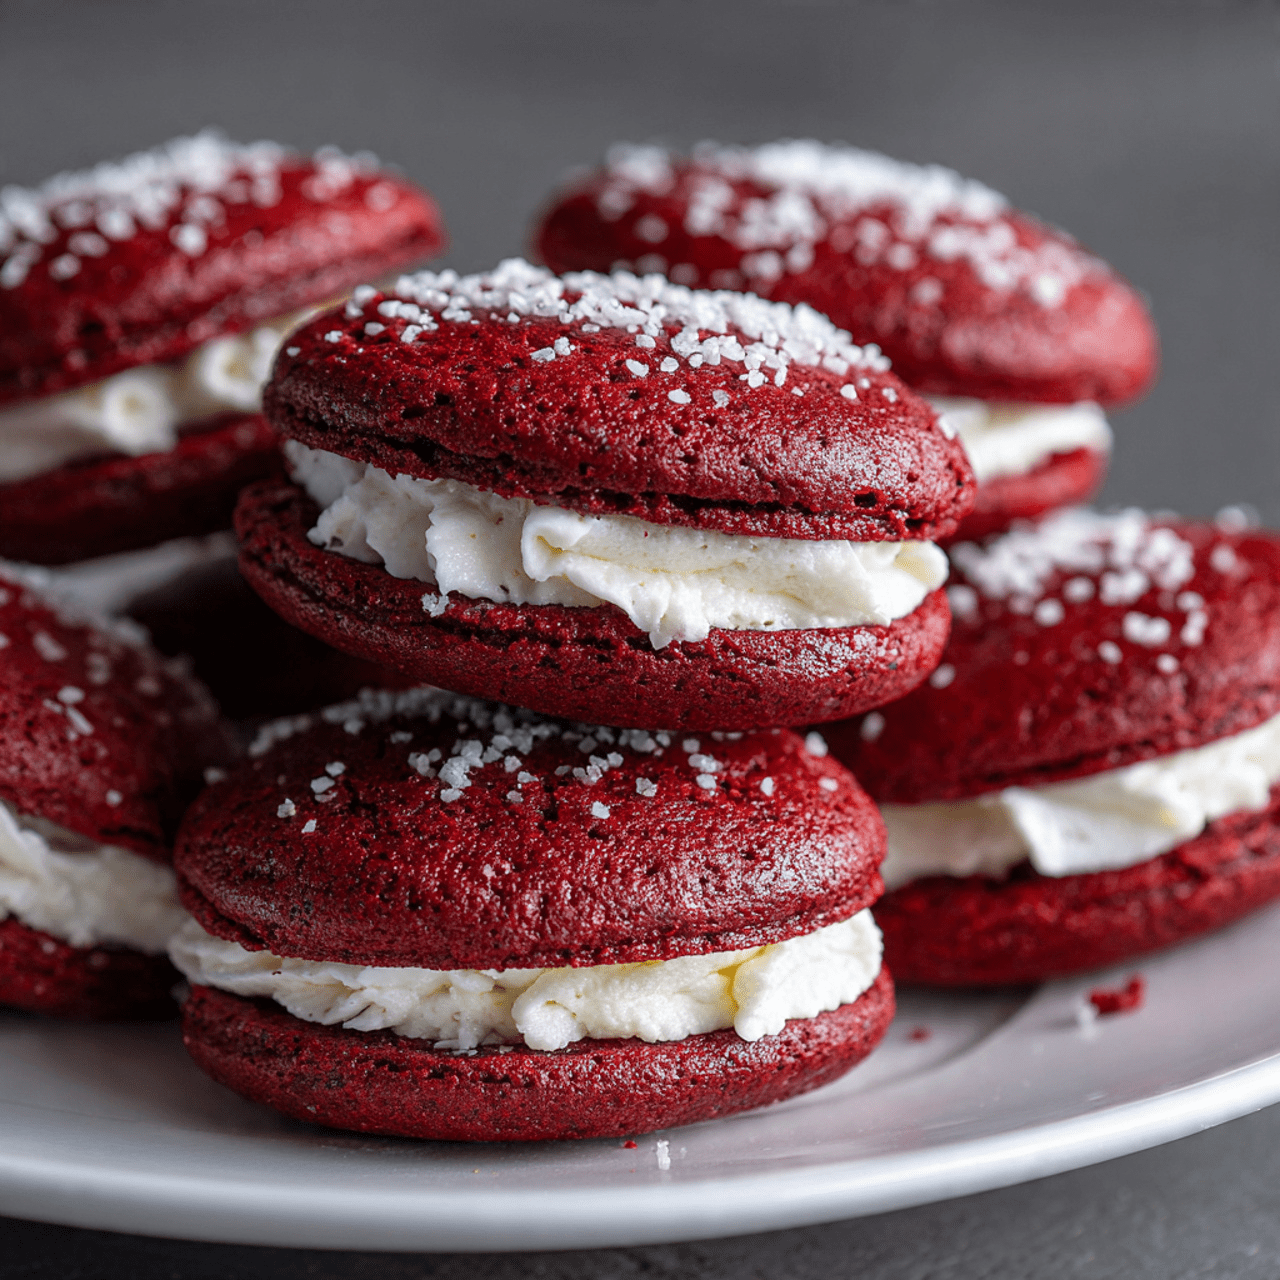
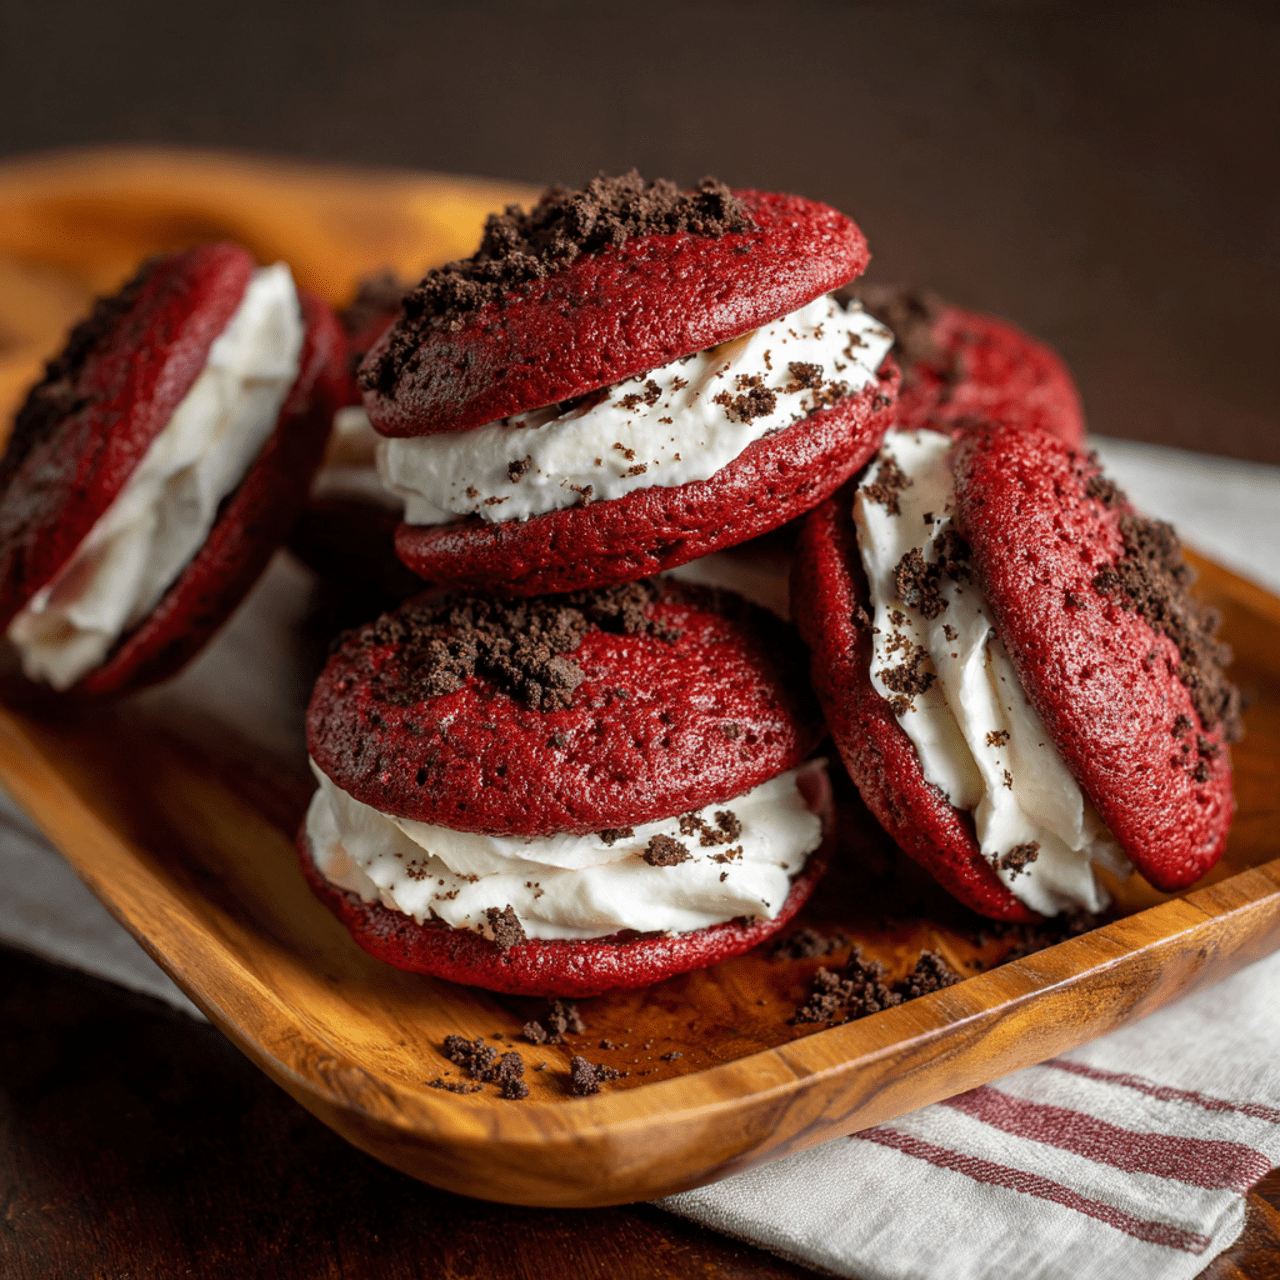
Imagine the perfect hybrid of a soft, cake-like cookie and a decadent slice of cake, sandwiched together with the most luscious, tangy cream cheese frosting. That, my friends, is the irresistible magic of a homemade Red Velvet Whoopie Pie. This isn’t just a dessert; it’s a hand-held celebration, a beautiful, vibrant treat that is pure, unadulterated comfort and joy.
I promise you, there is no greater feeling than taking that first bite and experiencing the perfect harmony of the soft, tender red velvet cakes and the cool, tangy, sweet cream cheese filling. They are a true show-stopper, with their dramatic color contrast making them as beautiful to look at as they are to eat. They are the perfect special treat for holidays, birthdays, or any day that needs a little extra sweetness.
Get ready to master the classic whoopie pie with a beloved red velvet twist. This is a recipe that will have everyone falling in love.

Why These Will Be Your Favorite Whoopie Pies!
You are going to be completely amazed by the incredible flavor and perfect texture of these homemade treats. They are a must-bake for so many good reasons:
- Incredibly Soft, Cake-Like Texture: These aren’t dry cookies! The batter creates a wonderfully soft, moist, and pillowy cakelet that is the signature of a perfect whoopie pie.
- Classic Tangy Cream Cheese Filling: The filling is the real deal—a rich, smooth, and perfectly tangy cream cheese frosting that beautifully complements the sweet red velvet cakes.
- A True Show-Stopping Presentation: The stunning contrast between the deep red cakes and the bright white filling is visually spectacular. They look like they came from a gourmet bakery!
- Perfect for Making Ahead: The cookie-cakes can be baked ahead of time, and the assembled whoopie pies actually get better as they sit, making them ideal for party prep.
- A Fun and Rewarding Bake: From mixing the vibrant red batter to sandwiching the finished cakes with frosting, this is a wonderfully satisfying recipe that yields impressive results.
Recipe Snapshot
| Prep Time | 40 minutes |
| Cook Time | 10 minutes |
| Total Time | 50 minutes (plus cooling) |
| Servings | 24 whoopie pies |
| Calories | 272 kcal per pie |
| Course | Dessert |
| Cuisine | American |
| Difficulty/Method | Easy / Baking |
Your Shopping List for These Red Velvet Beauties
This recipe uses classic baking staples to create its signature flavor and texture.

→ For the Red Velvet Cakes
- ¾ cup butter, softened → For a rich, tender cake.
- 1 cup sugar → For the perfect sweetness.
- 2 large eggs, room temperature → Binds the batter.
- ½ cup sour cream → Adds moisture and a subtle tang.
- 1 tablespoon red food coloring → Gel food coloring provides the most vibrant color.
- 1 ½ teaspoons white vinegar → A classic red velvet ingredient that reacts with the baking soda for a tender crumb.
- 1 teaspoon clear vanilla extract → For flavor without discoloring the red.
- 2 ¼ cups all-purpose flour → Provides the structure.
- ¼ cup baking cocoa → For that signature, subtle chocolate flavor.
- 2 teaspoons baking powder & ½ teaspoon baking soda → For the perfect lift.
- ½ teaspoon salt → To balance the sweetness.
- 2 ounces semisweet chocolate, melted and cooled → Adds an extra layer of rich chocolate flavor.
→ For the Cream Cheese Filling & Toppings
- 1 package (8 ounces) cream cheese, softened → The tangy heart of our filling.
- ½ cup butter, softened → Creates a smooth, rich frosting.
- 2 ½ cups confectioners’ sugar → For a smooth, sweet filling.
- 2 teaspoons clear vanilla extract → To keep the filling perfectly white.
- White baking chips, melted, and finely chopped pecans → Optional, for a beautiful garnish.
Let’s Bake Whoopie Pies! Your Step-by-Step Guide
Ready to create these stunning cookie sandwiches? Let’s break it down into simple parts.
Part 1: The Soft Red Velvet Cakes
- Preheat and Prep: Preheat your oven to 375°F. Line your baking sheets with parchment paper.
- Cream Butter and Sugar: In a large bowl with an electric mixer, cream the softened butter and sugar on medium-high speed for a full 5-7 minutes. This step is key! You want the mixture to be very light, pale, and fluffy.
- Add Wet Ingredients: Beat in the room temperature eggs, sour cream, red food coloring, vinegar, and vanilla until well combined.
- Combine Dry Ingredients: In a separate medium bowl, whisk together the flour, cocoa powder, baking powder, salt, and baking soda.
- Finish the Batter: Gradually beat the dry ingredients into the creamed mixture on low speed until just combined. Finally, stir in the cooled, melted semisweet chocolate. Do not overmix!
- Scoop and Bake: Drop the dough by rounded tablespoonfuls about 2 inches apart onto your prepared baking sheets. Bake for 8-10 minutes, or just until the edges are set and the tops spring back when touched.
- Cool Completely: Let the cakes cool on the pans for 2 minutes before transferring them to wire racks to cool completely. You must wait until they are fully cool before filling.

Part 2: The Cream Cheese Filling & Assembly
- Make the Filling: In a large bowl, use an electric mixer to beat the softened cream cheese and softened butter until light and fluffy. On low speed, gradually beat in the confectioners’ sugar until combined, then beat in the vanilla. Increase the speed to medium-high and beat until perfectly smooth and creamy.
- Assemble the Pies: Match up your cooled red velvet cakes into pairs of similar size. Spread a generous amount of the cream cheese filling on the flat bottom of one cake, and then gently sandwich it with the flat bottom of its partner.
- Garnish and Chill: If desired, drizzle the assembled whoopie pies with melted white baking chips and sprinkle with finely chopped pecans. Refrigerate the finished pies until you are ready to serve them.
Red Velvet Whoopie Pies
Ingredients
Equipment
Method
- Preheat oven to 375°F. In a large bowl, cream butter and sugar until light and fluffy, 5-7 minutes. Beat in eggs, sour cream, food coloring, vinegar and vanilla.
- In another bowl, whisk flour, cocoa, baking powder, salt and baking soda. Gradually beat the dry mixture into the creamed mixture. Stir in cooled melted chocolate.
- Drop dough by tablespoonfuls 2 inches apart onto parchment-lined baking sheets. Bake 8-10 minutes or until edges are set. Let cool on pans for 2 minutes, then remove to wire racks to cool completely.
- For the filling, beat the softened cream cheese and butter until fluffy. Beat in the confectioners’ sugar and vanilla until smooth.
- Spread the filling on the flat bottoms of half the cooled cookies. Cover with the remaining cookies to form sandwiches.
- If desired, drizzle with melted white baking chips and sprinkle with pecans. Refrigerate until ready to serve.
Notes
WiseRecipes’ Top Tips for Whoopie Pie Perfection
These are the little secrets that ensure your red velvet creations are flawless every time.
- Cream for 5-7 Minutes. Seriously. This is the most important step for a light, cake-like texture. Beating the butter and sugar for this long incorporates a significant amount of air, preventing a dense, heavy cookie.
- Room Temperature is a MUST. For a smooth batter and a non-lumpy filling, your butter, eggs, sour cream, and cream cheese must all be at room temperature. This is non-negotiable for great results.
- Use a Cookie Scoop for Uniformity. To get perfectly round, evenly sized cakes that will match up beautifully for sandwiching, use a cookie scoop to portion your dough.
- Do Not Overbake! The key to a soft whoopie pie is to pull them from the oven the moment the edges are set and the top springs back when lightly touched. They will continue to set as they cool. Overbaking is the #1 cause of a dry, crumbly whoopie pie.
- Cool Completely Before Filling. This is absolutely crucial. If you try to fill warm cakes, the cream cheese filling will melt into a sad, soupy mess. Be patient!
Keep Them Fresh! Storing Your Whoopie Pies
These are a fantastic make-ahead treat, as their flavor and texture improve overnight!
- Refrigerator: Due to the cream cheese filling, these whoopie pies must be stored in the refrigerator. Place them in an airtight container. They are actually at their best on day two, after the cakes have had time to soften slightly from the filling. They will keep for up to 5 days.
- Serving: For the best flavor and texture, let the whoopie pies sit at room temperature for about 15-20 minutes before serving.
- Freezing: These freeze beautifully! You can wrap the assembled whoopie pies individually in plastic wrap and place them in a freezer-safe container for up to 3 months. Let them thaw in the refrigerator.
FAQs: Your Red Velvet Whoopie Pie Questions, Answered!
Why do you use both baking powder and baking soda?
This recipe uses both for the perfect texture! The baking soda reacts with the acidic ingredients (sour cream and vinegar) to create a tender crumb, while the baking powder provides the primary lift, making the cakes light and cakey rather than dense and cookie-like.
Can I use a different filling?
While the tangy cream cheese filling is classic for red velvet, a simple buttercream or a marshmallow fluff filling would also be delicious alternatives.
My cakes spread out too much and are very thin. Why?
This is usually a sign that your butter was too soft (melty instead of just softened) or your dough was too warm. If your kitchen is very warm, you can chill the scooped dough on the baking sheets for about 15-20 minutes before baking to help them hold their shape.
What is “clear” vanilla extract?
Clear vanilla extract is an imitation vanilla that has no color. It’s often used in white frostings to prevent the vanilla from giving it a slightly beige tint, keeping the color a pure, bright white. You can use regular pure vanilla extract if the slight color difference doesn’t bother you.
Final Thoughts: A Sweet, Velvety Indulgence
There is nothing quite like the classic, dramatic appeal of red velvet. These whoopie pies are a celebration of that iconic flavor, transformed into a fun, personal-sized treat that is perfect for sharing. They are a delightful baking project that results in a truly special and delicious dessert. I hope you love every beautiful, tangy, and tender bite! Happy baking!