The Ultimate Seven-Layer Gelatin Salad (A Retro Rainbow!)
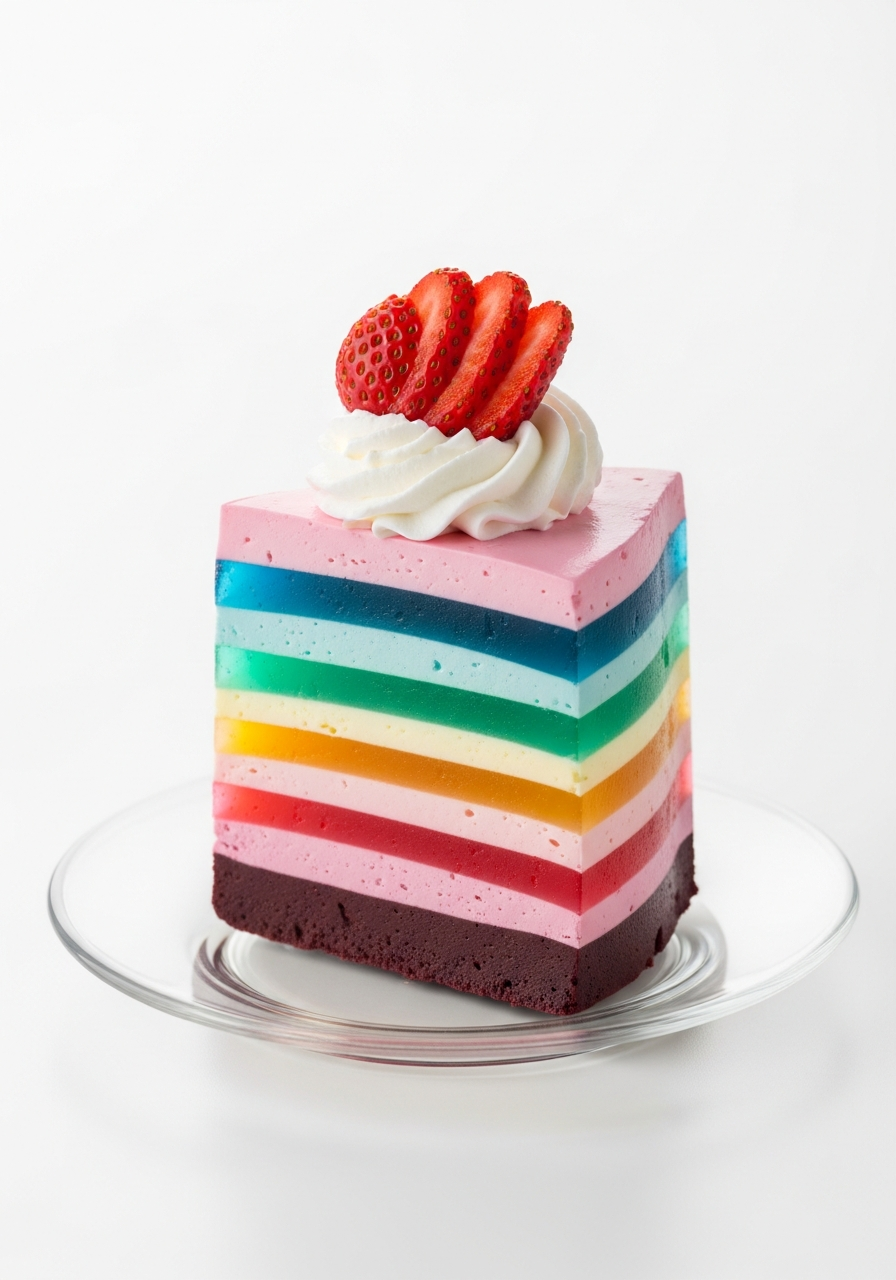
Imagine a dessert that’s a pure spectacle of color, a shimmering, edible rainbow with distinct, jewel-like layers that captures the light and the imagination. That, my friends, is the nostalgic, show-stopping magic of a classic Seven-Layer Gelatin Salad. This is, without a doubt, the most fun and visually stunning dessert you can bring to any…
Imagine a dessert that’s a pure spectacle of color, a shimmering, edible rainbow with distinct, jewel-like layers that captures the light and the imagination. That, my friends, is the nostalgic, show-stopping magic of a classic Seven-Layer Gelatin Salad. This is, without a doubt, the most fun and visually stunning dessert you can bring to any potluck or family gathering.
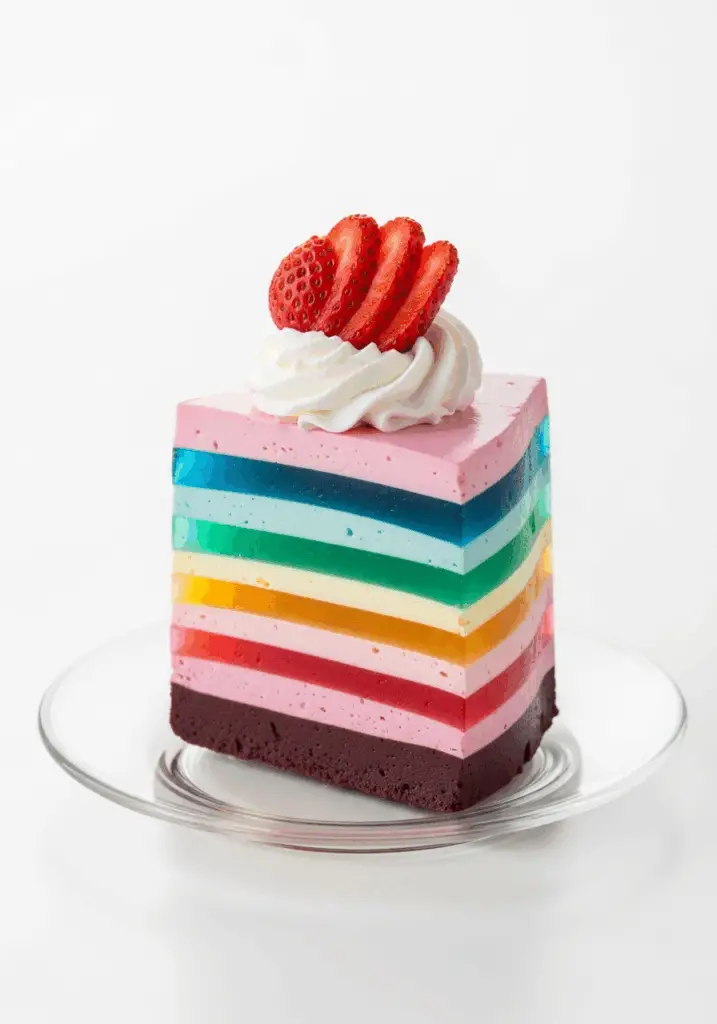
I promise you, there is no greater “wow” moment than placing a beautiful glass bowl of this on the dessert table. The contrast between the vibrant, clear layers and the soft, opaque, creamy layers is simply breathtaking. Each spoonful is a light, fruity, and creamy delight that feels both wonderfully nostalgic and refreshingly different.
Get ready to master this classic potluck hero and create a stunning, jiggly masterpiece that will have everyone, kids and adults alike, asking for the recipe.
Why This Layered Gelatin Salad is a Pure Delight!
You are going to have so much fun making this beautiful and delicious dessert. It’s a guaranteed conversation starter. Here’s why you’ll love it:
- An Absolutely Stunning Visual Masterpiece: The seven distinct layers of alternating clear and creamy colors create a breathtaking rainbow effect that is a true feast for the eyes.
- The Ultimate Make-Ahead Party Dessert: This dessert must be made in advance, as it needs hours (ideally overnight) to set. This makes it the perfect stress-free contribution to any party or potluck.
- Completely No-Bake and Super Simple: If you can boil water and stir, you can make this recipe. It requires zero oven time and the process is simple and repetitive.
- Light, Refreshing, and Fun to Eat: It’s a wonderfully light and fruity dessert, and the jiggly, creamy texture is a fun and satisfying treat for all ages.
- A Nostalgic Crowd-Pleaser: This is a classic retro dessert that brings back fond memories and creates new ones. It’s always one of the first things to disappear from the dessert table!
Recipe Snapshot
| Prep Time | 30 minutes (active) |
| Chill Time | 8+ hours |
| Total Time | Over 8 hours |
| Servings | 20 servings |
| Calories | 163 kcal per serving |
| Course | Dessert |
| Cuisine | American |
| Difficulty/Method | Easy / No-Bake |
Your Shopping List for This Rainbow Dessert
This impressive dessert comes together with a surprisingly short list of simple ingredients. Here’s what you’ll need:
→ For the Layers
- 7 packages (3 ounces each) assorted flavored gelatin → Choose a rainbow of colors! A good order is red, orange, yellow, green, blue, purple. You’ll need 7 different flavors.
- 4-½ cups boiling water → Divided for dissolving each layer.
- 4-½ cups cold water → Also divided.
- 1 can (12 ounces) evaporated milk → This is the secret to the creamy, opaque layers.
→ For Serving
- 1 carton (8 ounces) frozen whipped topping, thawed → For a classic, fluffy garnish.
- Optional: Sliced strawberries and kiwifruit → For a fresh, beautiful finish.
Let’s Get Layering! Your Step-by-Step Guide
Ready to create an edible rainbow? The key to this recipe is patience. Give each layer just enough time to set before adding the next.
Part 1: The First Clear Layer
- Dissolve and Pour: Choose your first color (typically red for the bottom). In a small bowl, add ¾ cup of boiling water to the gelatin package; stir for 2 minutes until it’s completely dissolved. Stir in ¾ cup of cold water.
- Pour and Chill: Pour this mixture into a large 3-quart trifle bowl or a clear glass serving bowl. Place it in the refrigerator for about 40 minutes, or until the gelatin is set but still sticky to the touch (not fully firm).
Part 2: The Creamy Layer Technique
- Dissolve the Next Layer: For your second layer, choose your next color (e.g., orange). In a clean bowl, dissolve this gelatin package in ½ cup of boiling water.
- Make it Creamy: Stir in ½ cup of cold water and ½ cup of the evaporated milk until combined.
- Layer and Chill: Gently spoon this creamy mixture over the first layer in the bowl. Return it to the refrigerator to chill until it’s also set but not firm.
Part 3: Repeat to Build Your Rainbow
- Keep Layering!: Repeat the process 5 more times, alternating between a clear layer (Step 1 method) and a creamy layer (Step 2 method) until you have all seven layers. Remember to let each layer get “set but not firm” before adding the next one.
- Final Chill: After the final layer is added, cover the bowl and refrigerate overnight to allow the entire dessert to set completely.
- Serve: To serve, scoop into individual bowls. Top with a dollop of thawed whipped topping and, if desired, fresh sliced fruit.
Seven-Layer Gelatin Salad
Ingredients
Equipment
Method
- In a small bowl, add 3/4 cup boiling water to 1 gelatin package; stir 2 minutes to dissolve completely. Stir in 3/4 cup cold water. Pour into a 3-qt. trifle or glass bowl. Refrigerate until set but not firm, about 40 minutes.
- In a clean bowl, dissolve another gelatin package into 1/2 cup boiling water. Stir in 1/2 cup cold water and 1/2 cup evaporated milk. Gently spoon this mixture over the first layer. Refrigerate until set but not firm.
- Repeat the process 5 more times, alternating between a clear gelatin layer (using the first method) and a creamy gelatin layer (using the second method).
- Refrigerate each layer until set but not firm before adding the next one. After the final layer is added, cover the bowl and refrigerate overnight until completely set.
- Serve scoops in individual bowls with whipped topping and, if desired, fresh fruit.
Notes
WiseRecipes’ Top Tips for Perfect Layers
These are the non-negotiable secrets to ensuring your layers are distinct and don’t bleed into each other.
- “Set But Not Firm” is the Golden Rule. This is the most critical tip. Before adding a new layer, the one below it should be firm enough that your spoon won’t break through, but still sticky to the touch. If it’s too liquid, the layers will mix. If it’s too firm, they won’t bond and might separate when served.
- Patience is Your Main Ingredient. You cannot rush this dessert. Each layer needs its dedicated chilling time. Put on some music, watch a movie, but don’t be tempted to add the next layer too soon!
- Use a Ladle Over a Spoon. When adding a new layer of liquid gelatin, pour it slowly into a ladle held just above the surface, or pour it over the back of a large spoon. This breaks the “fall” of the liquid and prevents it from making a hole in the delicate layer below.
- Keep Your Creamy Mixture at Room Temp. Don’t chill your creamy mixture before you’re ready to pour it. If it starts to set in the bowl, it will be lumpy when you add it to your trifle. Mix it up right before you plan to layer it.
- Plan Your Rainbow. Before you begin, lay out your seven boxes of gelatin in the order you plan to use them. A classic ROYGBIV (Red, Orange, Yellow, Green, Blue, Indigo/Violet, Violet/Purple) order looks fantastic.
Keep It Fresh! Storing Your Gelatin Salad
This dessert is a dream to store and is best served well-chilled.
- Refrigerator: Keep the finished gelatin salad covered in the refrigerator. It will stay fresh and delicious for up to a week, though it’s at its best within the first 3-4 days.
FAQs: Your Layered Gelatin Questions, Answered!
Why are my layers mixing together?
This is almost always because the previous layer was not set enough before the next one was added. It needs to be jiggly but still sticky. Also, make sure the liquid you are adding isn’t too hot; it should be lukewarm or at room temperature.
Can I make this in a regular baking pan instead of a glass bowl?
You can! If you make it in a 13×9-inch pan, you can cut it into squares to serve. For the best presentation, it’s lovely to see the layers, so a glass 13×9-inch dish would be ideal.
Can I speed up the chilling process in the freezer?
I strongly advise against this. The freezer can cause the gelatin to set unevenly, with the edges freezing solid while the center is still liquid. The slow, gentle chill of the refrigerator is the key to perfect, even layers.
How do I get the creamy layers? Is it just milk?
The recipe calls for evaporated milk, which is crucial for the creamy layers. Regular milk has a higher water content and won’t create the same opaque, rich layer. Do not substitute it!
Final Thoughts: A Taste of Nostalgia
There is nothing quite like a recipe that is pure, unadulterated fun. This Seven-Layer Gelatin Salad is a joyful, edible craft project that results in a truly spectacular and delicious dessert. It’s a celebration of color, simplicity, and happy memories. I hope it brings a rainbow of delight to your next family gathering. Happy layering!