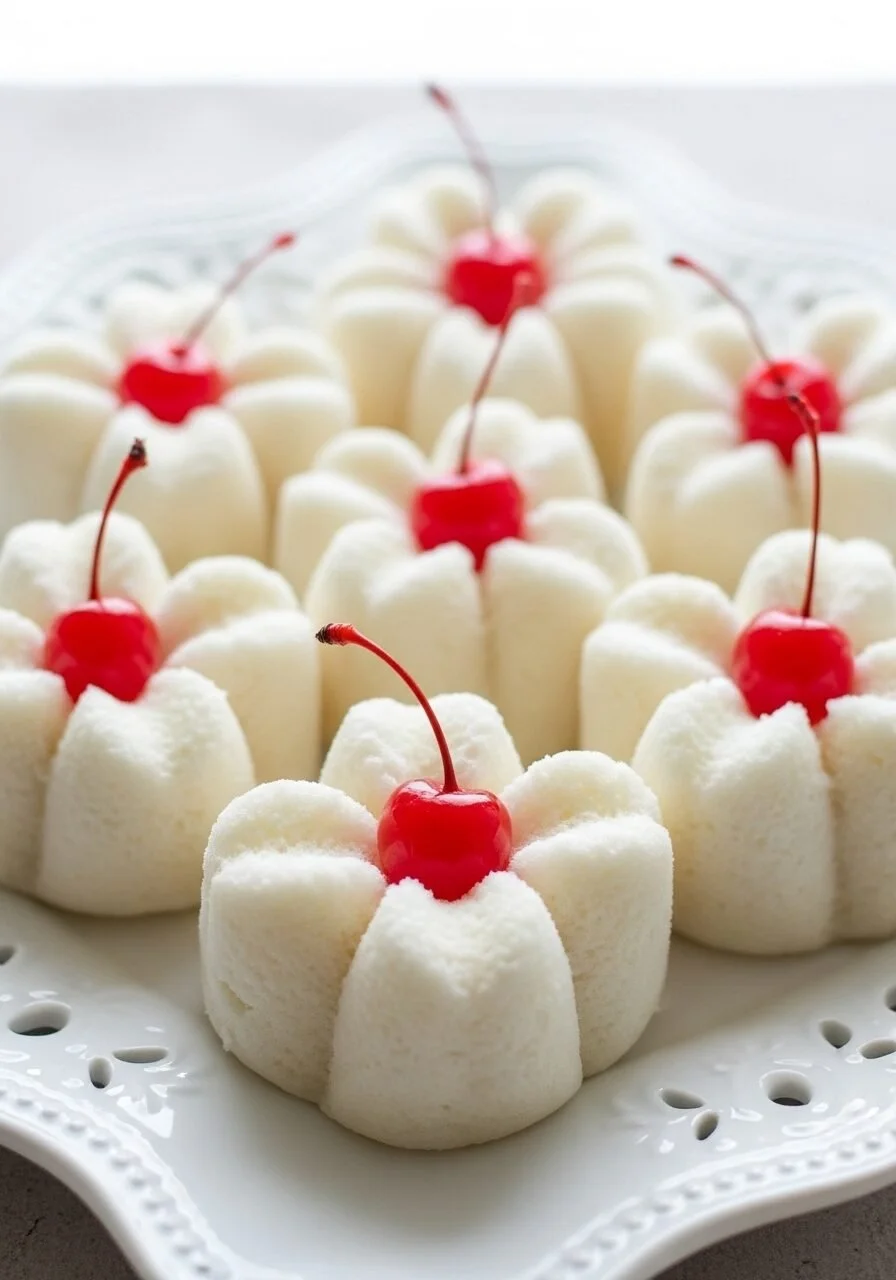
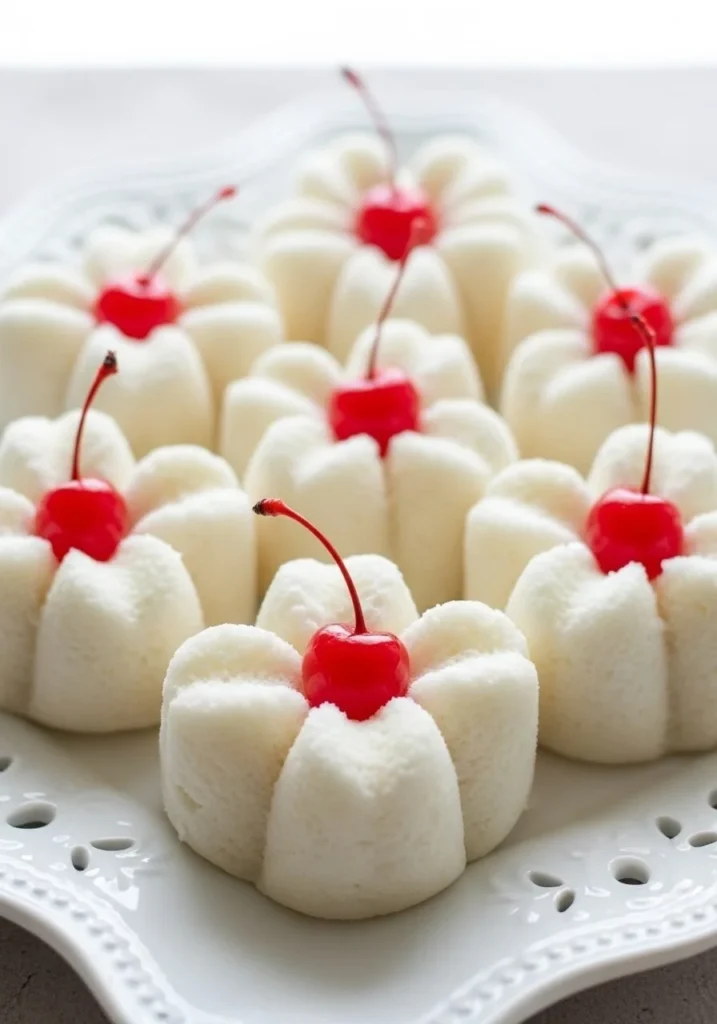
Steamed Blooming Cupcakes (No-Oven Recipe)
How I Discovered Steamed Blooming Cupcakes (No-Oven Recipe) I have a confession: I used to think real cupcakes needed an oven and a timer I could set my entire life by. Then a rainy afternoon, a stubborn oven with a blown light, and a craving for something tender and slightly cloud-like led me to try…
How I Discovered Steamed Blooming Cupcakes (No-Oven Recipe)
I have a confession: I used to think real cupcakes needed an oven and a timer I could set my entire life by. Then a rainy afternoon, a stubborn oven with a blown light, and a craving for something tender and slightly cloud-like led me to try steaming. That first batch of Steamed Blooming Cupcakes (No-Oven Recipe) smelled like warm vanilla and hot milk, and when they popped open with that pretty "bloom" on top I knew I had a keeper. If you enjoy steamed desserts, you might also like this take on the idea from a different kitchen that inspired me early on: magical steamed blooming cupcakes.
What Goes Into These Cupcakes (in Plain Talk)
I always keep the pantry simple for these. You need one large egg and three quarters of a cup of granulated sugar for the batter’s backbone. The recipe calls for two cups of Original Bisquick™ mix, which gives a lovely light crumb, and two thirds of a cup of whole milk to keep things rich without being heavy. Two tablespoons of unsalted butter, melted, and two teaspoons of pure vanilla extract round out the flavor. A little practical note: have some cooking spray ready to coat the knife when you cut the tops, and nine maraschino cherries are the final touch—you’ll pop one into the center of each cupcake after they cool for the prettiest presentation.
I like talking through the ingredients as I work because it makes me feel less like I’m following a formula and more like I’m having a conversation with the batter. The vanilla aroma when the melted butter meets the milk is one of my favorite parts.
Steaming Them to Perfection
Before you touch the batter, set up your pot: pour 2-3 inches of water into a large pot and fit it with a steamer basket. Bring the water to a rolling boil so the steam is strong and steady. Then, in a large bowl, whisk the egg and sugar until slightly pale and a bit frothy. Add the Bisquick, milk, melted butter, and vanilla, and stir until just combined and smooth—overmixing will make them dense, and you want them soft and pillowy.
Using a large scoop, fill nine ungreased silicone cupcake molds nearly to the top with batter. This is when the fun begins: spray a sharp paring knife with cooking spray and cut a deep ‘X’ across the top of each cupcake, wiping and re-spraying the knife between each cut. That clean cut helps the cupcakes "bloom" into the little flower shapes that make them so charming.
Working in batches, arrange the molds in the steamer basket, leaving at least 1 inch of space between them so the steam can circulate. Cover the pot and steam over medium-high heat for 12 to 15 minutes, until the cupcakes have bloomed and a tester comes out clean. Do not lift the lid while steaming—that temptation to peek can let the steam escape and ruin the rise. When they’re done, use tongs to carefully remove the cupcakes and let them cool completely. Place a maraschino cherry in the center of each before serving and watch the smiles start.
Getting the Texture Just Right
There’s a particular rhythm to steaming that took me a few tries to learn. The cupcakes should feel springy when gently touched and have a uniform pale gold color; the tops will be slightly glossy from the steam. If a tester comes out with wet batter, they need a few more minutes. If they feel rubbery, the heat was probably too high or they steamed too long. I’ve found that medium-high heat delivers that perfect gentle puff—strong enough for lift, gentle enough to keep them tender.
A few of my tried-and-true tips: always wipe and re-spray the knife between each ‘X’ cut so it slides cleanly; never grease the silicone molds or the cupcakes won’t bloom as prettily; and if you’re working with a smaller pot, steam in batches rather than crowd the basket. Don’t lift the lid during the 12 to 15 minute steaming window—that’s where most careers as cupcake bakers are lost and found.
Little Tricks That Save the Batch
One of my favorite tricks is to warm the milk just until it’s lukewarm before adding it. It helps the melted butter stay liquid and the batter come together more smoothly. When I’m serving a crowd, I’ll double the recipe and keep the extras wrapped in plastic in the fridge; they reheat nicely in a steamer for 3 to 4 minutes until warm through. If I’m taking them to a picnic, I transport them in a single layer in a shallow box lined with a paper towel to avoid smudging the cherries.
Another small thing: if your kitchen smells like condensed sugar and vanilla, you’re doing it right. The sound of the water boiling and the faint clink of tongs pulling the molds out is oddly comforting. If a cupcake sinks a little after you remove it, it usually means it needed another minute or two in the steamer, but the flavor is often still great—serve those first to hungry friends.
What I Serve With These (and a Few Variations)
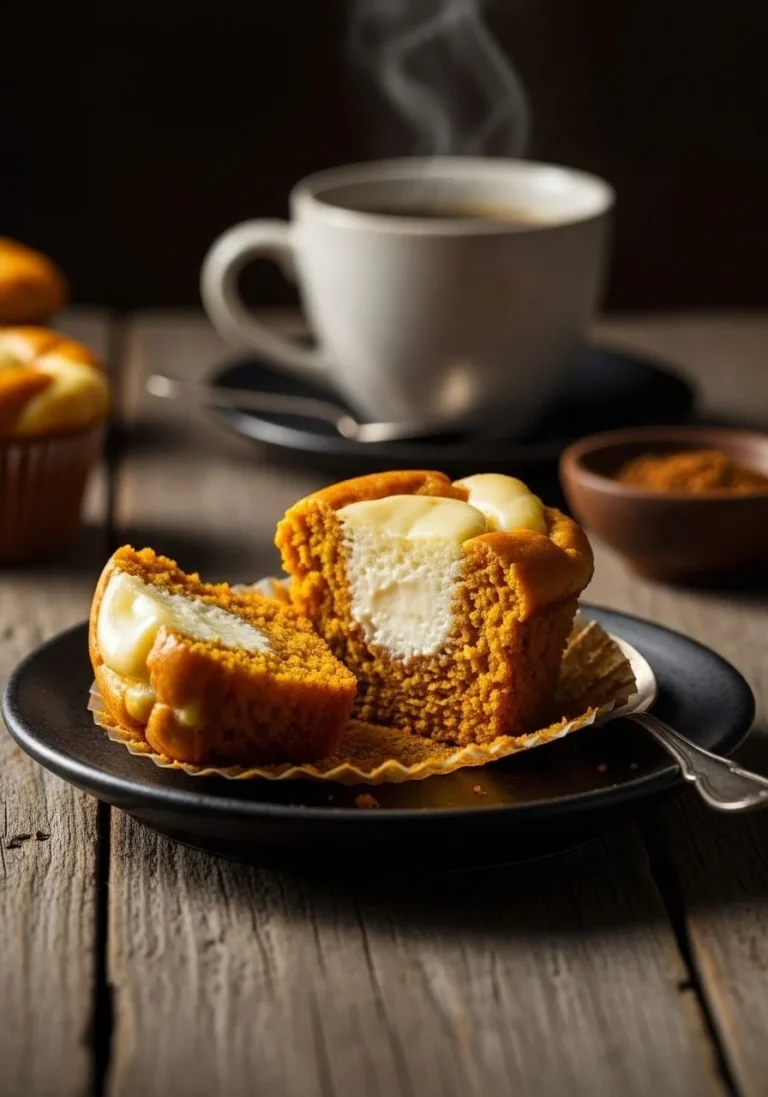
I often keep the serving simple because these cupcakes are delicate and sweet on their own. A cup of strong coffee or a bright green tea contrasts beautifully with the soft, vanilla-rich cake. For brunch, a dollop of lightly sweetened whipped cream and extra cherries makes the plate feel indulgent without much fuss.
If you want to play with variations, try folding a tablespoon of citrus zest into the batter for a lemony twist, or add a teaspoon of cocoa powder to make a chocolate version. For a nutty spin, sprinkle chopped roasted almonds on top right after steaming so they stick to the warm surface—if you like coconut and almond together, check out my inspiration for another playful cupcake idea at Almond Joy Cupcakes.
The Practical Stuff: Leftovers, Make-Ahead, and Final Thoughts
I love that this recipe is forgiving. To store leftovers, keep them in an airtight container at room temperature for a day or two, or refrigerate for up to four days. Reheat briefly in a steamer or microwave for a few seconds before serving so the texture softens. If you make them ahead for a party, steam them the morning of and leave them to cool completely; they’ll still be tender and look fresh when the guests arrive.
Why I love these Steamed Blooming Cupcakes (No-Oven Recipe) goes beyond convenience. They are gentle, nostalgic, and somehow more intimate than oven-baked cupcakes—the way they bloom feels like a small secret between you and the steam. They’ve been a comfort on gray days, a quick treat when someone drops by, and a little magic for kids who love the cherry on top.
Conclusion
If you’re curious about the broader tradition of steamed blooming cupcakes and want to see other interpretations of this lovely steamed treat, this write-up about Steamed Cupcakes / Blooming Cupcakes (Banh Thuan Hap) is a great place to explore more of the story and techniques behind them.
Steamed Blooming Cupcakes
Ingredients
Method
- Set up a large pot with 2-3 inches of water and fit it with a steamer basket. Bring the water to a rolling boil.
- In a large bowl, whisk the egg and sugar until slightly pale and frothy.
- Add the Bisquick, milk, melted butter, and vanilla, then stir until just combined and smooth. Avoid overmixing.
- Fill nine ungreased silicone cupcake molds nearly to the top with the batter.
- Using a sharp paring knife coated with cooking spray, cut a deep 'X' across the top of each cupcake.
- Arrange the molds in the steamer basket, leaving at least 1 inch of space between them.
- Cover the pot and steam over medium-high heat for 12 to 15 minutes, until cupcakes have bloomed and a tester comes out clean.
- Do not lift the lid while steaming to maintain steam pressure.
- Carefully remove the cupcakes using tongs and let them cool completely.
- Place a maraschino cherry in the center of each before serving.