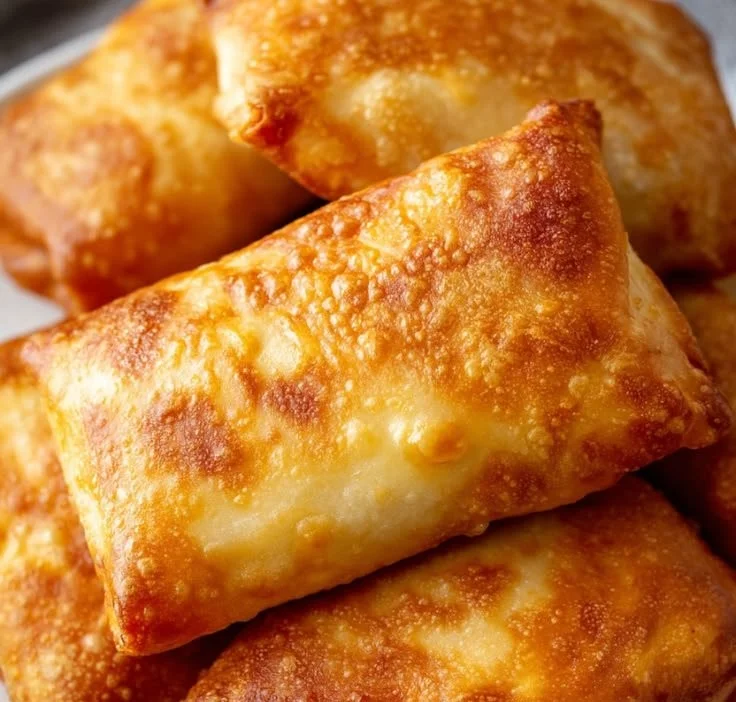
Beef and Cheese Chimichangas
Beef and Cheese Chimichangas: A Comforting Delight There’s something incredibly comforting about biting into a crispy golden chimichanga, with savory ground beef and gooey cheese melting together in a delicious embrace. Let me take you on a journey into my kitchen, where I discovered the joy of making these Beef and Cheese Chimichangas. This dish…
Beef and Cheese Chimichangas: A Comforting Delight
There’s something incredibly comforting about biting into a crispy golden chimichanga, with savory ground beef and gooey cheese melting together in a delicious embrace. Let me take you on a journey into my kitchen, where I discovered the joy of making these Beef and Cheese Chimichangas. This dish has become a staple at my dinner table and a favorite among friends and family. It’s the perfect blend of crunchy, cheesy, and flavorful goodness that never fails to satisfy.
The Secret Behind Perfect Beef and Cheese Chimichangas
Starting off with the filling, you really can’t go wrong with high-quality ground beef. I typically go for about a pound because that gives me plenty to work with, and it’s just enough for six hearty chimichangas. I also love to add a small finely diced onion—I swear it adds so much flavor to the beef while it cooks! Sautéing them together in a large skillet over medium heat fills the kitchen with the most heavenly aroma. As I cook, I keep an ear out for that sizzle; it’s always a good sign.
Once the beef is browned and the onion tender, I drain any excess grease before bringing in the stars of the show: garlic, taco seasoning, and salsa. Don’t skimp on the garlic; it makes everything taste even better. I usually use two cloves, minced just right to infuse that garlicky goodness. A packet of taco seasoning brings that classic flavor, or you can whip up your own mix at home if you’re feeling adventurous. Simply let it all simmer for about three to four minutes, stirring occasionally until everything is well combined.
Getting the Texture Just Right
Now, let’s talk about the all-important assembly of these chimichangas. I like to spread a generous spoonful of refried beans down the center of each large flour tortilla; they really help hold everything together and add creamy texture, too. The next layer consists of that delicious beef and onion mixture, followed by a handful of shredded cheddar cheese. You could definitely go for a Mexican blend here, but I find the cheddar brings a classic flavor that complements the beef beautifully.
The folding part is where things can get a little tricky. I fold in the sides first and then roll it up tightly, burrito-style. This is crucial for keeping all that tasty filling inside. I’ve made my fair share of chimichangas that decided to burst open during cooking, and trust me, it’s not pretty!
Cooking Options: Oven vs. Skillet
You have a couple of options for cooking your chimichangas, and it really depends on whether you’re looking for a healthier option or one that’s irresistibly crispy. If you prefer a lighter touch, preheating your oven to 400°F (200°C) works wonders. Lay the chimichangas seam-side down on a baking sheet, brush them lightly with vegetable oil, and pop them in the oven for about 18 to 20 minutes, flipping them halfway through. They come out golden and crispy and are a great option if you’re batch-cooking.
However, if you’re craving that deep-fried crispness, the skillet method might be more your speed. In that case, you’ll want to heat about 2-3 tablespoons of oil over medium heat. Once it’s hot, place your chimichangas seam-side down and let them sizzle for 2-3 minutes per side until they’re beautifully golden. I love listening to that satisfying crunch as they cook!
When Things Don’t Go As Planned
Of course, not everything always goes smoothly, right? One time, I was so engrossed in a cooking show while making these that I forgot to flip them! They ended up cooking longer than expected, and while they were still delicious, I definitely learned my lesson about staying attentive. And hey, if they ever do come out less than perfect, just remember that it’s all about the love that goes into making them.
The Best Part About This Dish
What I love most about chimichangas is that they are supremely versatile. Once you’ve mastered the basic recipe, you can really steer this dish in so many different directions. Want to switch things up? You can use chicken instead of beef, or even go vegetarian with black beans and vegetables. Sometimes, I’ll throw in a bit of jalapeño for an extra kick!
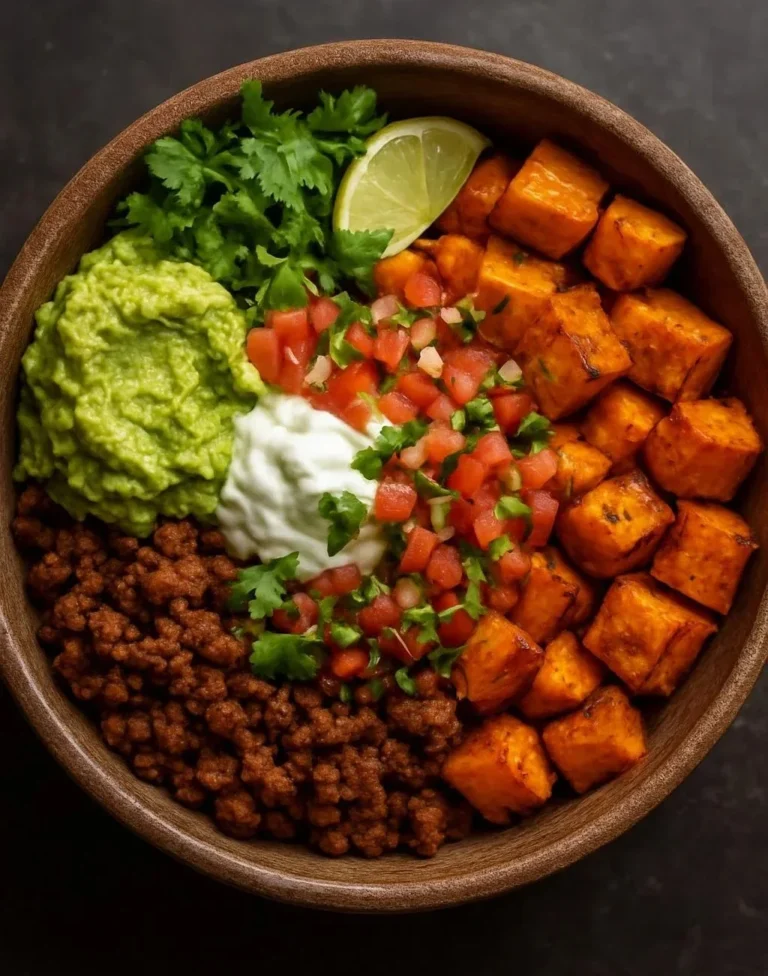
And don’t forget the toppings to elevate your dish! A dollop of sour cream, some fresh guacamole, or a sprinkle of shredded lettuce can add fresh flavor profiles that make every bite exciting.
Serving and Storing Leftovers
When they’re done cooking, I usually let my chimichangas rest for a couple of minutes before serving. This gives them a little time to firm up, making them easier to cut. I often serve them alongside some extra salsa or a fresh salad to balance out the richness. If you happen to have leftovers (which is rare in my household), they can be stored in an airtight container in the fridge for a couple of days. Just reheat them in the oven to get that crispiness back!
Final Thoughts
Whether it’s a casual weeknight dinner, a gathering with friends, or even just a comforting meal after a long day, Beef and Cheese Chimichangas can be a game changer. I always find that sharing food made from the heart adds another layer to the experience.
So, if you’re ready to enjoy crispy, cheesy goodness, why not give this recipe a go? You won’t regret it. Who knows—it might just become a new favorite in your household too!
Conclusion
If you’re eager to dive deeper into the world of chimichangas, you might want to check out some other fantastic recipes like those on Razzle Dazzle Life or Sweet Pea’s Kitchen. They have their own delightful spins that are worth exploring. For a more elaborate take on these flavors, see the Beef and Cheese Chimichangas Recipe or the classic versions found on Allrecipes. Enjoy your culinary adventure!
Beef and Cheese Chimichangas
Ingredients
Method
- In a large skillet over medium heat, sauté the ground beef and diced onion until the beef is browned and the onion is tender.
- Drain any excess grease and add minced garlic, taco seasoning, and salsa. Simmer for 3-4 minutes, stirring occasionally.
- Spread a spoonful of refried beans down the center of each tortilla.
- Add the beef mixture and top with shredded cheddar cheese.
- Fold in the sides of the tortilla and roll tightly to enclose the filling.
- For oven cooking: Preheat oven to 400°F (200°C). Place chimichangas seam-side down on a baking sheet, brush with vegetable oil and bake for 18-20 minutes, flipping halfway through.
- For skillet cooking: Heat 2-3 tablespoons of oil in a skillet over medium heat. Fry chimichangas seam-side down for 2-3 minutes per side until golden.
- Let the chimichangas rest for a few minutes before serving to firm up.
- Serve with extra salsa, sour cream, guacamole, or shredded lettuce.