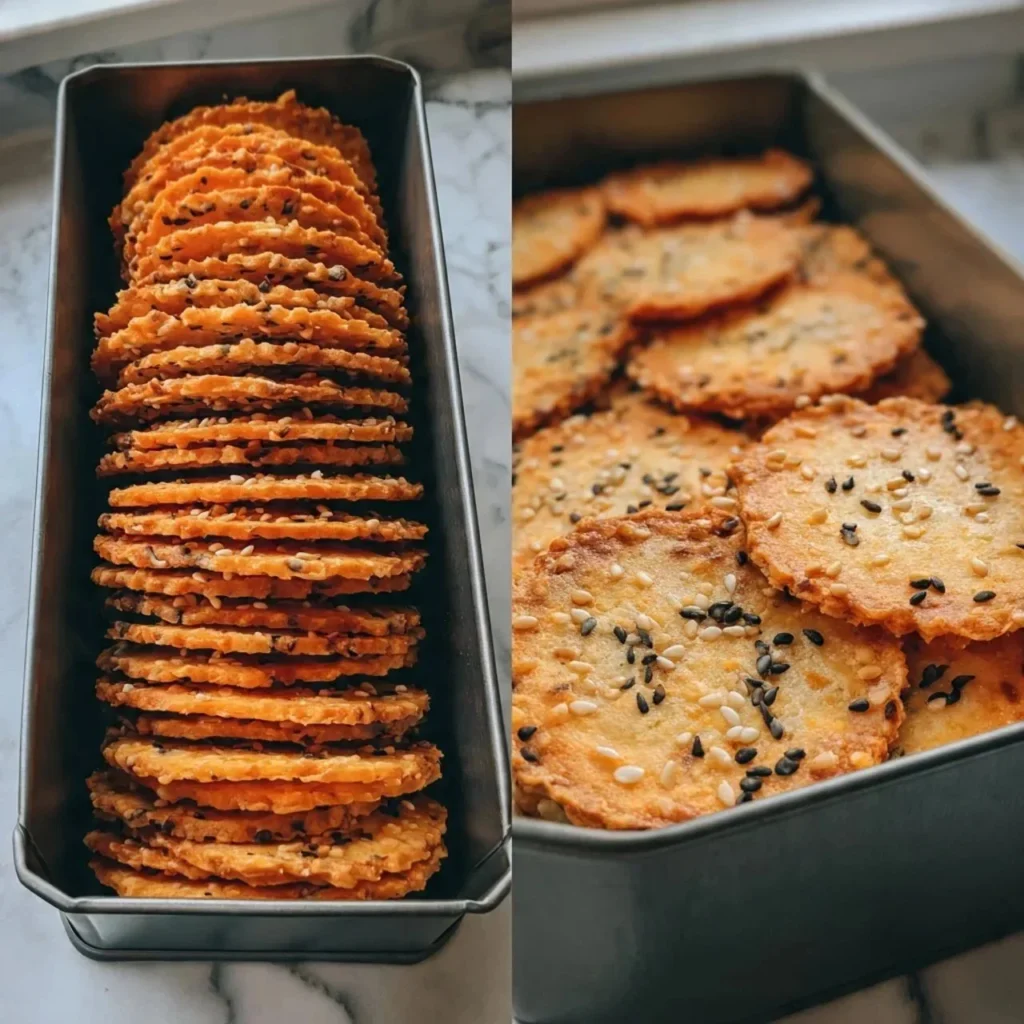
Cheddar Cheese Coins
A Flavorful Journey into Cheddar Cheese Coins I vividly remember the first time I tasted Cheddar Cheese Coins. It was at a friend’s gathering, and I was immediately transported by their rich, cheesy goodness. The crisp outside and buttery interior made me wonder how such a simple combination of ingredients could yield such delightful results….
A Flavorful Journey into Cheddar Cheese Coins
I vividly remember the first time I tasted Cheddar Cheese Coins. It was at a friend’s gathering, and I was immediately transported by their rich, cheesy goodness. The crisp outside and buttery interior made me wonder how such a simple combination of ingredients could yield such delightful results. Now, I am excited to share with you this easy recipe that’s become a staple in my kitchen. You may also find Cheddar Cheese Coins 2 useful.
So, what do you need to whip up these cheesy morsels? Let’s dive into the key ingredients that pack so much flavor into these little delights. You’ll need 1 cup of softened unsalted butter to give that rich, creamy texture. Next, grab 2 cups of shredded cheddar cheese, because let’s be honest, that’s the star of the show. Add in 2 cups of all-purpose flour to bind everything together, and don’t forget ½ teaspoon of salt, along with some optional seasonings like ¼ teaspoon of cayenne pepper for a hint of spice, ½ teaspoon of garlic powder for depth, and ¼ teaspoon of black pepper for that subtle kick. You may also find Cheddar Cheese Coins useful.
When I’m making these cheese coins, the first step is always to preheat your oven to a warm 350°F (175°C). Once that’s set, the fun begins. You’ll cream together the softened butter and cheddar cheese in a mixing bowl until they’re fully merged into a luscious mixture. This is the perfect moment to take a deep breath and enjoy the aromas—you might even feel a little gourmet!
As you begin to incorporate the flour and seasonings, you’ll notice the dough coming together beautifully. This step is crucial; it should be well-mixed, yet soft enough to roll. The optional cayenne and garlic powder add layers of flavor, which I absolutely love.
Now comes one of my favorite parts—the shaping! You can roll the dough into small balls or flatten them into discs about one inch in diameter. As you place them onto a baking sheet lined with parchment paper, I often find myself snacking on the leftover dough—it’s just too good to resist! And before you know it, it’s time to slide the sheet into the oven for 15 to 20 minutes. Keep an eye on them; they should turn a lovely golden brown and feel firm to the touch.
Once baked, let them cool slightly before diving in. This is a fantastic recipe for gatherings, and they disappear quickly—trust me on this! The secret behind these delectable Cheddar Cheese Coins is the balance of flavors and the quality of cheese you use. I recommend investing in good cheddar for the best results; it makes a noticeable difference.
The Best Part About This Dish
My favorite aspect of Cheddar Cheese Coins is their versatility. You can serve them as appetizers before a meal, snack on them during a movie night, or even pair them with a hearty soup for lunch. They are perfect for any occasion, and everyone seems to have their own preferred way of enjoying them.
If you’re hosting a gathering, consider placing these cheese coins on a charcuterie board alongside some fruits, dips, and cured meats. The options are endless! I’ve even made these for holiday parties and received countless compliments, as they tend to bring a smile to everyone’s face.
A Few Things I’ve Learned
Over time, I’ve picked up a few tips that help elevate these cheese coins. First, if you want to add some flair, consider mixing in different cheeses such as Gruyère or pepper jack for a twist on flavor. Another great tip is to experiment with fresh herbs, like chives or thyme, to give them a fragrant lift.
Something I’ve learned the hard way is to not overcrowd the baking sheet. Giving the coins enough space allows them to bake evenly and become perfectly golden brown.
Making It Work for Busy Weeknights
One of the things I love most about this recipe is how easy it is to make ahead of time. You can prepare the dough in advance, roll it into balls or discs, and then freeze them. When you’re ready to serve, simply pop them in the oven straight from the freezer and enjoy fresh, cheesy bites without the long wait.
For those nights when time is tight, having a stash of these ready to bake can be a lifesaver. Whenever I have unexpected guests or just don’t feel like cooking, Cheddar Cheese Coins come to my rescue!
Storing Your Cheddar Cheese Coins
If you happen to have leftovers (which is rare in my house), storing them is simple. Just place them in an airtight container and keep them in the fridge for up to a week. They also reheat beautifully in the oven for a few minutes, bringing back that fresh-baked quality.
Conclusion
Cheddar Cheese Coins are not just a recipe; they’re an experience filled with warmth, nostalgia, and a sprinkle of creativity. Whether enjoyed fresh from the oven or served cold the next day, they never fail to please a crowd. If you’re looking for a detailed guide on how to perfect your own batch of these delicious bites, check out Cheddar Cheese Coins – The Beach House Kitchen. Happy cooking!
Cheddar Cheese Coins
Ingredients
Method
- Preheat your oven to 350°F (175°C).
- Cream together the softened butter and cheddar cheese in a mixing bowl until fully combined.
- Incorporate the flour and seasonings, mixing until the dough comes together but remains soft enough to roll.
- Roll the dough into small balls or flatten into discs about one inch in diameter.
- Place the shapes on a baking sheet lined with parchment paper.
- Bake in the preheated oven for 15 to 20 minutes or until golden brown and firm to the touch.
- Let them cool slightly before serving.