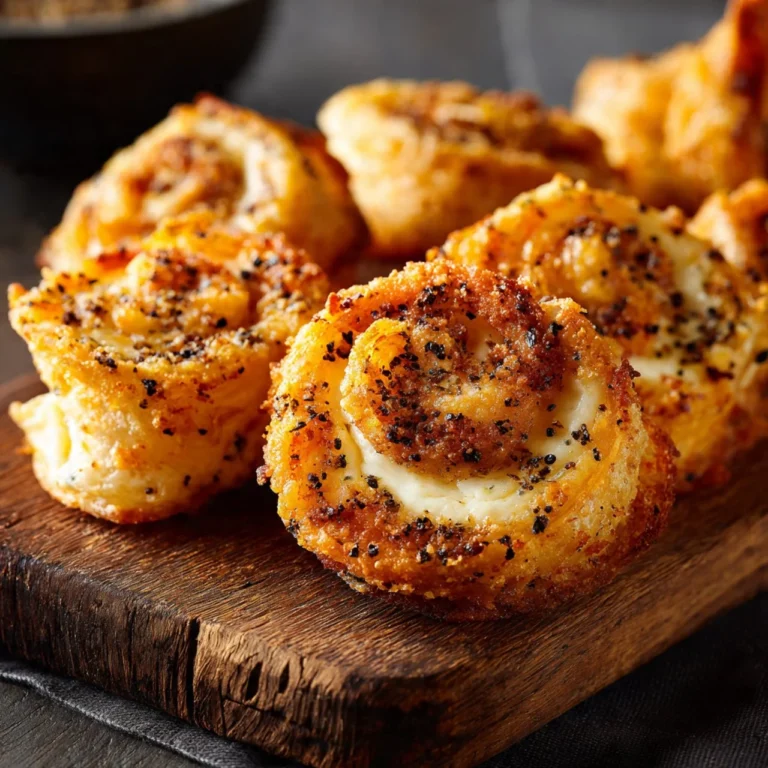
Crispy Cheesy Roll Ups
Ah, the delightful world of crispy cheesy roll-ups—these little goodies are my go-to for satisfying a cheesy craving. The process is incredibly simple yet utterly rewarding. When the cheese melts and the bread turns a perfect golden brown, it’s like magic happening right in my kitchen. They can serve as a fun snack, a great…
Ah, the delightful world of crispy cheesy roll-ups—these little goodies are my go-to for satisfying a cheesy craving. The process is incredibly simple yet utterly rewarding. When the cheese melts and the bread turns a perfect golden brown, it’s like magic happening right in my kitchen. They can serve as a fun snack, a great appetizer, or even a quick lunch.
Getting Started
First, I gather my ingredients, which are surprisingly minimal but provide maximum flavor: fluffy bread and some glorious cheese—anything from sharp cheddar to stretchy mozzarella works wonders. For two, I usually go with a mix of both. You also need some butter or margarine to give those roll-ups their mouthwatering crisp.
Rolling It Up
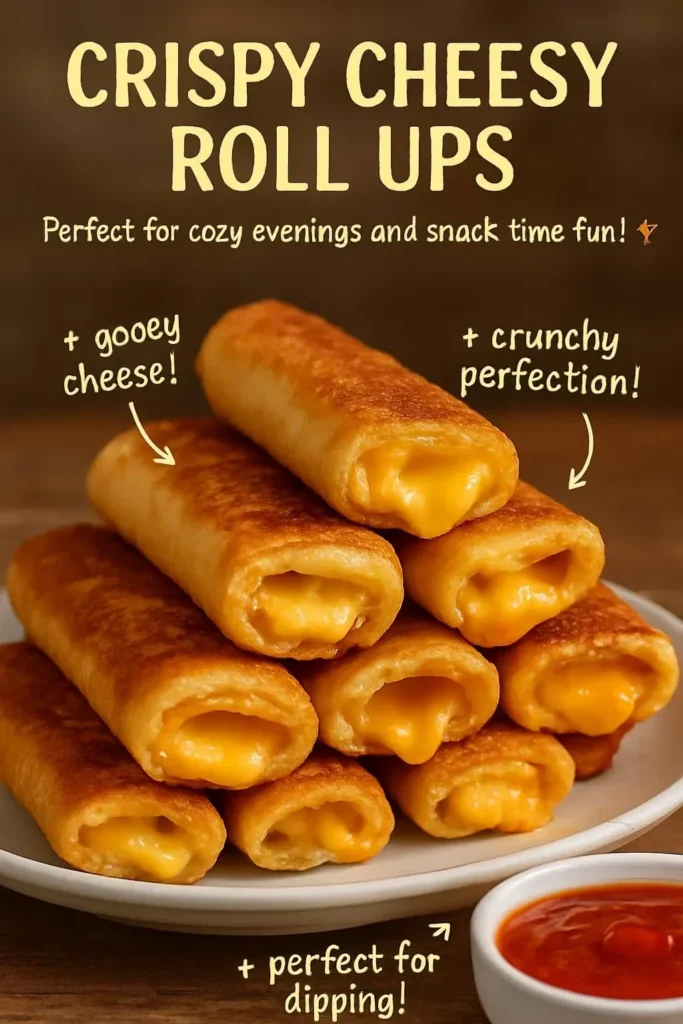
Here comes the best part—rolling! I take a slice of bread and gently flatten it with a rolling pin, making it easy to transform into a perfect vessel for cheese. A slab of cheese is placed at one end, and then I carefully roll it up like a burrito. A quick brush of melted butter on the outside enhances the golden-brown finish when pan-frying.
Frying to Perfection
When it’s time to cook, I heat a non-stick pan and add a bit more butter. The sound of the roll-ups sizzling is music to my ears! I place them seam-side down and let them achieve a crunchy, cheesy state. About two to three minutes on each side does the trick, creating that ideal crispiness that I crave while keeping the cheese ooey-gooey inside.
Dipping Delight
Now, let’s talk about dipping sauces. Tomato soup or marinara sauce is a classic choice that complements these cheesy roll-ups beautifully. Just imagine the contrast of the hot, crispy exterior and the warm, savory sauce! It’s a match made in the culinary heavens.
The beauty of this recipe lies in its versatility. I sometimes like to switch it up by adding some herbs or spices to the cheese or even incorporating cooked vegetables to sneak in some nutrition. If you’re curious about more variations, I found a delightful keto twist on roll-ups worth exploring!
The Big Picture
As I tuck into these cheesy morsels, I realize they can be a hit at any gathering, whether it’s casual game night or fancy hors d’oeuvres at a dinner party. Their appeal is universal, and everyone seems to have a childhood memory tied to crispy, cheesy goodness.
Conclusion
Before you dive into this delicious endeavor, emulating other cheesy roll-ups online can inspire your creativity. For example, our friends at The Kitchn highlight a similar concept with kids in mind, while Kitchen Divas share a nostalgic recipe reminiscent of fast food favorites.
While I enjoyed every bite, I learned an important lesson: a little too much filling can make rolling a tad messy, so moderation is key.
Crispy Cheesy Roll-Ups
Ingredients
Method
- Flatten each slice of bread using a rolling pin.
- Place a slice of cheese at one end of the flattened bread.
- Roll up the bread tightly around the cheese like a burrito.
- Brush the outside with melted butter.
- Heat a non-stick pan over medium heat and add a bit of butter.
- Place the roll-ups seam-side down onto the pan.
- Fry for 2 to 3 minutes on each side until golden brown and crispy.
- Serve with tomato soup or marinara sauce for dipping.