Dulce de Leche Pastries
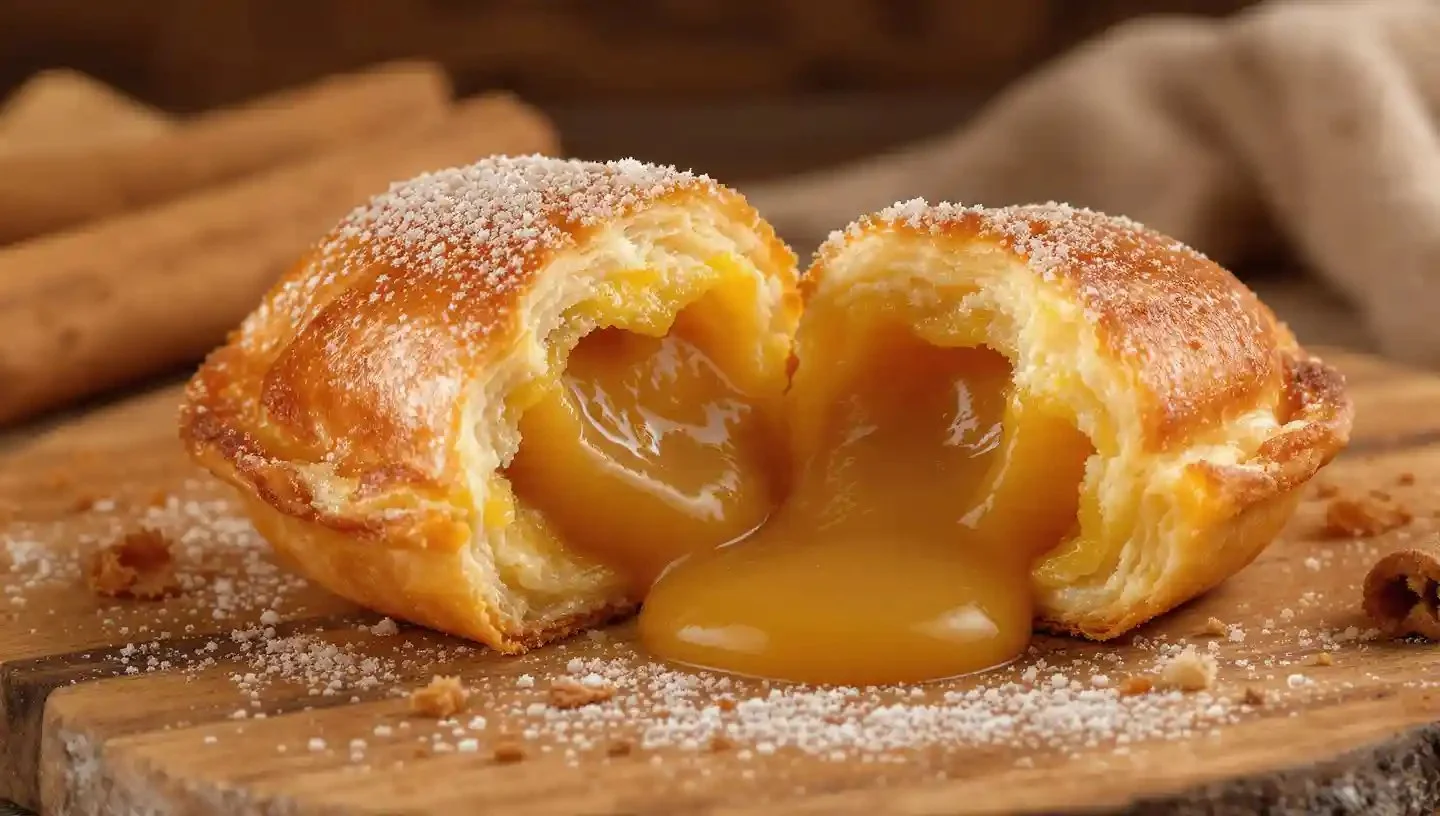
The Allure of Dulce de Leche Pastries There’s something undeniably magical about biting into a warm pastry that’s oozing with dulce de leche. I remember the first time I had these delightful treats; the smooth, caramel-like filling paired with flaky pastry was an explosion of flavors and textures that left an unforgettable impression. That memory…
The Allure of Dulce de Leche Pastries
There’s something undeniably magical about biting into a warm pastry that’s oozing with dulce de leche. I remember the first time I had these delightful treats; the smooth, caramel-like filling paired with flaky pastry was an explosion of flavors and textures that left an unforgettable impression. That memory encouraged me to recreate this wonderful dessert at home, and now, I want to share my fondness for making Dulce de Leche Pastries with you. You may also find Pastelitos De Dulce De Leche useful.
To start our delightful journey into the world of pastries, let’s gather our ingredients. For this recipe, you’ll need 1 1/4 cups of all-purpose flour, 1/2 cup of chilled unsalted butter cut into small cubes, 4 ounces of chilled cream cheese, along with 1/2 teaspoon of pure vanilla extract, 1 teaspoon of granulated sugar, and 1/2 teaspoon of salt. The heart of our dish, of course, is 1/2 cup of rich dulce de leche, complemented by 1/4 cup of light brown sugar, and 1 teaspoon of ground cinnamon. Finally, we’ll need an egg yolk whisked with a teaspoon of water for that perfect golden finish. You may also find Dulce De Leche Pastries useful.
Crafting the Pastry Dough
The process is surprisingly straightforward. You begin by making the dough in a food processor; I find this method so much easier! Start by mixing together the flour, salt, and sugar. Then, add the cold butter and cream cheese and pulse until the mixture resembles coarse crumbs. At this stage, you may think, "What’s missing?" The secret is the vanilla extract; add it in and pulse a couple more times until the dough looks slightly shaggy.
Now comes the trick I swear by: transferring the dough to some plastic wrap, shaping it into a disc, wrapping it tightly, and chilling it in the fridge for at least two hours. This rest period is crucial for achieving the perfect texture. If you’re like me, the anticipation is half the fun!
Rolling Out the Dough
After a long wait, it’s time to roll out the chilled dough on a floured surface until it’s about 1/8 to 1/4 inch thick. Next, cut the dough into 2-inch squares. This might seem tedious, but the moment you see those little squares, excitement builds.
For the next step, place about a teaspoon of dulce de leche in the center of half the squares. If you’ve never experienced the joy of dulce de leche, it’s like a creamy, heavenly hug in the form of caramel.
Sealing in the Goodness
Once you’ve filled the squares, you need to seal them. Wet the edges of a filled square with a touch of water, place a second square on top, and pinch the edges to create a tight seal. At this point, the pastries can look a bit rustic, but that adds to their charm. I like to place these assembled pastries on a baking sheet and chill them in the fridge for another hour to help maintain their shape during baking.
Preparing for Baking Bliss
Just before we pop these beauties in the oven, it’s time to enhance them with a garnish. Preheat your oven to 350°F, then mix the brown sugar and cinnamon together. This step is where the aroma in your kitchen will start to drift and excite everyone nearby. Press the edges of each pastry with a fork, brush the tops with the egg wash, and finally, sprinkle on that irresistible cinnamon sugar mix.
Bake those pastries for 10 to 12 minutes until they’re puffed and golden. When you finally pull them out of the oven, the heavenly scent that engulfs your kitchen will make all the effort worthwhile. Let them cool for a bit before serving warm—trust me, the best experience is biting into them while they’re still warm.
A Few Variations to Consider
While this classic version of dulce de leche pastries is a winner, I love experimenting with different fillings. Sometimes, I add a dollop of fresh fruit jam or even a handful of chopped nuts for a bit of crunch. You could also try making these with puff pastry for a quicker and flakier alternative. Just remember that the essence of dulce de leche should always stay at the core of whatever variation you try.
Making Ahead and Storage Tips
If you’re planning to serve these at a gathering or just want to have some ready for a sweet treat, these pastries can be made ahead of time. You can prepare and fill them, then freeze them on a baking sheet before transferring them to an airtight container. When you’re ready to enjoy, just bake them from frozen, adding a couple of minutes to the baking time.
I often find myself reminiscing about my childhood as I make these pastries; the way they bring warmth and joy to gatherings is undeniable. The luscious filling paired with a crispy exterior is truly a perfect match.
Conclusion
Having shared my heartfelt recipe for delectable Dulce de Leche Pastries, I invite you to explore even more on this rich culinary journey. If you’re looking for more pastries to delight your taste buds, check out this recipe for Pastelitos de Dulce de Leche for a delightful experience!
Enjoy baking and indulging in these treats that bring a taste of warmth and nostalgia to every bite!