The Ultimate Homemade Jello Snack Cups (Easy Lunch Idea!)
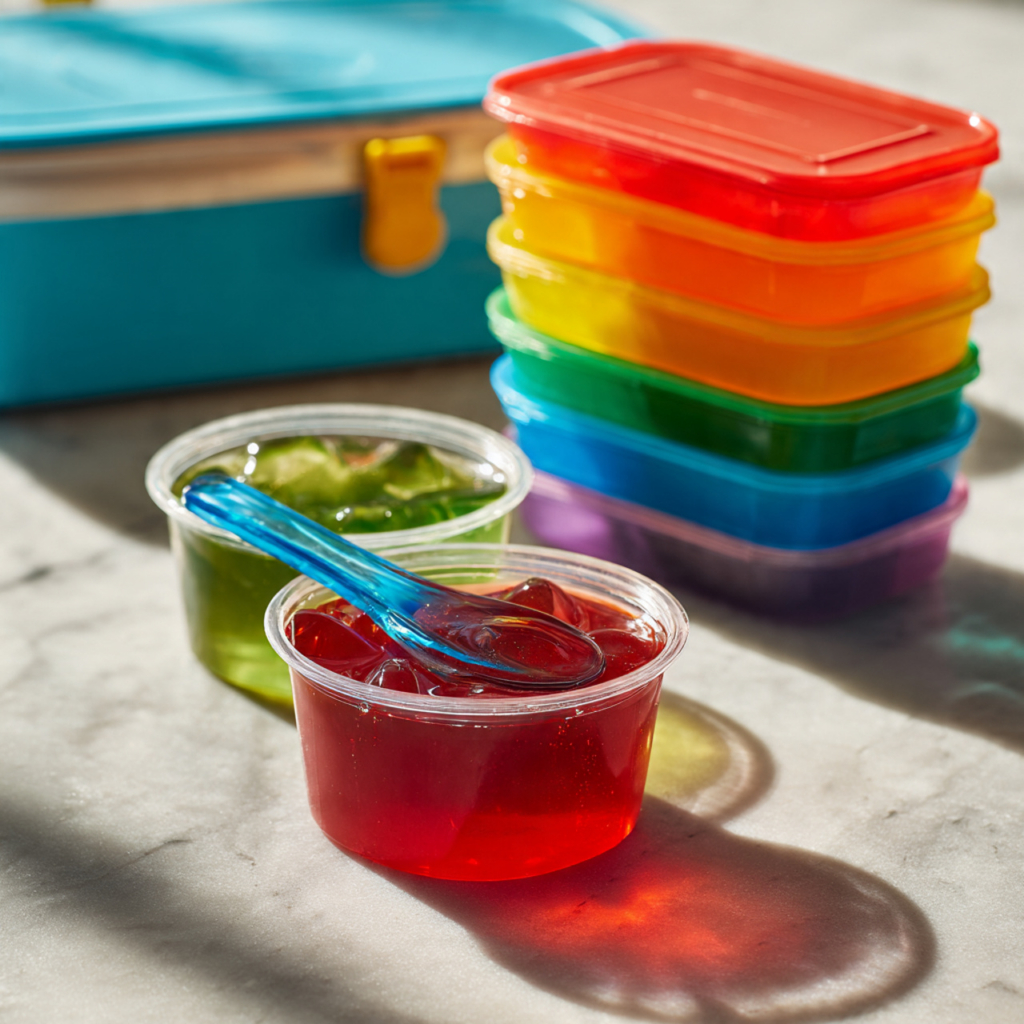
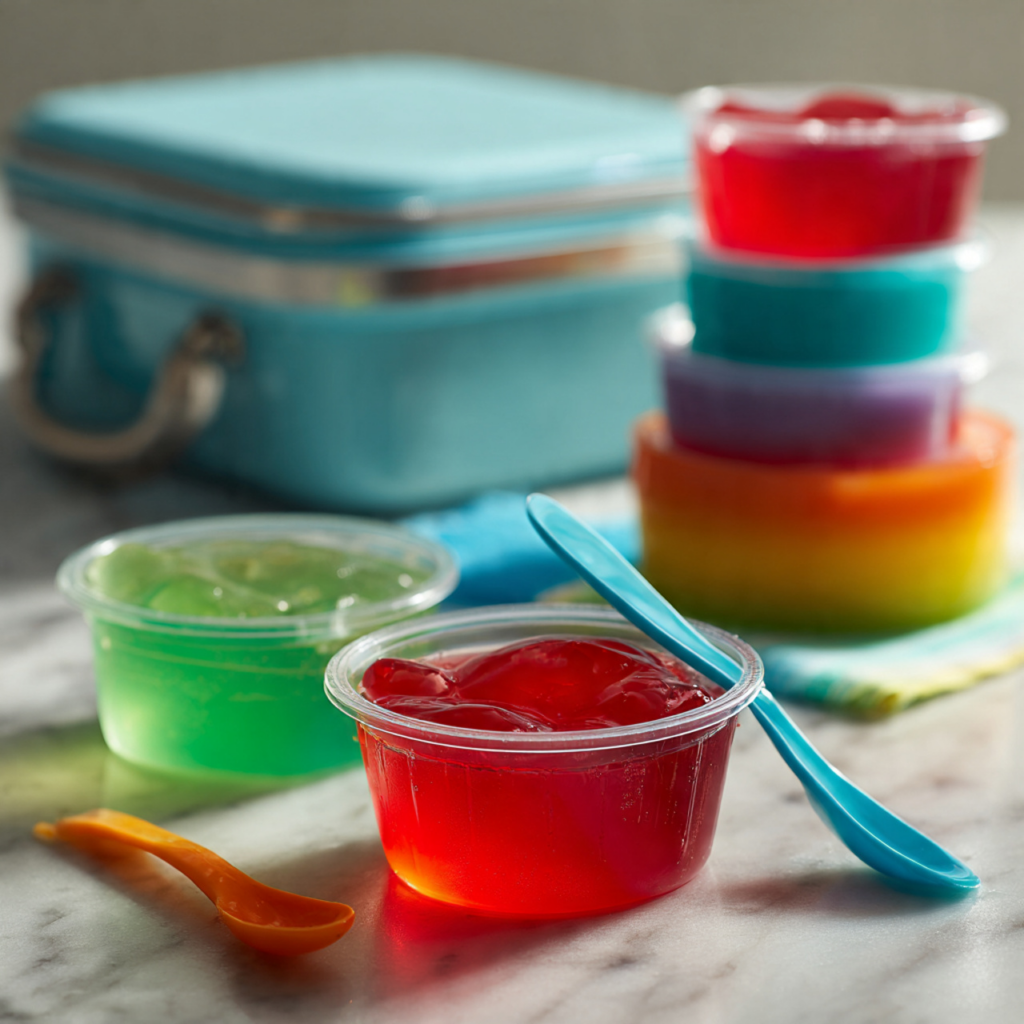
Imagine opening your refrigerator to a beautiful, vibrant rainbow of perfectly portioned, ready-to-go Jello snack cups, just waiting to be popped into a lunchbox or grabbed for a quick, fun treat. Now, imagine you made this entire colorful stash yourself in just a few minutes, for a fraction of the cost of the store-bought version….
Imagine opening your refrigerator to a beautiful, vibrant rainbow of perfectly portioned, ready-to-go Jello snack cups, just waiting to be popped into a lunchbox or grabbed for a quick, fun treat. Now, imagine you made this entire colorful stash yourself in just a few minutes, for a fraction of the cost of the store-bought version. That, my friends, is the simple, brilliant, and incredibly satisfying magic of these Homemade Jello Snack Cups. This is, without a doubt, the easiest and most fun meal prep you will do for your kids’ lunches.
I promise you, there is no greater meal prep win than seeing a stack of these cheerful, jiggly cups in your fridge. You can make a whole spectrum of your family’s favorite flavors all at once. They are the perfect, cool, and refreshing addition to a packed lunch, a fantastic after-school snack, or a simple, light dessert.
Get ready to master the art of the homemade snack cup and create a fun, delicious, and budget-friendly lunchbox staple that your kids will absolutely love.
Why This Jello Hack is a Game-Changer for Lunches
You are going to be completely obsessed with how simple and smart this idea is. It’s a true parent hack. Here’s why you’ll love it:
- Incredibly Easy and Fast: If you can boil water and stir, you can make these! The whole process of making multiple flavors moves very quickly and takes minimal active time.
- A Huge Money-Saver: Making your own Jello cups from boxed mix is significantly more cost-effective than buying the pre-made multi-packs at the grocery store.
- Completely Customizable Flavors: You’re no longer limited to the standard store-bought flavors. You can make a rainbow of your kids’ absolute favorites, from strawberry to lime to blue raspberry!
Recipe Snapshot
| Prep Time | 20 minutes |
| Chill Time | 4 hours |
| Total Time | 4 hours 20 minutes |
| Servings | Approx. 20-25 cups |
| Course | Snack, Dessert |
| Cuisine | American |
| Difficulty/Method | Easy / No-Bake |
Your Simple Shopping List for a Jello Stash
This brilliant lunch hack requires just a couple of basic items!
→ For the Homemade Jello Snack Cups
- 5 boxes of your favorite powdered Jello flavors → Pick a rainbow of colors and flavors like strawberry, orange, lemon, lime, and blue raspberry.
- Water → Both boiling and cold, as directed on the Jello package.
→ Essential Equipment
- Disposable 4-ounce portion cups with lids → These are the key to the recipe! They are the perfect snack size.
- A large pot → For boiling the water.
- A large mixing bowl & whisk → For mixing the Jello.
Let’s Get Mixing! Your Step-by-Step Guide
Ready for the easiest, most satisfying meal prep ever? Let’s make a rainbow!
Part 1: The Simple Jello Process
- Boil Your Water: To make the process fast and efficient, start by bringing a large pot of water to a boil. This way, you’ll have hot water ready for all of your flavors.
- Make One Flavor at a Time: Start with your first flavor. Simply follow the directions on the back of the Jello box. This typically involves mixing the Jello powder with a specific amount of boiling water in your large mixing bowl until it’s completely dissolved, and then stirring in a specific amount of cold water.
Part 2: Portion, Chill, and Store
- Pour into Cups: Carefully pour the liquid Jello mixture into your 4-ounce portion cups.
- Cover and Chill: Place the lids on the cups and carefully transfer them to the refrigerator to chill and set. This will take at least 4 hours.
- Rinse and Repeat: While your first batch is chilling, simply give your mixing bowl a quick rinse and repeat the process with your next chosen Jello flavor! The whole process moves very quickly.
- Pack and Enjoy!: Once the Jello cups are firm and fully set, they are ready to be tossed in a lunch pail with a plastic spoon. It’s as easy as that!
Homemade Jello Snack Cups for Lunchboxes
Ingredients
Equipment
Method
- Bring a large pot of water to a boil. Line up your 4 oz portion cups on a baking sheet for easy transfer.
- Working one flavor at a time, follow the directions on the back of the Jello box. Typically, this involves mixing the Jello powder with boiling water in a large bowl until dissolved, then stirring in cold water.
- Carefully pour the liquid Jello into the 4 oz cups, leaving a little space at the top.
- Place the lids on the cups and transfer them to the refrigerator. Let them chill until completely firm, at least 4 hours.
- Rinse the mixing bowl and repeat the process with the remaining Jello flavors.
- Once set, store the cups in the fridge for a quick and easy grab-and-go snack for lunchboxes.
Notes
WiseRecipes’ Top Tips for Jello Success
These simple secrets will make this easy process even more foolproof and fun.
- Dissolve the Powder Completely. Make sure you stir, stir, stir the Jello powder in the boiling water until every last granule has dissolved. This is the key to a perfectly smooth, clear Jello with no gritty bits at the bottom.
- Set Up an Assembly Line. For maximum efficiency, set up a station. Have your empty cups lined up on a baking sheet (this makes them easy to transfer to the fridge), your Jello boxes opened, and your measuring cups ready.
- Boil One Big Pot of Water. As the recipe suggests, boiling a single, large pot of water at the beginning is a great time-saver. You can just dip your measuring cup in to get the hot water you need for each flavor without waiting for a new batch to boil each time.
- Leave a Little Headroom. Don’t fill the cups all the way to the very brim. Leaving a little bit of space at the top makes it much easier to snap on the lids without any spillage.
- Get Creative with Add-ins! For a fun twist, you can suspend fruit in your Jello cups! After you pour the Jello, let it chill in the fridge for about an hour until it’s partially set (like a loose gel), then you can gently stir in small fruits like mandarin oranges or berries before letting it set completely.
Keep Them Fresh! Storing Your Jello Cups
These Jello cups are designed for easy storage and a long shelf life in the fridge.
- Refrigerator: Stored with their lids on, these homemade Jello snack cups will stay fresh and delicious in the refrigerator for up to a week, making them a perfect make-ahead snack for the entire school or work week.
FAQs: Your Homemade Jello Cup Questions, Answered!
Where do I find the 4-ounce portion cups with lids?
You can typically find these disposable cups (sometimes called condiment cups or souffle cups) at party supply stores, warehouse clubs like Costco, or easily online through retailers like Amazon.
Can I make these with a sugar-free Jello mix?
Absolutely! This method works perfectly with sugar-free gelatin mixes for a lower-calorie, lower-sugar snack option.
Can I make layered rainbow Jello cups?
Yes, you can, but it requires a lot more patience! You would need to pour one color, let it set completely in the fridge (which takes a few hours), and then carefully pour the next cooled layer of liquid Jello on top. It’s a fun project, but not a quick one!
How many 4-ounce cups does one standard box of Jello make?
A standard 3-ounce box of Jello typically makes 2 cups (16 ounces) of liquid Jello. This means you can expect to get about four 4-ounce snack cups from each box you make.
Final Thoughts: Your Easiest Lunchbox Hack
There is nothing more satisfying than a simple idea that saves you time, money, and makes your family happy. This Homemade Jello Snack Cup method is the ultimate parent hack. It’s a simple, brilliant way to stock your fridge with fun, easy, and customized snacks for the week ahead. I hope this easy peasy idea brings a little bit of color and a whole lot of convenience to your lunch-packing routine. Happy Mixing!