Homemade Jello Snack Cups for Lunchboxes
A Sweet Nostalgic Treat There’s something incredibly comforting about homemade snacks that remind you of childhood. One treat that takes me back is the vibrant, wobbly delight of homemade Jello snack cups. Perfect for lunchboxes, these colorful cups not only bring a pop of color but also a burst of flavor that kids and adults…
A Sweet Nostalgic Treat
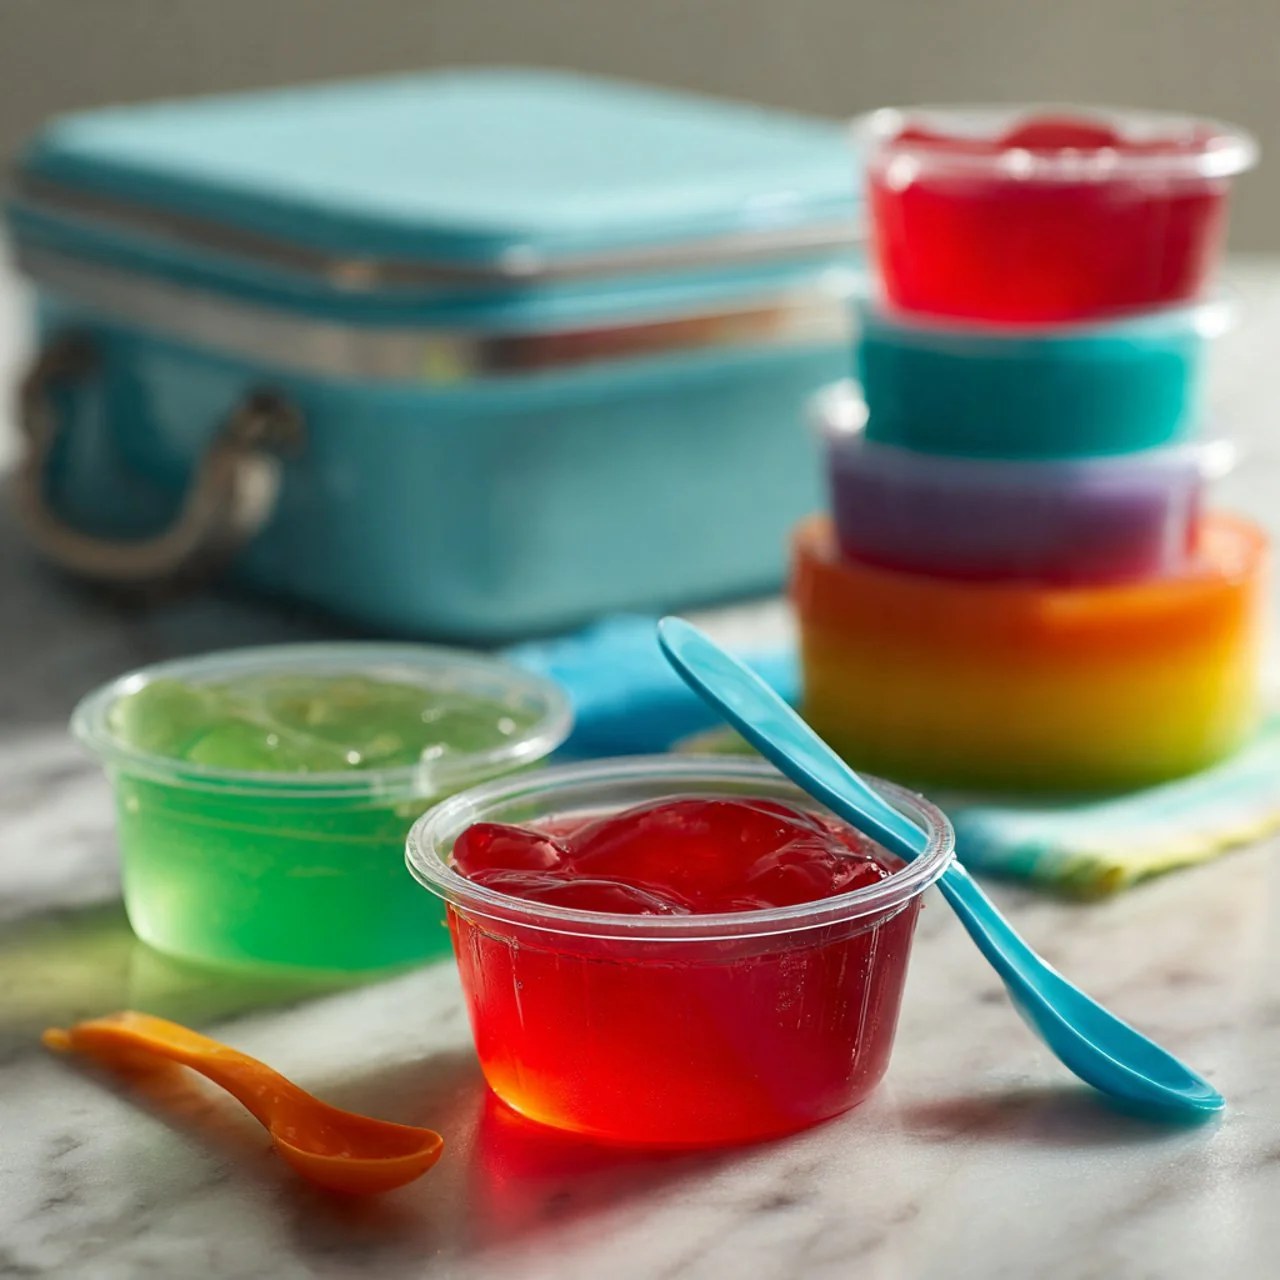
There’s something incredibly comforting about homemade snacks that remind you of childhood. One treat that takes me back is the vibrant, wobbly delight of homemade Jello snack cups. Perfect for lunchboxes, these colorful cups not only bring a pop of color but also a burst of flavor that kids and adults alike crave. The best part? They are oh-so-simple to make! You may also find Homemade Jello Snack Cups useful.
You’ve probably only ever seen Jello in a ring mold or overly sugary pre-packaged cups, but let me tell you: making your own is a game changer. You get to choose your favorite flavors, adjust the sweetness to your liking, and display them in adorable little cups. It’s a win-win! If you’re curious about an easy recipe to whip up these delightful snacks, let’s dive in.
Gather Your Ingredients
To create these bite-sized delights, you’ll need just a few basic ingredients. Grab five boxes of powdered Jello in your favorite flavors—it’s fun to mix and match! Along with that, you will need boiling water and cold water as directed on the package. That’s right—no fancy ingredients, just nostalgic fun in a cup!
The Secret to Perfect Homemade Jello
Making Jello from scratch is incredibly satisfying, and I find the process therapeutic. Start by bringing a large pot of water to a boil. As the water heats, line up your 4 oz portion cups on a baking sheet for easy transfer later on. There’s something about seeing those little cups lined up that makes it feel like a miniature production—it’s adorable!
Once the water is boiling, take one flavor at a time and follow the instructions on the back of the Jello box. Typically, this means mixing the Jello powder with the boiling water in a large bowl until it’s completely dissolved. This step is joyous: the aroma of the released flavors fills the room, and I can’t help but feel excited about the result.
After the powder has dissolved, it’s time to stir in the cold water—this is crucial for achieving that perfect texture we all love. It should be smooth and glistening, ready to be poured into each cup.
Filling and Setting
With your Jello mixture ready, carefully pour the liquid into each of the 4 oz cups, making sure to leave a little space at the top. This is not just to avoid spills, but also because we want them nice and firm when set, creating a delightful wobble effect.
Then, place the lids on these tiny gems and transfer them to the fridge. Patience is key here! They need to chill until completely firm, which usually takes at least four hours. I often make these in the evening, setting them up before bed so we can enjoy them the next day.
Once set, you can easily grab them from the fridge for a quick and easy snack, making them an excellent addition to lunchboxes for days on end. For inspiration, you might also explore other delightful snack ideas like delicious zucchini bread.
Variations on a Classic
Now, let’s talk about how to mix things up! You don’t have to stick to just the traditional Jello flavors. Think outside the box! Why not add some fruit purees for a twist? Blending in pureed strawberries or mango can add a fresh flavor and a homemade touch. Another fun add-in could be gummy candies added before the Jello sets—imagine biting into a cup and discovering a sweet surprise!
If you’re feeling adventurous, you can also layer different flavors. Just let each layer set before adding the next, creating a beautiful rainbow effect in the cup. Kids love the novelty, and it’s sure to impress, making even the simplest lunch feel special.
Storing Your Lunchbox Wonders
If there are any leftovers (which there usually aren’t), simply store them in an airtight container in the refrigerator. They’ll keep well for about a week, making them a perfect option for meal prep. Just remember, the fresher, the better! You’ll find that they keep their delightful texture and don’t weep moisture like some store-bought versions can.
How I Discovered This Recipe
I fondly remember helping my mom whip these up for summer gatherings. The bright colors and gleeful giggles from the kids as they dove into their cups always made the effort worthwhile. This recipe has become a staple in my own home. I love the flexibility it offers—I can use whatever flavors are on hand, and my kids can pick their favorites to create their perfect snack.
Conclusion
Crafting homemade Jello snack cups is not just about satisfying a sweet tooth; it’s about creating memories and sharing joy. Whether it’s a midday snack for your kids or an impressive addition to a picnic, these colorful cups are a delightful treat. For an additional fun take on this popular snack, check out this guide on Homemade Jello Snack Cups. Enjoy the nostalgia and the smiles they bring!