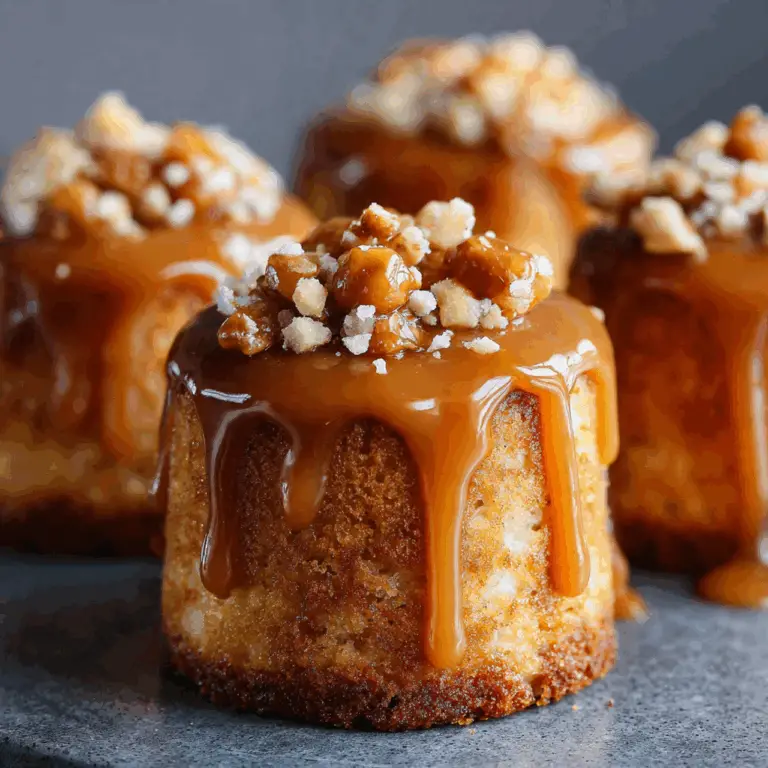
Mini Cheesecakes: A Busy Mom’s Delight
The Perfect Treat for Busy Days As a busy mom, I know how challenging it can be to whip up something delicious yet quick. One of my favorite go-to desserts is mini cheesecakes. They’re delightful, easy to make, and oh-so-impressive when served to guests or even enjoyed just at home on a cozy evening. Today,…
The Perfect Treat for Busy Days
As a busy mom, I know how challenging it can be to whip up something delicious yet quick. One of my favorite go-to desserts is mini cheesecakes. They’re delightful, easy to make, and oh-so-impressive when served to guests or even enjoyed just at home on a cozy evening. Today, I want to share my recipe for Mini Cheesecakes: A Busy Mom’s Delight, which I’ve perfected over the years. You may also find 10 Anti Inflammatory Dinners Busy Moms Make So Fast useful.
To get started, here are the ingredients you’ll need. You’ll need 1 cup of graham cracker crumbs for the crust, along with 2 tablespoons of sugar and 1/2 cup of melted unsalted butter to bind them together. For the creamy filling, grab 16 ounces of softened cream cheese, 1 cup of sugar, 1 teaspoon of vanilla extract, and 3 large eggs to ensure that rich, velvety texture. Don’t forget the whipped cream and fresh fruit, like strawberries or blueberries, for topping!
Getting Started
First things first, preheat your oven to 325°F (160°C). This step is crucial because a well-preheated oven ensures your mini cheesecakes will cook evenly and achieve that perfect texture. While that’s warming up, mix the graham cracker crumbs, sugar, and melted butter in a medium bowl until it resembles wet sand. This will be the base of your cheesecakes.
Once your mixture is ready, press it firmly into the bottom of your mini cheesecake pans. This creates a nice sturdy crust that will complement the creamy filling. If you don’t have mini pans, muffin tins work perfectly too.
The Filling Magic
Next, onto the filling! In a large bowl, beat the softened cream cheese until it’s smooth and creamy. It’s important to get rid of any lumps to achieve that velvety texture that cheesecakes are known for. After the cream cheese is nice and smooth, mix in the sugar and vanilla extract until well blended.
I find that adding the eggs one at a time is the key to the perfect filling. This way, each egg can be fully incorporated before the next one goes in. After this step, pour that luscious cream cheese mixture over the crusts in your mini cheesecake pans.
Baking to Perfection
Now it’s time for the oven. Bake the cheesecakes for about 20-25 minutes. You’ll want to look for them to be firm around the edges but still slightly jiggly in the center; that’s the perfect sign they’re ready. After removing them from the oven, allow the cheesecakes to cool at room temperature for a bit before transferring them to the refrigerator to chill for at least 2 hours.
This might be a great moment to check out some other delightful treats, such as mini lemon cakes. They could be a whimsical addition to your dessert table.
Serving and Personal Touches
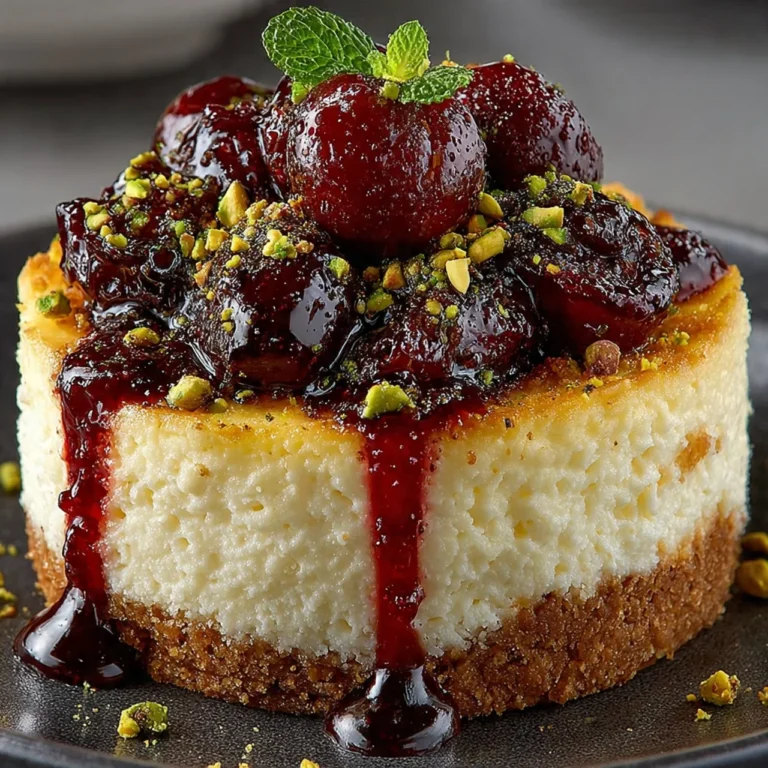
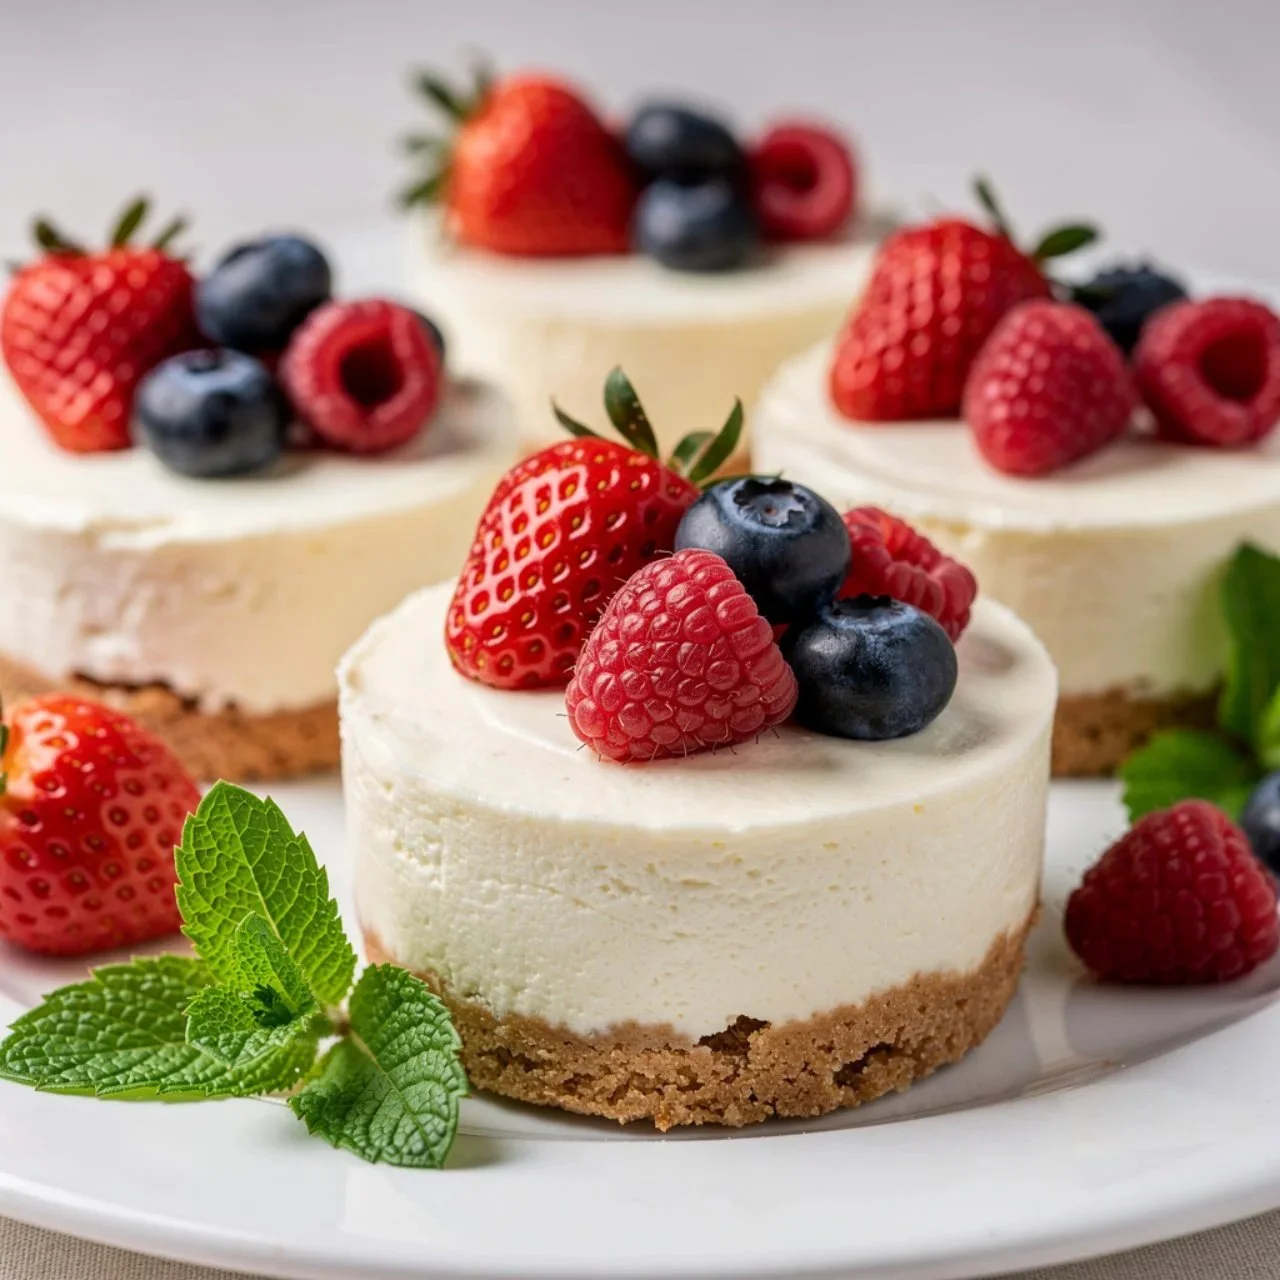
Once they’re chilled, it’s time to serve! Top your mini cheesecakes with a generous dollop of whipped cream and some fresh fruit. Strawberries and blueberries are my go-to choices, adding a lovely pop of color and freshness. Plus, they’re great for little hands!
If you want to switch things up, you can try adding chocolate chips to the filling or even a hint of lemon zest for extra zestiness. Another variation I love is to incorporate some pumpkin puree in the fall for a seasonal twist.
As a final note, if you have leftover mini cheesecakes, they store really well. Just keep them in an airtight container in the fridge for up to a week. However, I have to admit, they usually don’t last that long in my house!
Conclusion
Making mini cheesecakes has become a cherished tradition in my family. They’re not just a treat but also a way to bring everyone together. If you’re looking for more dessert inspirations, consider checking out Mom’s Oreo Delight – Southern Bite. You won’t regret trying these simple yet impressive desserts. Happy baking!

Mini Cheesecakes
Ingredients
Method
- Preheat your oven to 325°F (160°C).
- In a medium bowl, mix the graham cracker crumbs, sugar, and melted butter until it resembles wet sand.
- Press the mixture firmly into the bottom of your mini cheesecake pans to form a crust.
- In a large bowl, beat the softened cream cheese until smooth and creamy.
- Mix in the sugar and vanilla extract until well blended.
- Add the eggs one at a time, ensuring each is fully incorporated before adding the next.
- Pour the cream cheese mixture over the crusts in your mini cheesecake pans.
- Bake the cheesecakes for about 20-25 minutes.
- Look for the edges to be firm while the center remains slightly jiggly.
- Allow the cheesecakes to cool at room temperature before transferring them to the refrigerator to chill for at least 2 hours.
- Top the mini cheesecakes with whipped cream and fresh fruit before serving.
- For variations, consider adding chocolate chips, lemon zest, or pumpkin puree.