Red, White, and Blue Cake Balls
A Celebration of Flavors: Red, White, and Blue Cake Balls As the summer rolls in and the days get longer, I can’t help but think about celebrations filled with good food and laughter. Growing up, our family had a tradition of throwing festive gatherings during holidays, and one recipe that always stole the show was…
A Celebration of Flavors: Red, White, and Blue Cake Balls
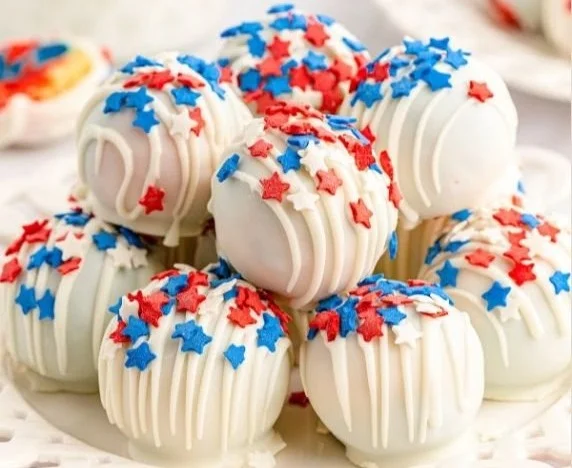
As the summer rolls in and the days get longer, I can’t help but think about celebrations filled with good food and laughter. Growing up, our family had a tradition of throwing festive gatherings during holidays, and one recipe that always stole the show was the delightful Red, White, and Blue Cake Balls. These little treats are not just a visually stunning dessert, but they also burst with flavor and are incredibly fun to make. If you’re looking to impress your friends at your next BBQ or gathering, you’re going to love this recipe! You may also find Red White And Blue Cheesecake Salad 2 useful.
Let me share how these delightful cake balls come together using a white cake mix, which serves as the base. You will need a box of white cake mix—about 15.25 ounces, along with the ingredients listed on the box. Then, to achieve the vibrant colors that define these treats, grab some red and blue food coloring. For the creamy center, an 8-ounce block of cream cheese is essential, softened to room temperature for easy mixing. Lastly, you’ll want a 10-ounce package of white melting chocolate and a dash of festive spirit with red, white, and blue sprinkles.
The Path to Deliciousness
Begin by preheating your oven to 350°F, or follow the package instructions for the cake mix. While it warms up, lightly grease three small 8×8 baking pans and set them aside. In a large mixing bowl, combine the cake mix with the needed ingredients until smooth. Next, you’ll want to create three separate batters: leave one bowl plain, mix red food coloring into the second, and blue into the last. I usually add five drops at a time, stirring until I reach the desired shade. The vibrant colors truly add to the festive appeal of these cake balls!
Pour each batter into the prepared baking pans, and bake them for about 14 to 16 minutes, or until a toothpick comes out clean from the center. Once baked, cool them completely on a wire rack. This part is key; if you skip it, crumbling the cake later may be a messy task!
Once cooled, it’s time for the fun part—crumbly action! Crumble the cakes into smaller pieces and place them into separate bowls. In another bowl, beat the cream cheese on medium-high speed until it’s wonderfully smooth and creamy. You’ll want to divide this rich mixture evenly into your three bowls of crumbled cake. Using a mixer is the easiest option for blending, but you can certainly do it by hand if you’re feeling adventurous. Just remember to wash your mixer between colors to keep those shades distinct!
Creating the Cake Balls: A Hands-On Experience
Now for the best part: forming the cake balls! Line two baking trays with parchment paper for easy cleanup. Take small chunks—about an inch each—from the crumbled cake and roll them together into colorful balls with your hands. It’s a fun and hands-on approach that kids love to help with, and it truly embodies the spirit of togetherness in baking.
Once you’ve got your colorful assembly ready, pop them into the refrigerator for about 1 to 2 hours. This step helps the cake balls firm up, making them much easier to dip in chocolate later on. When you’re ready, melt the white chocolate in a microwave-safe bowl, stirring every 30 seconds until smooth.
Here’s a tip that I learned the hard way: too high a temperature can seize the chocolate. Patience is key! Dip each cake ball into the melted chocolate using a fork. Be sure to tap it lightly to get rid of any excess chocolate before placing it back onto the baking tray. Once all are coated, drizzle any leftover melts over each ball and sprinkle them with the colorful sprinkles.
The Finishing Touch: Chill and Serve
Return the trays to the fridge for another 15 minutes to let the coating set completely. Once chilled, your decorations should be beautiful, resembling a festive dessert table. Keep these little bites refrigerated until you are ready to serve them to your eager guests!
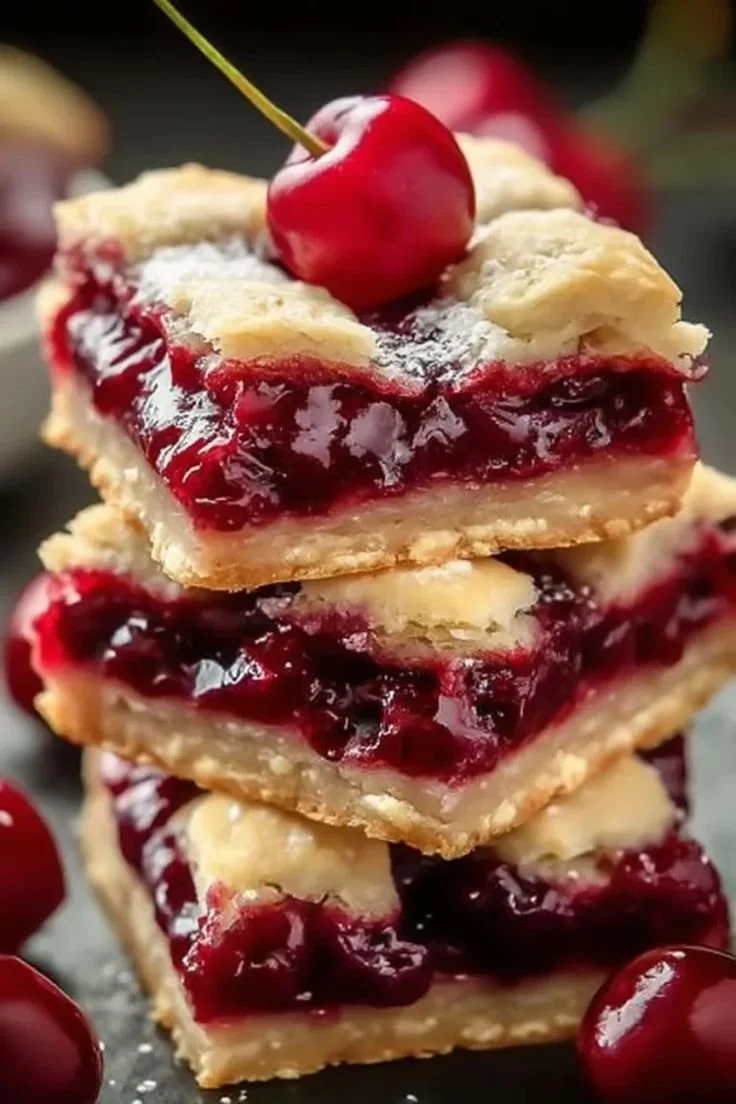
By the way, if you ever wish to surprise your friends with a creamy dessert twist, I highly recommend trying these lemon and blueberry cheesecake tarts. They balance the sweet and tart flavors perfectly and fit well with any celebration.
Memories Associated with the Recipe
One of my favorite memories connected to these cake balls revolves around a July Fourth party from a few years back. I had crafted a huge batch for a BBQ, hoping to impress my friends. The smiles on their faces when they took their first bites were priceless, especially as they commented on the fun colors and flavors. Not only do these cake balls look great, but their taste is a winning combination of sweet and creamy, with a bit of texture from the sprinkles.
Conclusion
Incorporating joyful colors and flavors, Red, White, and Blue Cake Balls are perfect for any festive occasion. If you’re interested in exploring another delightful dessert, you might want to check out this delicious recipe for Red, White, and Blue Cake Balls. Trust me, it’s an experience you won’t want to miss!
Red, White, and Blue Cake Balls
Ingredients
Method
- Preheat your oven to 350°F, or follow the package instructions for the cake mix.
- Lightly grease three small 8x8 baking pans.
- In a large mixing bowl, combine the cake mix with the needed ingredients until smooth.
- Divide the batter into three bowls: one plain, one with red food coloring, and one with blue food coloring.
- Pour each batter into the prepared baking pans and bake for 14 to 16 minutes or until a toothpick comes out clean.
- Cool completely on a wire rack.
- Crumble the cooled cakes into separate bowls.
- In another bowl, beat the cream cheese until smooth and creamy, then divide evenly into the three bowls of crumbled cake.
- Mix the cream cheese into the cake crumbles using a mixer or by hand.
- Roll small pieces of the mixture (about an inch each) into balls.
- Chill the rolled cake balls in the refrigerator for 1 to 2 hours.
- Melt the white chocolate in a microwave-safe bowl, stirring every 30 seconds until smooth.
- Dip each cake ball into the melted chocolate and tap to remove excess.
- Drizzle any leftover chocolate over each ball and sprinkle with colorful sprinkles.
- Chill in the fridge for another 15 minutes until set.
- Serve the cake balls chilled and enjoy!