Red, White and Blue Jello Cups
I love celebrating holidays with dishes that are as delightful to look at as they are to eat. These Red, White, and Blue Jello Cups fit this description perfectly. They’re simple, festive, and the kind of treat that will wow your friends and family at any gathering. Enjoying these layered beauties can be quite the…
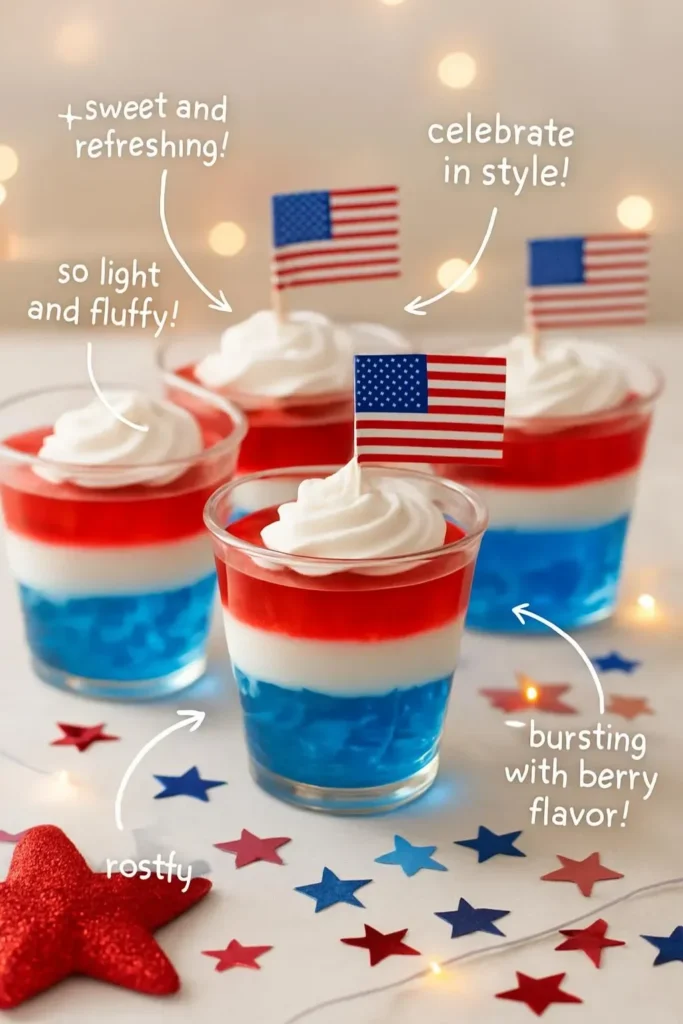
I love celebrating holidays with dishes that are as delightful to look at as they are to eat. These Red, White, and Blue Jello Cups fit this description perfectly. They’re simple, festive, and the kind of treat that will wow your friends and family at any gathering. Enjoying these layered beauties can be quite the experience, especially when you’re mixing up your favorite flavors.
At the heart of these cups are the vibrant layers of red and blue jello. To get started, grab some red and blue jello mix, along with unflavored gelatin, which helps to hold everything together. You’ll need water and some Cool Whip to give that creamy texture on top. The addition of sprinkles or fresh fruit can add a charming touch, making the cups look even more appealing.
You might wonder how to get those stunning layers. The trick lies in the timing and patience. First, you’ll prepare the red jello according to the package instructions. Once it’s fully set, you pour a layer of the unflavored gelatin mixed with water on top, which gives the next layer a smooth base before adding the blue jello. This process can be a little time consuming, but seeing those layers come to life is worth it! Just be sure to allow each layer to set before proceeding.
After you’ve assembled the jello cups, it’s time to add that creamy finishing touch. A generous dollop of Cool Whip on top softens the look while providing a light contrast to the sweetness of the jello. For an extra festive vibe, I love sprinkling some patriotic sprinkles on top or tossing in fresh blueberries or strawberries. It’s a simple detail, but it really elevates the presentation.
As I assembled these cups, I was reminded of how easy it is to be creative in the kitchen. If you’re looking for something more decadent, consider filling a dessert cup with layers of flavors. Imagine the richness of my lemon and blueberry cheesecake tarts alongside these jello cups for a dessert spread!
For anyone who might be tempted to prepare this dish, one thing I learned during preparation is the necessity of patience. The waiting game can be a bit nerve-wracking, but it’s essential if you want those perfect layers. Plus, the end result is simply stunning!
Conclusion
To make these Red, White, and Blue Jello Cups even easier, consider following the detailed instructions found in this recipe article, or explore another variation with additional tips and tricks in this thorough guide on making Jell-O cups. Enjoy experimenting with flavors and sharing these festive treats at your next gathering!
Red, White, and Blue Jello Cups
Ingredients
Method
- Prepare the red jello according to the package instructions and allow it to set completely.
- Once the red jello is set, mix unflavored gelatin with water and pour a layer on top of the red jello.
- After the gelatin layer has set, prepare the blue jello and pour it over the set gelatin layer.
- After the blue jello has set, add a generous dollop of Cool Whip on top of each cup.
- Garnish with patriotic sprinkles or fresh blueberries/strawberries, if desired.