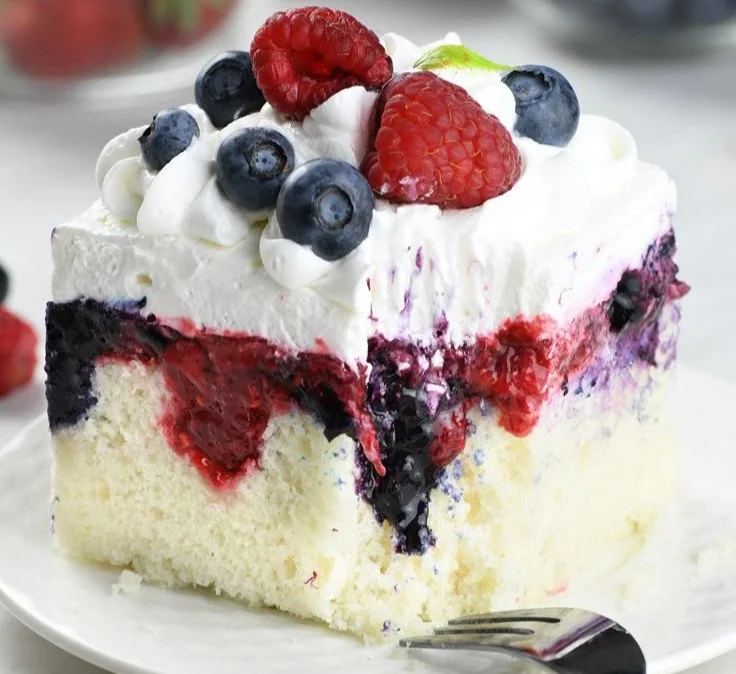
Salted Caramel Cake
The Sweet Temptation of Salted Caramel Cake There’s something so comforting about the aroma of baking cake wafting through the house. It’s like a warm hug for the senses, especially when that cake is a luscious Salted Caramel Cake. I remember the first time I tasted it at a friend’s birthday party. The combination of…
The Sweet Temptation of Salted Caramel Cake
There’s something so comforting about the aroma of baking cake wafting through the house. It’s like a warm hug for the senses, especially when that cake is a luscious Salted Caramel Cake. I remember the first time I tasted it at a friend’s birthday party. The combination of the sweet caramel and the slight saltiness was magical. I knew I had to recreate that at home, and over time, I’ve perfected my recipe. If you’re ready to dive into a baking adventure that promises to impress, let’s jump into the art of creating this delightful cake!
Gathering My Ingredients
Before we get started, let’s talk about what you’ll need. This recipe is simple, but it yields a truly decadent cake that feels like an event. You’ll need 2 cups of all-purpose flour, which provides a sturdy base. For sweetness, grab 1 ½ cups of granulated sugar. The richness comes from ½ cup of unsalted butter, softened to that perfect creamy texture. Don’t forget about 1 cup of milk, three large eggs, and 1 tablespoon of vanilla extract to add a fragrant depth to the batter.
For the leavening, we’ll use 1 tablespoon of baking powder, alongside ½ teaspoon of salt, which will help balance the sweetness. And, of course, we can’t overlook the star of the show: 1 cup of homemade salted caramel sauce, which will be both inside the cake and drizzled on top! Finally, we’ll need 2 cups of caramel buttercream to frost the layers. Trust me; this layer is essential for elevating the cake to sublime levels.
The Joy of Baking
Now that we have our ingredients laid out, let’s create some cake magic. Start by preheating your oven to 350°F (175°C). This is always a good practice, as it ensures even baking. While that’s happening, grease and flour two 9-inch round cake pans. I like to line the bottom with parchment paper, too, just to be on the safe side.
In a large mixing bowl, cream together the softened butter and granulated sugar until it’s light and fluffy—about 3 to 5 minutes should do the trick. The texture should be almost airy. This step is crucial because it helps trap air in the batter for a tender cake.
Next, add the eggs one at a time, blending well after each addition. Then stir in that lovely vanilla extract. The smell will instantly fill your kitchen, and you might find yourself taste-testing a little (no judgment here!).
In a separate bowl, whisk together the flour, baking powder, and salt. This step allows for an even distribution of the dry ingredients, ensuring each slice of cake is equally delicious. Gradually add this dry mixture to the creamed butter and sugar, alternating with the milk. I like to start and end with the dry ingredients, mixing until it’s just combined. Over-mixing can lead to a dense cake, and nobody wants that!
Once you have your batter ready, divide it evenly between the two prepared pans. Baking magic will happen in your oven for the next 25 to 30 minutes. You’ll know it’s done when a toothpick comes out clean from the center.
A Sweet Smell in the Air
While those cakes are baking, let’s take a moment to discuss the salted caramel sauce. If you’re feeling adventurous, making it from scratch is a straightforward process and adds a personal touch. It’s just sugar melted down until it turns a beautiful amber color, then whisked together with cream and a sprinkle of salt once it’s removed from the heat. It toughens up a bit when cooled but becomes beautifully pourable again when warmed slightly—just like liquid gold!
Once your cakes are baked, let them cool in the pans for about 10 minutes before transferring them to wire racks. This waiting period is essential; it allows the cakes to firm up slightly, making them less likely to crumble when you frost them.
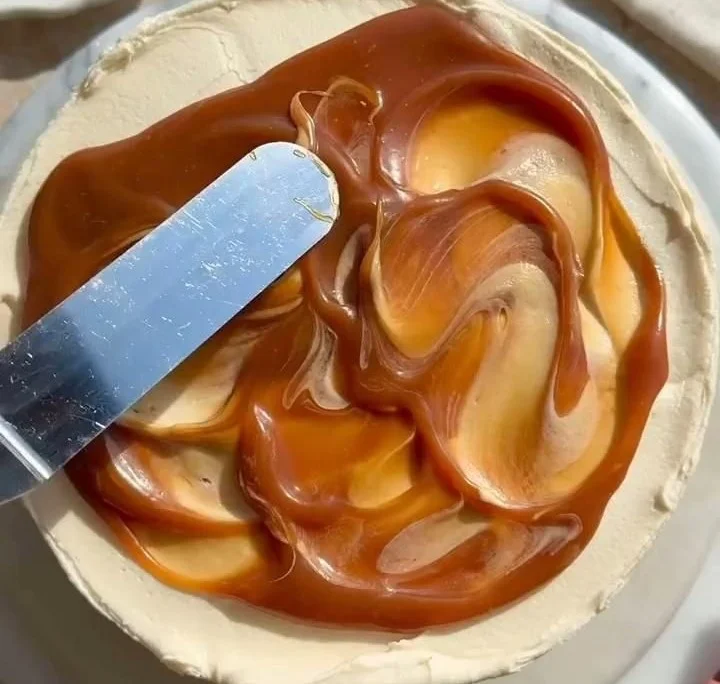
Frosting and Finishing Touches
Here comes the fun part! Once your cakes are completely cooled, it’s time to layer them with that creamy caramel buttercream. This frosting recipe is simply a dream—smooth, rich, and perfectly sweet. I usually spread a generous layer between the cakes and then frost the entire outside. The layers peek through the frosting in the cutest way, making it all the more inviting.
Now, drizzle the top with that homemade salted caramel. You can be generous here; the combination of the creamy buttercream and the dynamic salted caramel is indulgent. If you can’t resist the urge, add a little drizzle on the sides, making that homemade cake even more appealing.
A Place at the Table
What I appreciate most about this Salted Caramel Cake is that it fits seamlessly into a variety of occasions, from birthdays to cozy family dinners. It has the power to bring people together. Pair it with a scoop of vanilla ice cream for a truly memorable dessert experience, or enjoy it with a cup of coffee during those afternoon relaxations.
After baking, leftovers can be stored in an airtight container in the fridge. Though honestly, leftovers rarely last long in my house! If you do happen to have any slices left, they will keep for about 3 to 4 days. I recommend letting them come to room temperature before serving again; nothing beats that soft, fresh cake texture.
Making It Your Own
What I love about baking is how personal it can be. You can modify this recipe to suit your tastes or dietary preferences. For instance, if you want a chocolate version, consider adding cocoa powder to the flour mixture for a rich chocolate cake with salted caramel. If you’re keen on a nutty touch, finely chopped pecans or walnuts would make a delicious addition either in the batter or sprinkled on top.
You can even try drizzle variations—maybe a chocolate ganache or a fruit compote might tempt your taste buds. It’s all about creating a dessert that speaks to you!
Conclusion
Baking a Salted Caramel Cake isn’t just about satisfying a sweet tooth—it’s an experience from start to finish, filled with delightful smells and flavors. I hope you’ve enjoyed hearing about my journey to perfecting this recipe. If you’re looking to expand your cake repertoire, take a look at this scrumptious caramel cake recipe for more inspiration. Happy baking!
Salted Caramel Cake
Ingredients
Method
- Preheat your oven to 350°F (175°C) and grease and flour two 9-inch round cake pans.
- In a large mixing bowl, cream together the softened butter and granulated sugar until light and fluffy, about 3 to 5 minutes.
- Add eggs one at a time, blending well after each addition and then stir in the vanilla extract.
- In a separate bowl, whisk together flour, baking powder, and salt.
- Gradually add the dry mixture to the creamed mixture, alternating with milk, mixing until just combined.
- Divide the batter evenly between the two prepared pans.
- Bake in the preheated oven for 25 to 30 minutes, or until a toothpick comes out clean from the center.
- Let the cakes cool in the pans for about 10 minutes before transferring to wire racks.
- Once cooled, frost the cakes with caramel buttercream and drizzle with homemade salted caramel.