Spicy Buffalo Chicken Sliders
The Slider That Changed My Saturday Nights The first time I made these spicy buffalo chicken sliders, the house smelled like a sports bar crossed with my grandmother’s kitchen: tangy hot sauce, warmed butter, and that toasty, bakery-sweet smell from slider buns. I was trying to entertain a small, hungry crowd without spending the evening…
The Slider That Changed My Saturday Nights
The first time I made these spicy buffalo chicken sliders, the house smelled like a sports bar crossed with my grandmother’s kitchen: tangy hot sauce, warmed butter, and that toasty, bakery-sweet smell from slider buns. I was trying to entertain a small, hungry crowd without spending the evening chained to the stove, and these nine little sandwiches made the perfect impression. If you like bold flavors and a recipe that practically assembles itself, read on—this one is part crowd-pleaser, part experiment that paid off.
One quick note before we get into the details: if you like alternate takes on handheld buffalo, I found inspiration in a recipe for buffalo chicken sliders for lunchboxes, and it helped me simplify my approach.
I Used to Think Buffalo Needed Frying
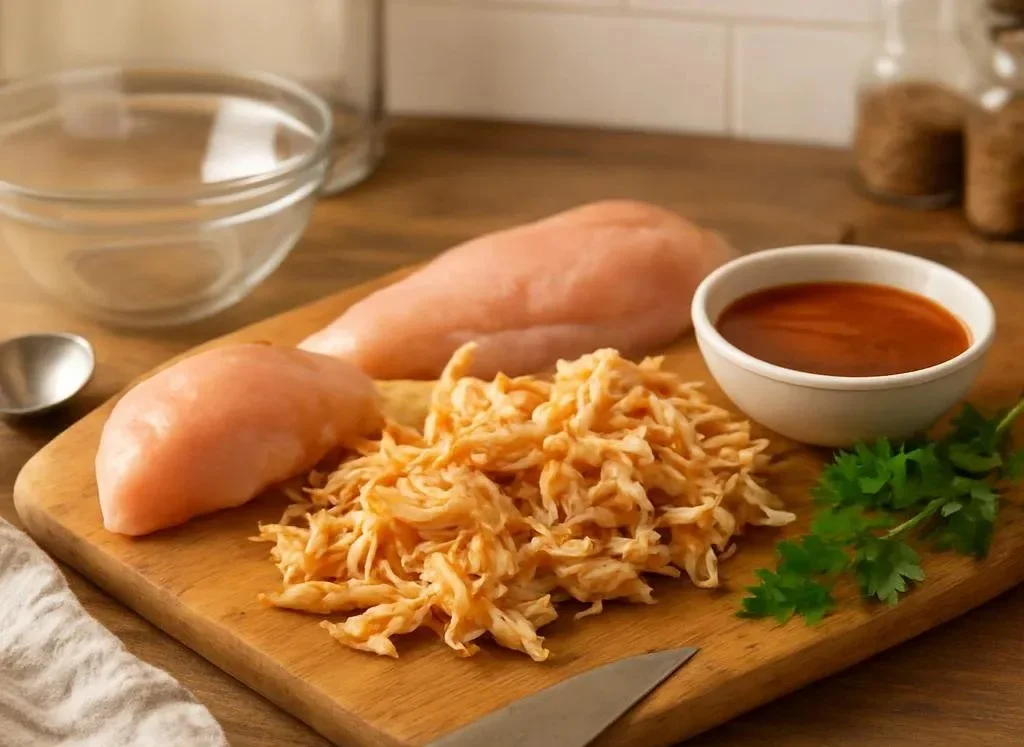
When I first started with buffalo chicken, I assumed everything had to be fried or shredded from scratch. Then I learned how forgiving and fast shredded chicken can be. For this recipe you’ll work with:
- 9 pack slider buns
- 1 1/2 cups shredded chicken
- 1/2 cup Franks buffalo hot sauce
- 2 Tbsp ranch dressing
- ½ tsp salt
- ¼ tsp ground black pepper
- ½ tsp garlic powder
- ¼ tsp paprika
- 1 cup shredded cheese
- 2 Tbsp butter
- ½ tsp garlic powder (yes, again for the butter)
- ¼ tsp Italian seasoning
Those ingredients cover heat, creaminess, and the toasty finish on the buns. I introduce them here because figuring out what each does changed how I assemble the sliders: the hot sauce brings the kick, ranch tames the bite while adding tang, and the double garlic powder—one in the filling, one in the butter—gives a layered savory pop.
The Mixing Moment (and the Method, Unvarnished)
I like to keep the method conversational because this recipe is forgiving and best when you trust your senses. To be precise, start by preheating the oven to 350°F and line a 9×9 baking sheet or casserole dish with parchment paper. In a bowl, mix the shredded chicken, hot sauce, ranch, salt, pepper, garlic, and paprika. Add the bottom of the slider buns to the lined baking sheet. Divide the chicken filling between all the buns. Top with cheese and close with the top buns. In a small bowl, combine the melted butter, garlic, and Italian seasoning. Brush the tops of the buns with a pastry brush. Cover baking sheet with foil and bake at 350°F for 15 minutes. Remove the foil and bake for an additional 5-10 minutes or until lightly golden and the cheese has melted. Cut and serve with desired sides immediately while still hot.
I deliberately left the steps as sentences because I want them to be easy to follow whether you’re reading on your phone or shouting instructions across the kitchen.
Why the Butter Brush Matters
That butter mix—2 tablespoons butter, ½ teaspoon garlic powder, ¼ teaspoon Italian seasoning—does two things: it crisps and browns the tops and it gives the whole batch an herb-garlicky wrapper. Brush generously but not sloppily; too much butter will make the bottom buns soggy. I learned this the hard way after one early attempt where I went overboard. Lesson learned: a thin, even coat is best.
Practical tip 1: Warm the butter just enough to melt it; if it gets too hot it separates.
Practical tip 2: If your cheese is slow to melt, let the sliders rest for 2 minutes after removing from the oven—the residual heat finishes the job.
Practical tip 3: Use a light hand when closing buns over the filling so the cheese can melt instead of running out.
The Fifteen-Minute Mark Is Real
Baking time is forgiving but not endless. The recipe’s timeline—15 minutes covered, then 5 to 10 uncovered—is there for good reasons. Fifteen minutes lets the filling steam and warm through; removing the foil finishes the browning and melts the cheese attractively. How do you know it’s done right? Look for lightly golden tops, melted cheese visible at the seams, and a warm, bubbly feel when you press the top gently. If the tops brown too quickly, tent with foil again for the last few minutes.
If you’re curious about other ways to assemble and present buffalo items for gatherings, I referenced a technique that inspired me while experimenting with dips over at baked buffalo chicken dip ideas.
Small Swaps, Big Flavor
Want to switch things up? Here are a couple of variations I tested in quick succession.
- Variation 1: Swap the ranch for blue cheese dressing if you like a sharper, tangier contrast to the heat.
- Variation 2: Use rotisserie chicken instead of pre-shredded or homemade shredded—it’s an easy time-saver and adds a roasted depth.
- Variation 3 (lighter): Reduce Franks buffalo hot sauce to 1/4 cup and add a tablespoon of plain Greek yogurt to keep creaminess without as much heat.
I also took a weekend to turn the filling into meatball-style bites; if you want to try that adaptation later, I found a useful riff in a recipe for baked buffalo chicken meatballs.
Leftovers Become Lunch
Leftovers are where these sliders show their true versatility. Store cooled sliders in an airtight container in the refrigerator for up to three days. To reheat, cover with foil and warm in a 350°F oven for about 10 minutes, or microwave in 30-second bursts until warmed through. If you want to repurpose the filling, shred the leftover chicken and toss it into tacos or on top of a salad for a quick lunch. For inspiration on portable buffalo snacks, I often look back at creative handhelds like buffalo chicken bombs for ideas.
Practical tip 4: If you plan to refrigerate, wait for sliders to cool slightly before covering to prevent sogginess from trapped steam.
What to Serve With These
These sliders work with crisp, simple sides: carrot and celery sticks with extra ranch, a bowl of crunchy chips, or a light slaw. For a heartier spread, roasted potato wedges or a big green salad balance the heat. I frequently pair them with a citrusy slaw that brightens the richness.
Personal touch: I always keep a small squeeze bottle of extra Franks on the side because some guests like an added drizzle post-bake. Watching someone reach for that bottle and then grin when the heat lands just right is one of those small hosting victories.
Conclusion
If you want more slider-based inspiration, I compared assembly methods with a sheet-pan approach that influenced my timing and layering and found it helpful when scaling up for larger crowds at Sheet Pan Buffalo Chicken Sliders – Kroll’s Korner. For a simpler, faster rendition to test before committing to the full bake, this recipe from Easy Buffalo Chicken Sliders – Host The Toast is worth a look.