Fruity Pebbles Rice Krispies Treats
The Colorful Delight of Fruity Pebbles Rice Krispies Treats There’s something magical about making a simple treat that evokes childhood memories. Fruity Pebbles Rice Krispies treats hold a special place in my heart, reminding me of afternoons filled with laughter, sticky hands, and delicious flavors. These colorful bars not only look inviting but also burst…
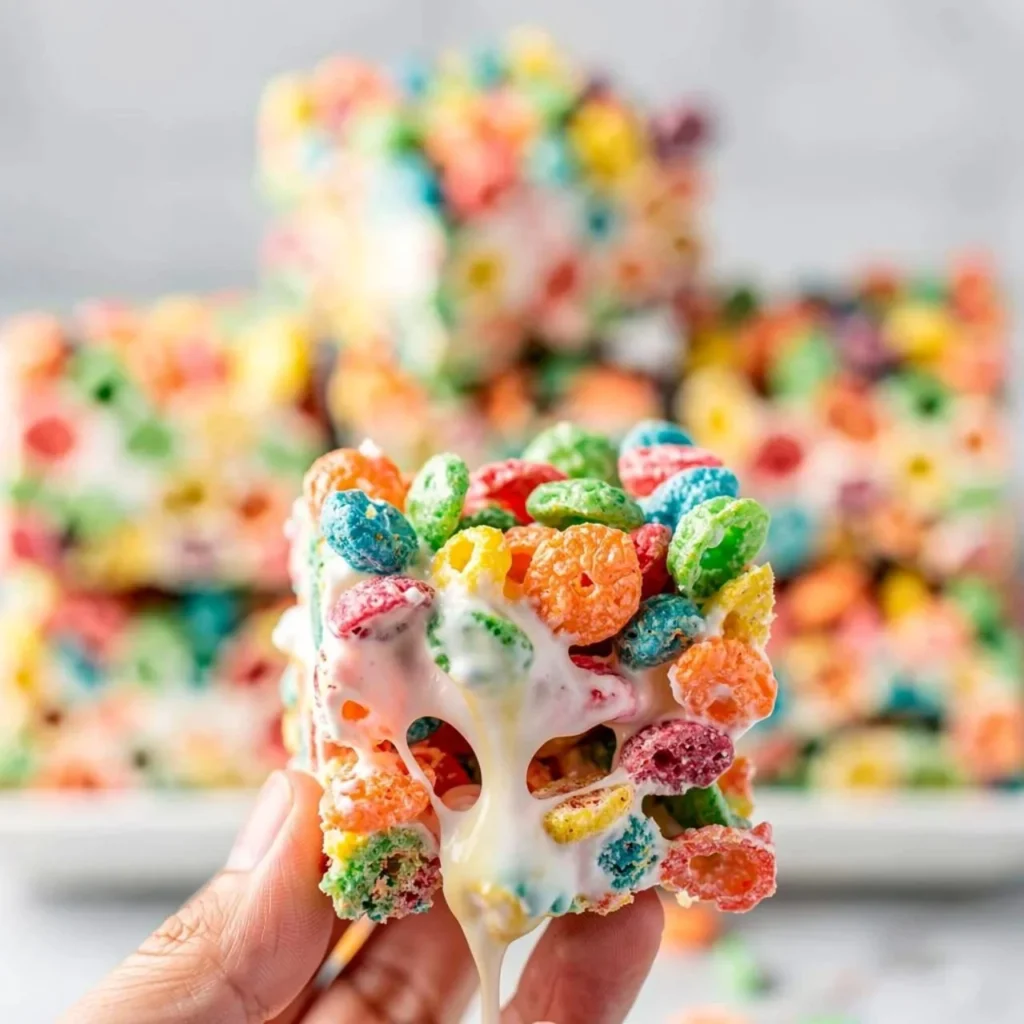
The Colorful Delight of Fruity Pebbles Rice Krispies Treats
There’s something magical about making a simple treat that evokes childhood memories. Fruity Pebbles Rice Krispies treats hold a special place in my heart, reminding me of afternoons filled with laughter, sticky hands, and delicious flavors. These colorful bars not only look inviting but also burst with flavor and fun in every bite. If you haven’t tried making them yet, I promise that they are easier than you might think, and they are perfect for any occasion. You may also find Fruity Pebbles Rice Krispies Treats useful.
To get started, you’ll need four cups of Fruity Pebbles cereal, four cups of classic Rice Krispies cereal, a 10-ounce bag of marshmallows, and three tablespoons of butter. When I make these treats, I often find myself stirring the ingredients together, reminiscing about the first time I ever had this delightful snack. It was at a birthday party, and I couldn’t believe how something so easy could taste so good.
Melting Together for Perfection
To create these treats, you begin by melting the butter in a large saucepan over low heat. Take your time with this step; rushing can cause the butter to brown, and that’s not the flavor profile we’re aiming for. As the butter starts to melt, add in the marshmallows and stir gently until they become completely melted and smooth, which usually takes about four to five minutes. There’s something comforting about the smells wafting through the kitchen during this part of the process; it feels like a warm hug.
Once the marshmallows are melted, it’s time to remove the pan from heat and fold in the Fruity Pebbles and Rice Krispies until everything is coated in that gooey marshmallow mixture. This step is where the fun really begins, as the colorful cereal creates a vibrant mix in the pan. I always make sure I mix thoroughly because I want every bite to be just as delicious as the last. If you’re feeling adventurous, you can drizzle some melted chocolate over the top for an extra layer of decadence before pressing the mixture into a greased 9×13-inch pan.
Letting It Set
After you’ve pressed the mixture into the pan—making sure it’s nice and even—let it cool before cutting into squares. This is often the hardest part for me, as the smell is simply irresistible. If you can manage to hold off and let it cool, though, you’ll be rewarded with perfect squares that hold together beautifully.
When I make these treats, I love to bring them to gatherings or give them away as gifts. They always manage to bring a smile to people’s faces! If you want to get a little creative, why not try variations? You can mix in some chocolate chips or even use different cereals to change things up a bit. For more ideas on how to customize your treats, check out my take on Monster Rice Krispies Treats!
Tips For a Flawless Treat
One of the biggest takeaways I’ve learned while making these is the importance of not overcooking the marshmallows; I remember the first time they turned into a crunchier texture than desired because I got distracted. If you see that nice meltiness, pull it off the heat right away.
Another tip is to prepare your pan with a good layer of non-stick spray or butter. This ensures the treats lift out easily and cut beautifully. Additionally, if you want less stickiness, a dusting of powdered sugar on your hands while pressing the mixture can make a world of difference.
The Best Part
The best part about making Fruity Pebbles Rice Krispies treats, hands down, is how adaptable they are for different occasions. You can decorate them to fit any holiday—imagine adding colored sprinkles for birthdays or using festive shapes for Halloween! If you’re hosting a Fourth of July gathering, you might consider trying my flag-themed treats for a colorful twist!
As for storage, if you happen to have leftovers—a rare occurrence in my household—you can keep them in an airtight container at room temperature for a few days. Just be sure to separate layers with parchment paper so they don’t stick together.
Conclusion
In summary, Fruity Pebbles Rice Krispies treats are not only a treat for your taste buds but also a wonderful way to connect with your inner child. The vibrant colors and delightful textures are sure to impress friends and family. For more detailed recipes and variations, you might want to explore the Fruity Pebble Rice Crispy Treats – Crazy for Crust or check out Gemma’s take on Fruity Pebbles Rice Krispie Treats – Gemma’s Bigger Bolder Baking. Happy baking!
Fruity Pebbles Rice Krispies Treats
Ingredients
Method
- Melt the butter in a large saucepan over low heat.
- Add marshmallows to the melted butter and stir gently until completely melted and smooth, about 4 to 5 minutes.
- Remove the pan from heat and fold in the Fruity Pebbles and Rice Krispies until fully coated in the marshmallow mixture.
- Optional: Drizzle melted chocolate over the top for extra flavor.
- Press the mixture into a greased 9x13-inch pan, ensuring it is evenly distributed.
- Allow the mixture to cool completely before cutting into squares.