Homemade Red, White, and Blue Popsicles
A Cool Treat for Any Occasion Summer is in full swing, and there’s nothing quite like a sweet, refreshing treat to cool you down. One of my absolute favorites has to be homemade Red, White, and Blue Popsicles. Not only do they look festive, but they also bring a delicious mix of fruity flavors that…
A Cool Treat for Any Occasion
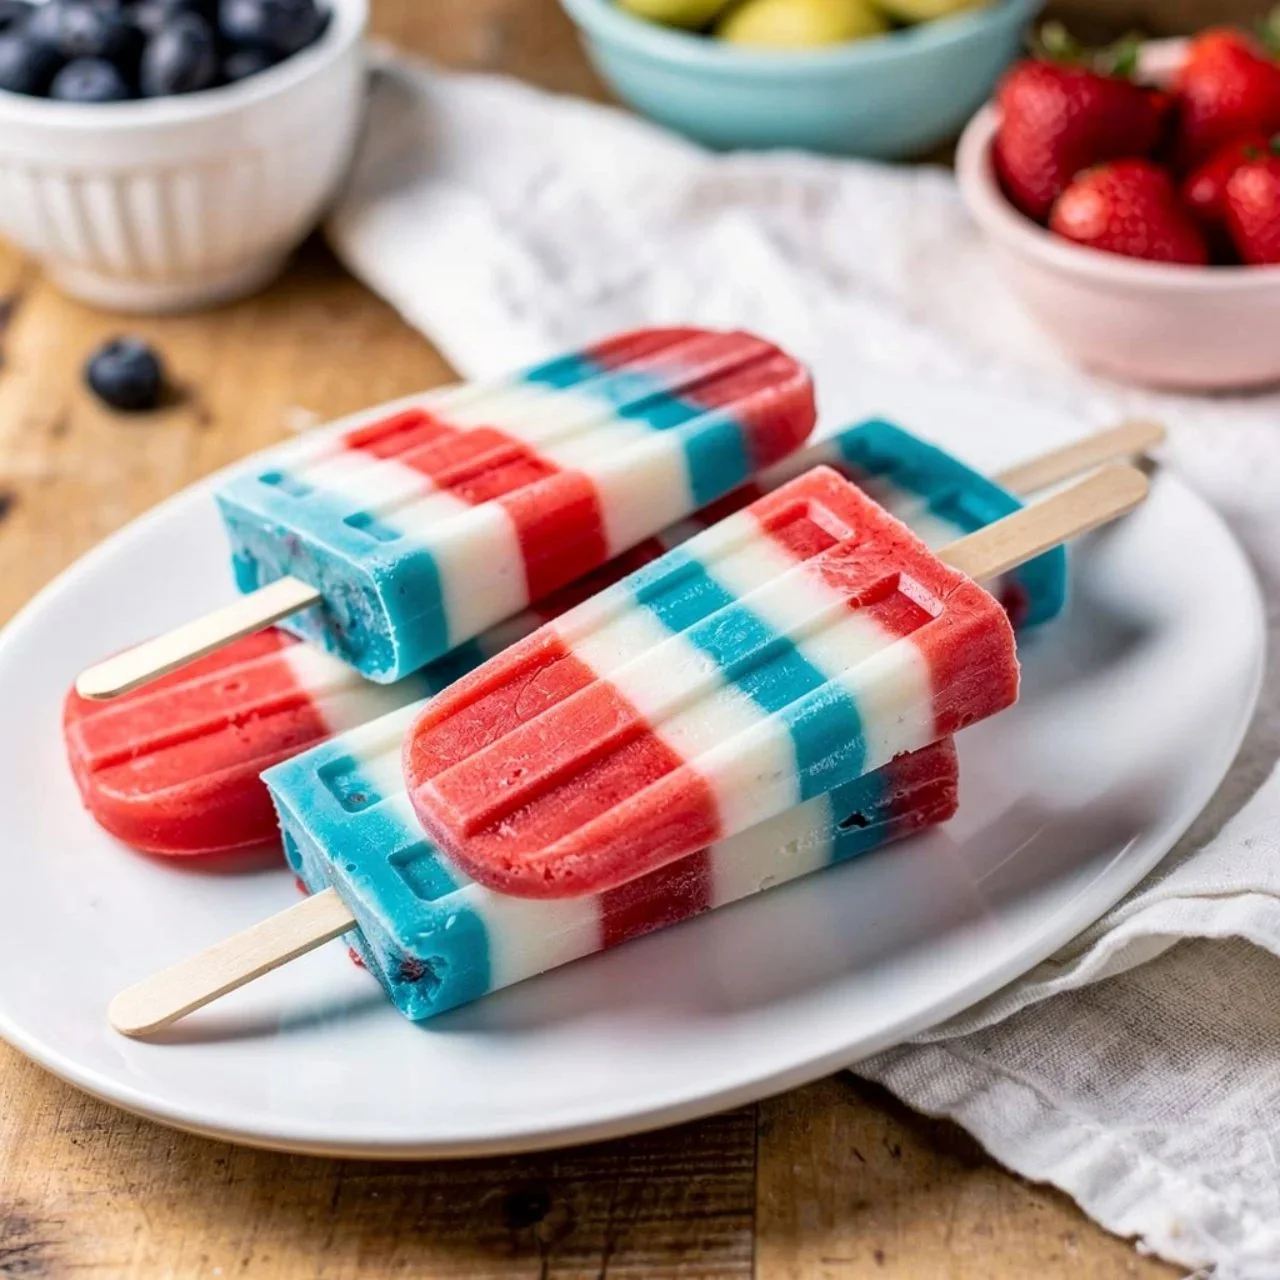
Summer is in full swing, and there’s nothing quite like a sweet, refreshing treat to cool you down. One of my absolute favorites has to be homemade Red, White, and Blue Popsicles. Not only do they look festive, but they also bring a delicious mix of fruity flavors that remind me of warmer days spent with family and friends. The recipe is deceptively simple, but the end result feels like a real treat. You may also find Classic Homemade Orange Candy Recipe useful.
The Secret Behind Perfect Homemade Popsicles
To get started, gather your ingredients. You’ll need one cup of pureed strawberries, another cup of pureed blueberries, one cup of yogurt—either vanilla or plain will do. If you want a little sweetness, two tablespoons of sugar (adjusted to your taste) will work as well. And of course, you’ll need popsicle molds to shape your creations. If you’re looking for another delightful dessert idea, check out this cherry and blueberry pie recipe that’s perfect for summer gatherings.
The Process: Layering Flavors
Making these popsicles is an enjoyable, almost meditative process. Start by blending your strawberries in a blender until they are completely smooth. Once that’s done, set the puree aside and repeat the process with the blueberries. It’s like painting with nature’s colors, don’t you think? The vibrant reds and deep blues create a visually stunning treat.
Next, in a mixing bowl, stir the yogurt and sugar until you achieve a smooth consistency. This mixture adds that creamy layer that balances the fruity flavors perfectly.
Now, here comes the fun part: layering! Pour a layer of strawberry puree into your molds and put them in the freezer for about an hour. You want them to set just enough so that the next layer won’t mix in. Once that’s done, add a layer of the yogurt mixture on top of the strawberry layer, then freeze again for another hour. This layering method not only makes for a beautiful presentation but also adds diverse textures and flavors to each bite.
The Final Touch: Blueberry Bliss
Once the yogurt layer is set, it’s time to top it off with the blueberry puree. Pour it gently over the yogurt layer and then freeze the molds until solid—this will usually take about four to six hours or overnight if you’re planning ahead. When you’re ready to indulge, run warm water over the outside of the molds for a few seconds; this little trick helps release the popsicles with ease.
Getting Creative: Variations to Try
While I adore the classic red, white, and blue combo, one of the best parts about making your own popsicles is the ability to customize them. You can swap out the strawberries for raspberries for a slightly tart twist or use flavored yogurts to add another dimension of flavor. Feeling adventurous? Try incorporating layers of coconut milk for a tropical feel, or add some kiwi puree for an unexpected green layer.
Storing Leftovers: If You Have Any
As summer days drift on, you might find yourself with a few popsicles left in the freezer (though I can’t promise they’ll last long!). You can store these popsicles in an airtight container, which keeps them fresh for a couple of weeks—if you can resist eating them all right away, that is.
The Best Part About This Dish
What I love most about these popsicles is not just the refreshing taste but the memories that come with them. They remind me of sunny afternoons spent at backyard barbecues, festive gatherings, and countless moments of laughter with loved ones. Each bite takes me back to those cherished experiences.
Creating homemade Red, White, and Blue Popsicles is like capturing a piece of summer in a mold. Whether you’re celebrating the Fourth of July or simply enjoying a sunny day, these popsicles are the perfect way to treat yourself.
Conclusion
In the end, making your own popsicles is a fun, creative outlet that the whole family can enjoy. If you’re looking for other sweet ideas to try, check out this delightful Red, White & Blue Popsicles! – The Little Kitchen recipe for more fruity inspiration!

Red, White, and Blue Popsicles
Ingredients
Method
- Blend the strawberries in a blender until they are completely smooth.
- Set the strawberry puree aside and repeat the process with the blueberries.
- In a mixing bowl, stir the yogurt and sugar together until you achieve a smooth consistency.
- Pour a layer of strawberry puree into the molds and freeze for about an hour.
- Once set, add a layer of the yogurt mixture on top of the strawberry layer and freeze again for another hour.
- After the yogurt layer is set, gently pour the blueberry puree over the yogurt layer.
- Freeze the molds until solid, usually 4 to 6 hours or overnight.
- Run warm water over the outside of the molds for a few seconds to release the popsicles easily.