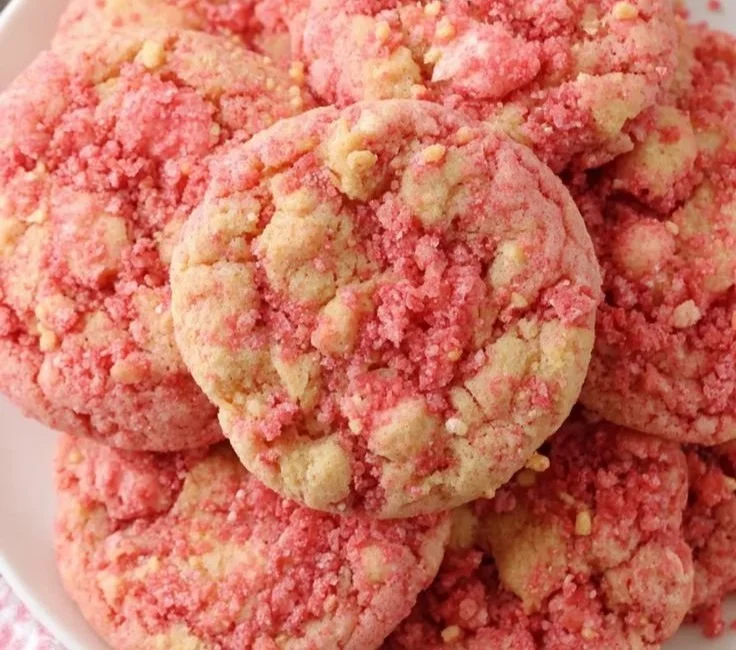
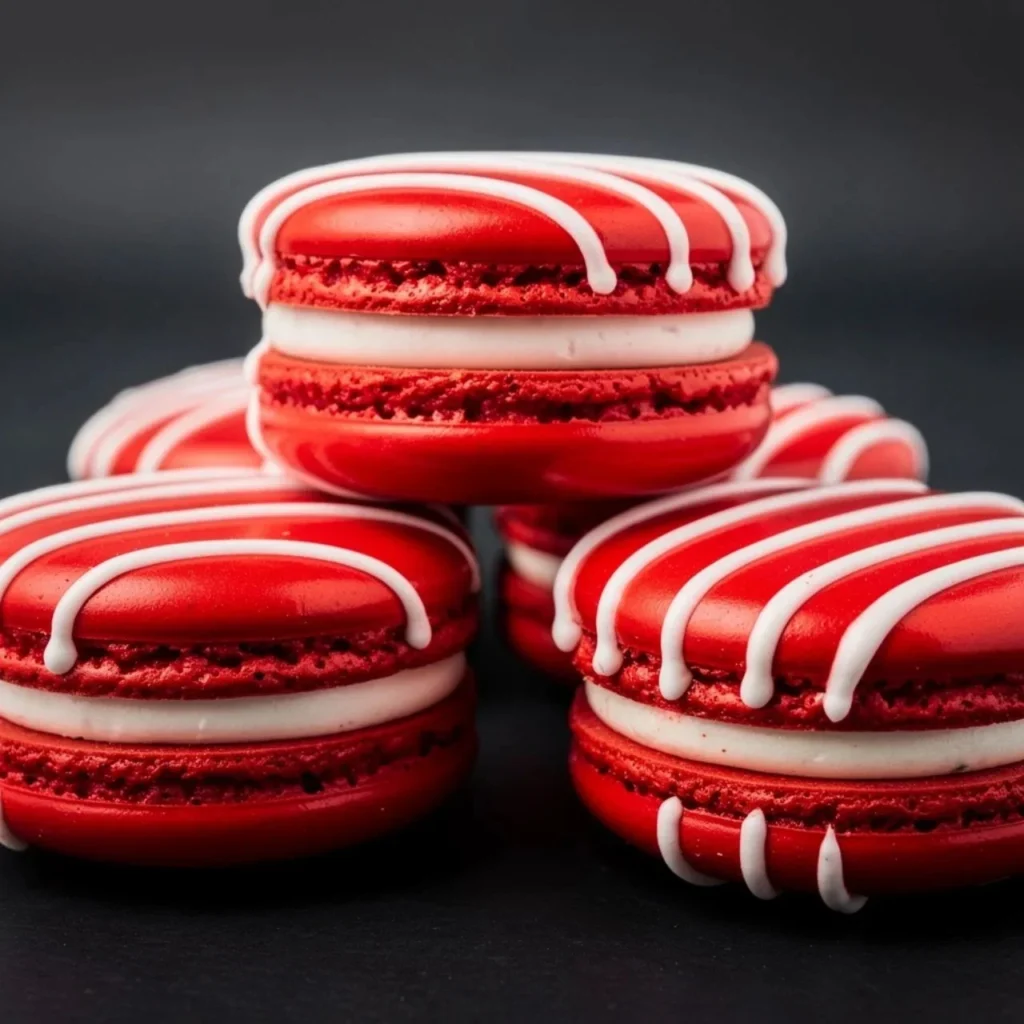
Red Velvet Macarons
Discovering the Allure of Red Velvet Macarons There’s something extraordinary about red velvet desserts, and today I want to share my love for them through the delightful creation of red velvet macarons. These little treats are not just beautiful with their vibrant red hue; they also pack a flavor punch thanks to that signature cocoa…
Discovering the Allure of Red Velvet Macarons
There’s something extraordinary about red velvet desserts, and today I want to share my love for them through the delightful creation of red velvet macarons. These little treats are not just beautiful with their vibrant red hue; they also pack a flavor punch thanks to that signature cocoa and vanilla combination. When I first stumbled upon a recipe for red velvet macarons, I was intrigued. It felt like an enchanting blend of festive cookies and a French classic, and I just couldn’t resist trying it out. If you’re ready to enhance your dessert repertoire, click over to explore this accurate red velvet macaron recipe.
The journey of making macarons can be a bit daunting for beginners, but I assure you it’s worth every effort! These cookies have a delicate shell, a chewy center, and when you add a luscious cream cheese filling, they elevate to another level. Let’s dive into the ingredients you’ll need. You may also find Irresistible Red Velvet Macarons With Creamy Mascarpone Filling useful.
What’s Inside These Macarons?
You might be surprised at how simple the ingredient list is for these delectable treats. You will need:
- 1 3/4 cups almond flour
- 1 cup powdered sugar
- 3 large egg whites
- 1/4 cup granulated sugar
- 1 teaspoon vanilla extract
- 1 tablespoon cocoa powder
- Red food coloring
- For the filling: 1/2 cup cream cheese, 1/4 cup unsalted butter, 1 cup powdered sugar, and another teaspoon of vanilla extract
The almond flour is what gives macarons their unique texture, while the cream cheese filling provides a rich, tangy contrast to the sweetness of the shells. It’s this combination that keeps me coming back for more!
Getting the Technique Just Right
Now, let’s talk about the preparation. The first step is to preheat your oven to 300°F (150°C) and line two baking sheets with parchment paper. This will give your macarons the perfect base to bake evenly.
Sifting is key! In a bowl, sift together the almond flour, powdered sugar, and cocoa powder. This step ensures that there are no lumps and helps the macarons rise beautifully in the oven. While that’s happening, in a separate bowl, whisk the egg whites until they’re frothy. Gradually add the granulated sugar and continue whisking until you see stiff peaks. This is crucial for achieving that classic macaron texture.
When it comes to coloring, I like to incorporate a generous amount of red food coloring. Gently fold in the vanilla extract and red food coloring into the egg whites until you achieve a uniform color. After that, it’s time to fold in the dry ingredients. This part can be a little tricky, as you need to be gentle. You want to combine everything smoothly without deflating the egg whites.
After mixing, transfer the batter to a piping bag and pipe small circles onto your prepared sheets. Allow them to sit for about 30–60 minutes until they form a skin. This is a crucial step—it prevents your macarons from cracking during baking.
Baking and Filling Your Macarons
Once you see a slight skin forming, bake for about 15 to 18 minutes until they have a glossy finish and feel slightly firm to the touch. Allow them to cool completely before adding the filling. While the shells cool, you can whip up the cream cheese filling. Just beat the cream cheese and butter until fluffy, then add the powdered sugar and vanilla extract.
Now for the fun part: assembling your macarons! Pair up the shells, and pipe a generous amount of cream cheese filling onto one half before sandwiching it with another. This decadent filling is what truly brings these macarons to life.
One of my favorite tips? Allow your assembled macarons to sit in the fridge for at least 24 hours. This waiting period enhances the flavors and lets the shells soften just a bit for that perfect bite.
A Little Extra Something
As with any recipe, there’s always room for a personal touch. For instance, you could add a hint of cinnamon or use different flavors for the filling, like chocolate ganache or even vanilla buttercream if you want a twist. The joy of cooking is in making it your own!
If you’re interested in exploring more variations, I highly recommend checking out these alternative red velvet macaron flavors. They present different takes that might spark your creativity.
I also find it hard to resist sharing these delightful treats on social occasions. They always turn heads and leave everyone wanting more. Not to mention, they pair beautifully with a steaming cup of coffee or tea!
Storing Your Macarons
Now, before I wrap this up, let’s talk about storing macarons. After you make them, if you have any leftovers, place them in an airtight container in the fridge. They can stay fresh for up to a week. Just let them sit at room temperature for a bit before serving so they return to their lovely chewy texture.
Conclusion
In conclusion, red velvet macarons are a whimsical blend of flavor and elegance that can brighten any day or occasion. I can’t emphasize enough how rewarding it is to create these little morsels yourself, and with practice, you’ll find your technique improving each time. If you’re looking for even more guidance or inspiration, you can explore this thorough recipe from Sugar Spun Run or check out this creative twist from Pies and Tacos. Happy baking!
Red Velvet Macarons
Ingredients
Method
- Preheat your oven to 300°F (150°C) and line two baking sheets with parchment paper.
- Sift together the almond flour, powdered sugar, and cocoa powder in a bowl.
- In a separate bowl, whisk the egg whites until frothy. Gradually add granulated sugar until stiff peaks form.
- Fold in the vanilla extract and red food coloring until color is uniform.
- Gently fold in the sifted dry ingredients until well combined, being careful not to deflate the egg whites.
- Transfer the batter to a piping bag and pipe small circles onto the prepared baking sheets.
- Allow piped macarons to sit for 30-60 minutes until they form a skin.
- Bake the macarons for about 15 to 18 minutes until they have a glossy finish and feel slightly firm.
- Let the shells cool completely.
- Beat the cream cheese and butter until fluffy, then add powdered sugar and vanilla extract.
- Pair up the macaron shells, pipe a generous amount of cream cheese filling on one half, and sandwich with another shell.
- Refrigerate assembled macarons for at least 24 hours for enhanced flavors.