Red White and Blue Ice Cream: Failure-Proof
The Joy of Making Red White and Blue Ice Cream There’s something utterly delightful about homemade ice cream, especially when it comes in vibrant colors like red, white, and blue. This recipe for Red White and Blue Ice Cream: Failure-Proof is a perfect treat for summer gatherings, picnics, or any occasion where you want to…
The Joy of Making Red White and Blue Ice Cream
There’s something utterly delightful about homemade ice cream, especially when it comes in vibrant colors like red, white, and blue. This recipe for Red White and Blue Ice Cream: Failure-Proof is a perfect treat for summer gatherings, picnics, or any occasion where you want to impress friends with a stunning dessert. I remember the first time I made this ice cream for a Fourth of July barbecue; everyone couldn’t stop raving about it. To begin, let’s gather our ingredients, which include chilled heavy whipping cream, sweetened condensed milk, vanilla extract, fine sea salt, strawberry puree, blueberry puree, and those iconic gel food colorings. You may also find Homemade Red White And Blue Popsicles useful.
Getting Started with the Basics
Start by pouring 2 cups of chilled heavy whipping cream into a cool mixing bowl. Make sure it’s truly chilled—this is a crucial step! Beat the cream on medium-high speed until you see stiff peaks. This is the foundation of the ice cream, so give it that extra attention. While you’re beating the cream, grab another bowl. In that bowl, stir together 1 can of sweetened condensed milk, 1 teaspoon of vanilla extract, and 1 gram of fine sea salt.
Once these two mixtures are ready, it’s time to combine them. With a rubber spatula, gently fold the whipped cream into the condensed milk mixture. Remember to use a cut-and-fold motion to keep the fluffiness intact. This step ensures that your ice cream will have that smooth, creamy texture that melts in your mouth!
Colorful Layers and Flavorful Swirls
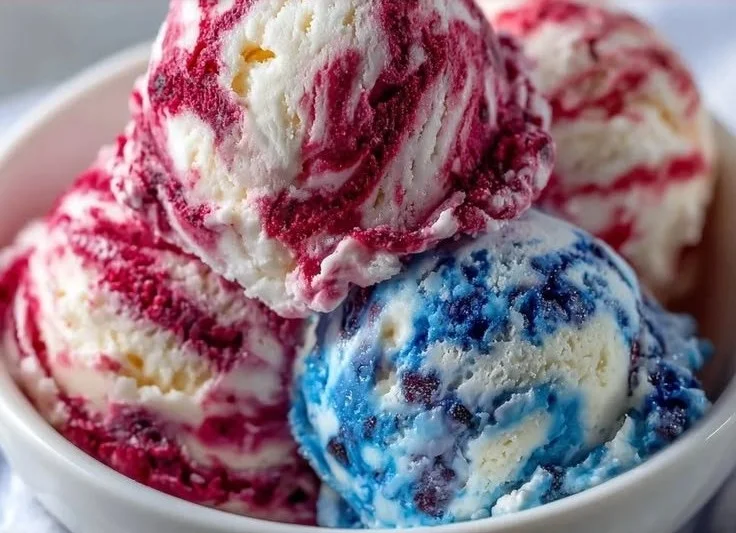
Now for the fun part! Divide the white base into three equal portions—this is where the magic happens. Take the first portion and stir in 1/2 cup of strawberry puree (or seedless raspberry jam), along with 2 drops of red gel food coloring. For the second bowl, mix in 1/2 cup of blueberry puree (or seedless blueberry jam) and 2 drops of blue gel food coloring. The third portion remains plain and white, which gives your ice cream that beautiful patriotic tricolor.
Take a parchment-lined 9×5 inch loaf pan and start spooning the three colored mixtures into the pan in random dollops. Here’s a little tip I’ve learned: don’t be afraid to get creative with the swirling. Use a knife or skewer to gently swirl the colors together, but be cautious not to fully blend them. The goal is to create a marbled effect that showcases the red, white, and blue.
Once you’re satisfied with the look, cover the surface with plastic wrap, pressing it gently onto the cream to prevent frost. Now, it’s time to freeze the ice cream for at least six hours until it’s firm.
Serving Suggestions and Variations
When it’s finally time to serve, I love scooping out this ice cream into bowls and letting everyone marvel at the colorful layers. A scoop goes perfectly with a slice of pie or even a piece of cake, such as a delicious patriotic red white and blue swirl pie. You can also serve it alongside some brownies for a fun twist. If you’re looking for variations, consider using different fruits for the purees; mango and raspberry, or even peach and blackberry could create stunning alternatives.
A Few Things I’ve Learned
One of the lessons I’ve learned from making this ice cream is how crucial it is to maintain the cream’s fluffiness. When you combine the mixtures, be gentle! Additionally, if you have leftovers (which is rare, honestly), simply store them in an airtight container in the freezer. This ice cream can last for about two weeks, although I’ve never had to keep it that long!
Also, this recipe is wonderfully flexible. If you want to skip the food coloring altogether, the natural colors from the fruit purees will still look beautiful and taste incredible. Keep in mind that the exact fruit flavor can change your whole ice cream experience, so don’t hesitate to experiment.
The Best Part About This Dish
The best part about this ice cream is the sense of nostalgia it brings. It reminds me of summer days spent outdoors, barbecuing and enjoying treats with loved ones. Each scoop brings back memories of laughter, fireworks, and celebrations. It’s also a great conversation starter, as guests often ask how I created such a vibrant dessert.
Additionally, when you serve the ice cream, offer a selection of toppings like whipped cream, sprinkles, or even fresh fruits to enhance the experience. The juxtaposition of the creamy ice cream with the crunch of toppings adds another dimension.
Conclusion
Incorporating seasonal flavors into your baking and cooking can yield some delightful results, as you can see with this festive treat. For more vibrant summer desserts, check out this Red, White & Blue Patriotic Poke Cake. It’s another way to bring joy and color into your kitchen!
Red White and Blue Ice Cream
Ingredients
Method
- Pour the chilled heavy whipping cream into a mixing bowl and beat on medium-high speed until stiff peaks form.
- In another bowl, combine the sweetened condensed milk, vanilla extract, and fine sea salt.
- Gently fold the whipped cream into the condensed milk mixture using a rubber spatula.
- Divide the base mixture into three equal portions.
- In the first portion, stir in the strawberry puree and red gel food coloring.
- In the second portion, mix in the blueberry puree and blue gel food coloring.
- Leave the third portion plain.
- Spoon the three mixtures into a parchment-lined 9x5 inch loaf pan in random dollops.
- Use a knife or skewer to gently swirl the colors together without fully blending.
- Cover the surface with plastic wrap and freeze for at least six hours until firm.