Springtime Crinkle Cookies Recipe
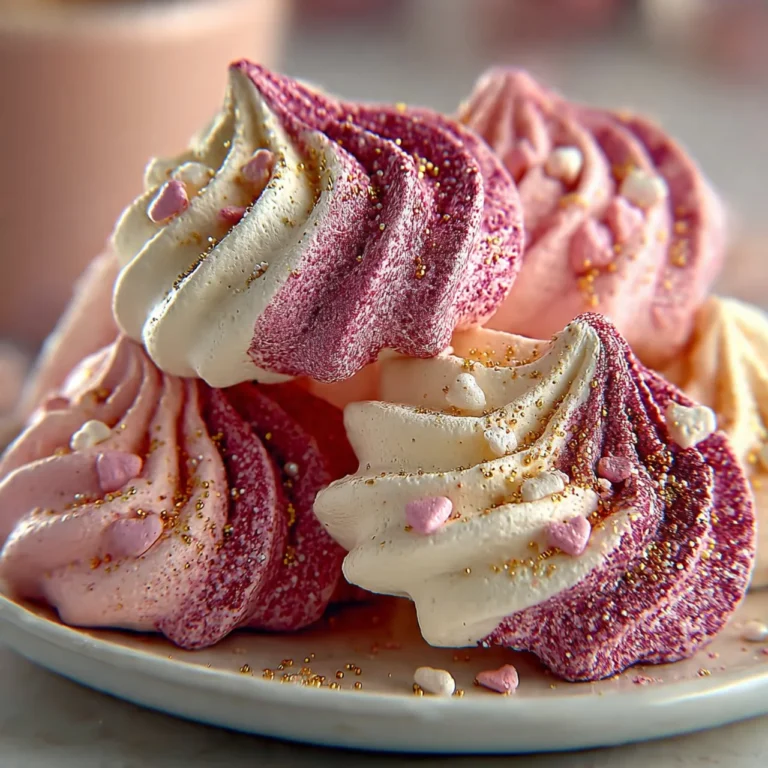
A cookie for the season I still remember the first spring I made these, windows open and a breeze carrying the smell of hyacinth in from the yard. I called them my Springtime Crinkle Cookies Recipe because the colors and the little powdered sugar cracks felt like a jar of confetti. If you like colorful,…
A cookie for the season
I still remember the first spring I made these, windows open and a breeze carrying the smell of hyacinth in from the yard. I called them my Springtime Crinkle Cookies Recipe because the colors and the little powdered sugar cracks felt like a jar of confetti. If you like colorful, soft cookies that look like a party and actually taste like one, this is the recipe I reach for when friends drop by unannounced. If you want a darker, more indulgent companion for these, try my take on the chocolate raspberry delight cookies; they play nicely together on a dessert platter.
The ingredient lineup you’ll see in my kitchen
When I say simple, I mean it: you only need 2 cups all-purpose flour, 1 ½ teaspoons baking powder, ¼ teaspoon salt, ½ cup unsalted butter, softened, 1 cup granulated sugar, 2 large eggs, 1 teaspoon vanilla extract, ½ teaspoon almond extract (optional), ½ cup powdered sugar (for rolling), and Gel food coloring (pink, yellow, green, purple, or any colors of choice). I like to keep the butter at room temperature so it creams easily and the gel colors on the counter so I can test dots until I get the shade I want.
PREHEAT THE OVEN: Set the oven to 350°F (175°C). Line a baking sheet with parchment paper to prevent sticking. Those two little things make a huge difference; a hot oven gives you that immediate puff, and parchment keeps the bottoms from browning too fast.
How I make them happen (step by step, but like we’re chatting)
I start by mixing the dry ingredients while the kettle whistles and the butter comes to room temperature. MIX DRY INGREDIENTS: In a medium bowl, whisk together the flour, baking powder, and salt. Set aside. Then I put the softened butter and granulated sugar in my largest bowl and CREAM BUTTER AND SUGAR: In a large mixing bowl, beat the softened butter and granulated sugar until light and fluffy. Proper creaming helps create a soft texture. Add the eggs one at a time, mixing well after each addition. Stir in the vanilla extract and almond extract if using. The batter smells like a bakery at this point, sweet and slightly nutty from the almond.
Next I COMBINE WET AND DRY INGREDIENTS: Gradually add the dry ingredients to the wet mixture, stirring until just combined. The dough will be thick and slightly sticky. This is where I usually sneak a pinch of extra vanilla because I like that warmth in the background.
When I want a rainbow tray, I ADD COLOR: Divide the dough into separate bowls based on the number of colors desired. Add a few drops of gel food coloring to each portion and mix until fully incorporated. Gel works best because it gives vivid color without watering down the dough.
Now, because this dough benefits from a little patience, CHILL THE DOUGH: Cover the dough and refrigerate for at least 30 minutes. Chilling helps firm the dough, making it easier to roll and ensuring the crinkle effect during baking. While it chills, I preheat the oven if I haven’t already and tidy the counter.
When the timer dings I SCOOP out tablespoon-sized portions and ROLL IN POWDERED SUGAR: Scoop out tablespoon-sized portions of dough and roll them into balls. Coat each ball generously in powdered sugar, ensuring full coverage. The first roll gives a thin dusting but I sometimes re-roll for a thicker frosted look.
BAKE: Arrange the coated dough balls on the prepared baking sheet, spacing them about 2 inches apart. Bake for 10-12 minutes, or until the cookies puff up and form cracks. The centers should be slightly soft, while the edges set. As they bake you’ll hear the faint give that tells you the interior is staying tender. COOL: Let the cookies rest on the baking sheet for a few minutes before transferring them to a wire rack to cool completely. Don’t rush them from oven to plate; those few minutes let them finish and set without collapsing.
Little tricks I swear by
I have a few small habits that keep these consistent. First, use gel food coloring rather than liquid so your dough does not become too soft. Second, don’t skip the chilling; when I forget, the cookies spread too much and lose their pretty cracks. Third, I use a tablespoon scoop to make sure the cookies are roughly the same size; uniform cookies bake more evenly. Fourth, if your butter is too warm and the dough is sticky, pop it back in the fridge for 10 minutes rather than adding more flour. That keeps the texture light. Lastly, I always line my baking sheet with parchment because it prevents sticking and keeps the bottoms pale and tender.
If you want a little inspiration for mixing colors, I sometimes stagger pink and purple on one tray and yellow and green on another so the platter looks like a spring bouquet. If you are feeling adventurous, you can try my twist on tropical crinkles by checking out this coconut key lime crinkle cookies for ideas on swapping flavors.
How I know they are done, what to serve them with, and variations
There is a sweet little moment when you open the oven and see the cookies puffed with delicate fissures. That is when the centers should still look slightly soft. If the edges look crisp and the center still gives a hair when touched, they are perfect. Let them finish on the sheet; they firm up but remain tender inside.
These cookies are lovely with a cup of late-morning tea or a chilled glass of milk. For an adult pairing, a light floral tea or a slightly sweet Riesling brightens the almond and vanilla notes. If you plan to serve them as part of a spring brunch, they are beautiful next to lemon bars or my not-so-secret favorite, a red velvet cookie; I like to keep a batch recipe handy like the Crumb l copycat red velvet cookies recipe when I want contrast on the dessert table.
Variations are easy. Add lemon zest and a drop of lemon extract to brighten them into a citrus crinkle. Stir a tablespoon of cocoa into one portion of dough to make chocolate crinkles. Or press two cooled cookies together with a smear of jam to make little sandwich cookies. Each change is small but makes the recipe feel new.
Making them ahead and storing leftovers
If I’m bringing these to a party, I often make the dough the night before and let it rest in the refrigerator; that actually improves the flavor. For leftovers, I store cooled cookies in an airtight container with a layer of parchment between layers to prevent sticking. They stay soft for a few days at room temperature. If you want longer storage, freeze them in a single layer on a sheet until solid, then transfer to a sealed bag; they keep well for up to three months and thaw beautifully.
Conclusion
If you want a bright, cheerful cookie to celebrate spring or to bring to potlucks, my Springtime Crinkle Cookies Recipe is an easy, reliable choice that always gets compliments. For a lemon-forward twist and a lovely set of photos and notes that inspired my own color choices, I often look back to this version of Lemon Crinkle Cookies – Two Sisters.
Springtime Crinkle Cookies
Ingredients
Method
- Preheat the oven to 350°F (175°C) and line a baking sheet with parchment paper.
- In a medium bowl, whisk together the flour, baking powder, and salt. Set aside.
- In a large mixing bowl, beat the softened butter and granulated sugar until light and fluffy.
- Add the eggs one at a time, mixing well after each addition. Stir in vanilla extract and almond extract if using.
- Gradually add the dry mixture to the wet mixture, stirring until just combined. The dough will be thick and slightly sticky.
- Divide the dough into separate bowls for coloring. Add a few drops of gel food coloring to each bowl and mix until fully incorporated.
- Cover the dough and refrigerate for at least 30 minutes.
- Scoop tablespoon-sized portions of the chilled dough and roll them into balls.
- Roll each ball in powdered sugar to coat evenly.
- Arrange the coated balls on the prepared baking sheet, spacing them about 2 inches apart.
- Bake for 10-12 minutes, or until puffed and cracked with slightly soft centers.
- Let the cookies rest for a few minutes before transferring them to a wire rack to cool completely.