The Ultimate Chocolate Acorns (Easy No-Bake Fall Treat!)
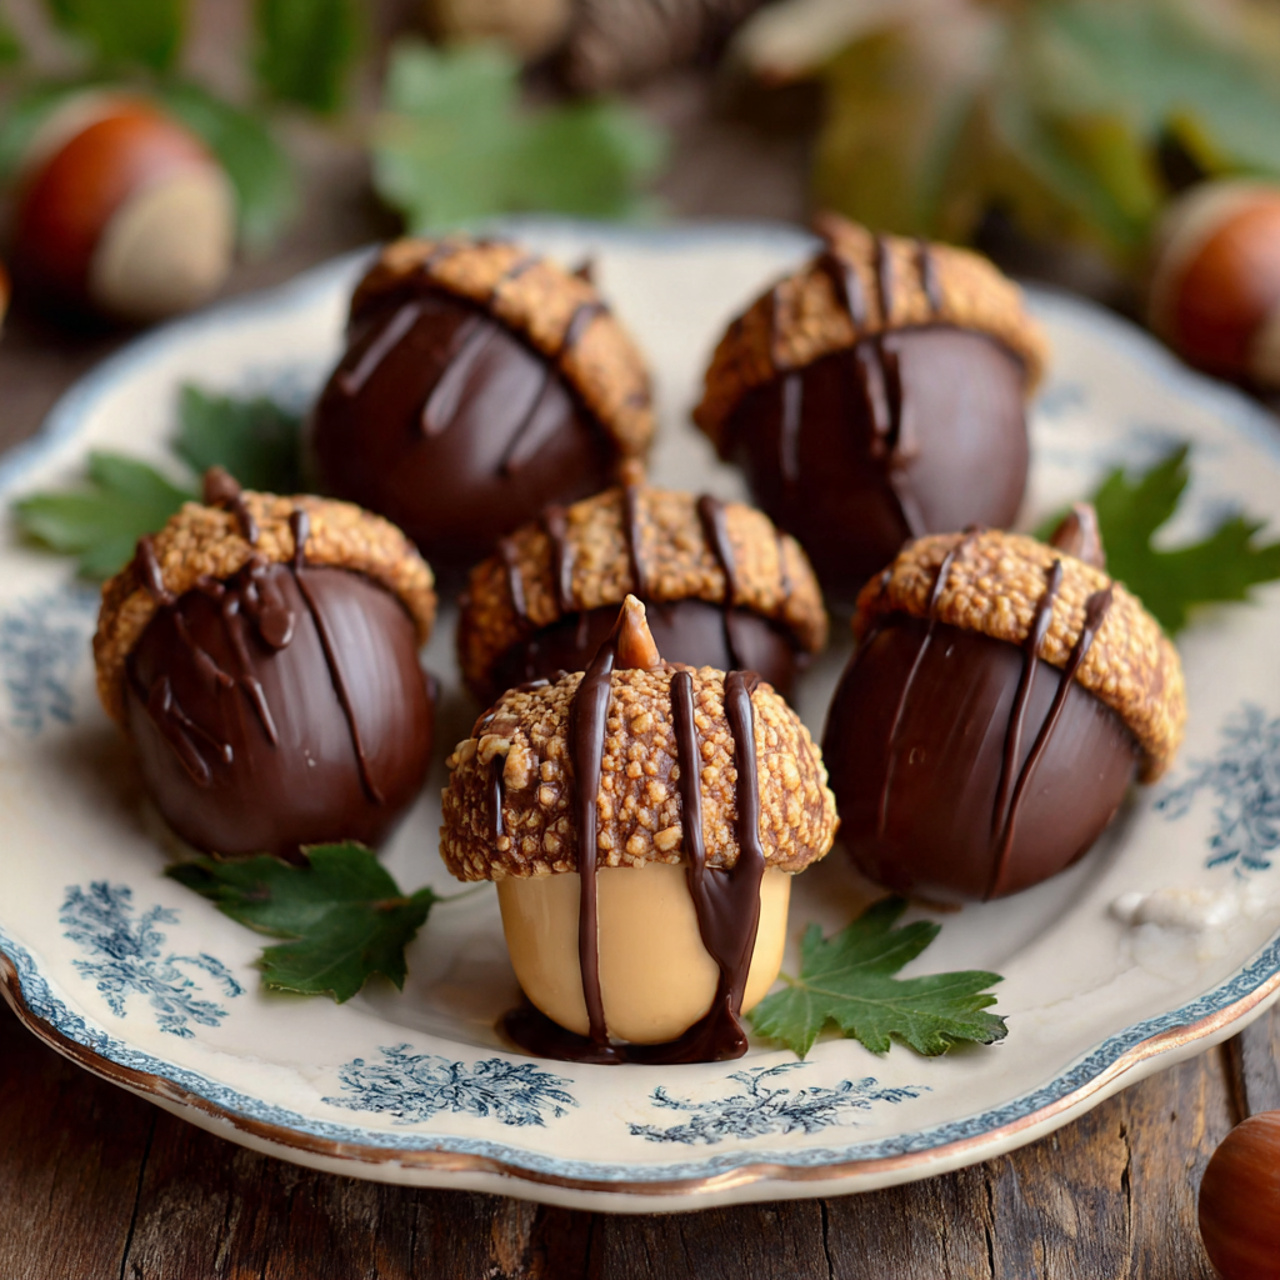
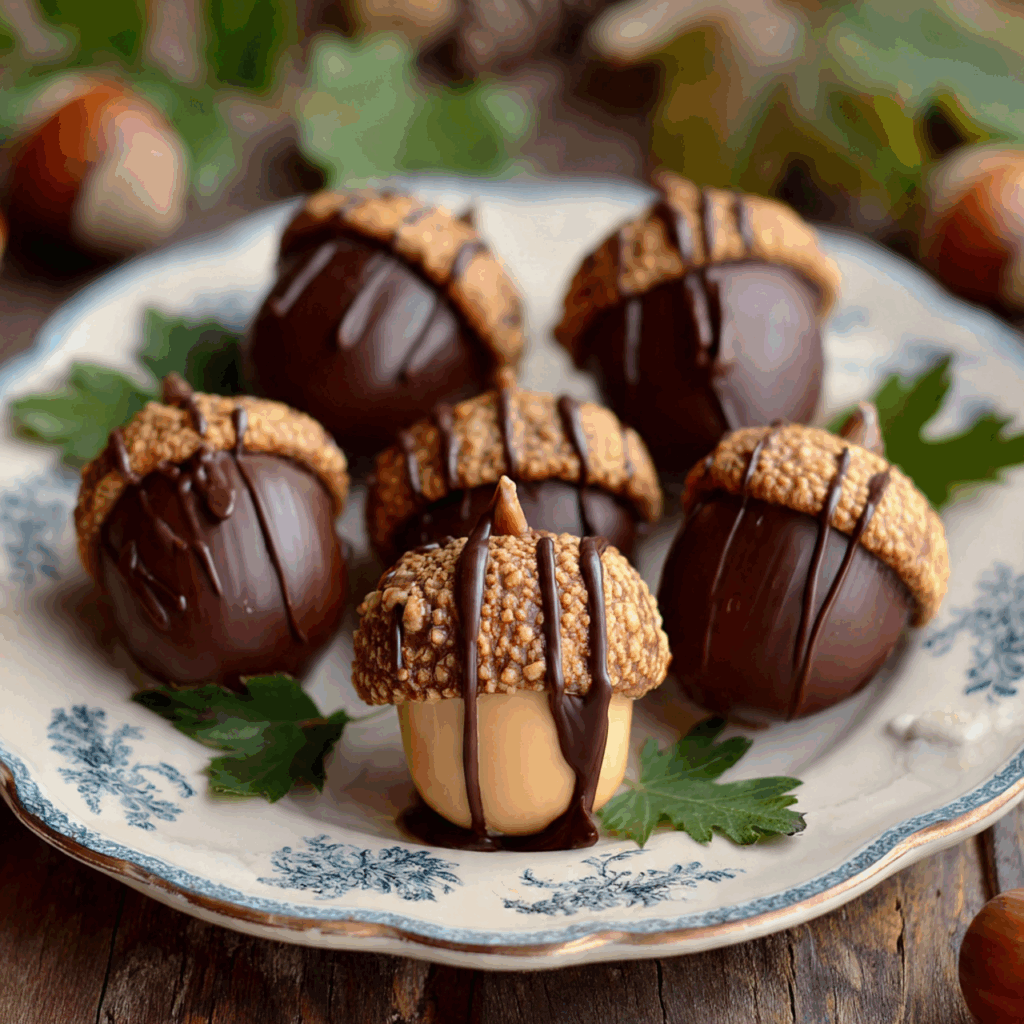
Imagine the cutest, most charming little treat you can possibly make for the fall season—a perfect, edible acorn with a chocolatey base, a crunchy cookie cap, and a tiny little stem. Now, imagine it’s a completely no-bake project that you can assemble in minutes with just a few simple ingredients. That, my friends, is the…
Imagine the cutest, most charming little treat you can possibly make for the fall season—a perfect, edible acorn with a chocolatey base, a crunchy cookie cap, and a tiny little stem. Now, imagine it’s a completely no-bake project that you can assemble in minutes with just a few simple ingredients. That, my friends, is the adorable, crowd-pleasing magic of these Chocolate Acorns. This is, without a doubt, the most fun and festive treat you will make for Thanksgiving or any autumn gathering.
I promise you, these little treats are a masterpiece of simplicity and creativity. The combination of the rich chocolate kiss, the vanilla-flavored cookie, and the tiny chocolate chip stem is a classic, kid-approved delight. They are the perfect addition to a dessert board, a fun activity for a class party, or a sweet, whimsical garnish for cupcakes and cakes all season long.
Get ready to create the most talked-about treat on the dessert table, a sweet little project that’s as fun to assemble as it is to eat.

Why You Will Absolutely Adore These Chocolate Acorns!
You are going to fall completely in love with this fun, simple, and outrageously cute recipe. It’s a guaranteed hit. Here’s why you have to make them:
- Completely No-Bake and Incredibly Easy: This is the ultimate low-stress holiday treat! With no oven required, it’s all about simple melting and fun assembly. It’s ready in about 30 minutes!
- Unbelievably Cute and Festive: These little acorns are the perfect, whimsical addition to any fall or Thanksgiving dessert table and are guaranteed to make everyone smile.
- A Perfect Edible Craft for Kids: With dipping, assembling, and “gluing” on the stem, this is the ideal recipe to get little hands involved in the holiday preparations.
- Made with Just 4 Simple Ingredients: You only need a handful of easy-to-find, store-bought treats to create this impressive-looking dessert.
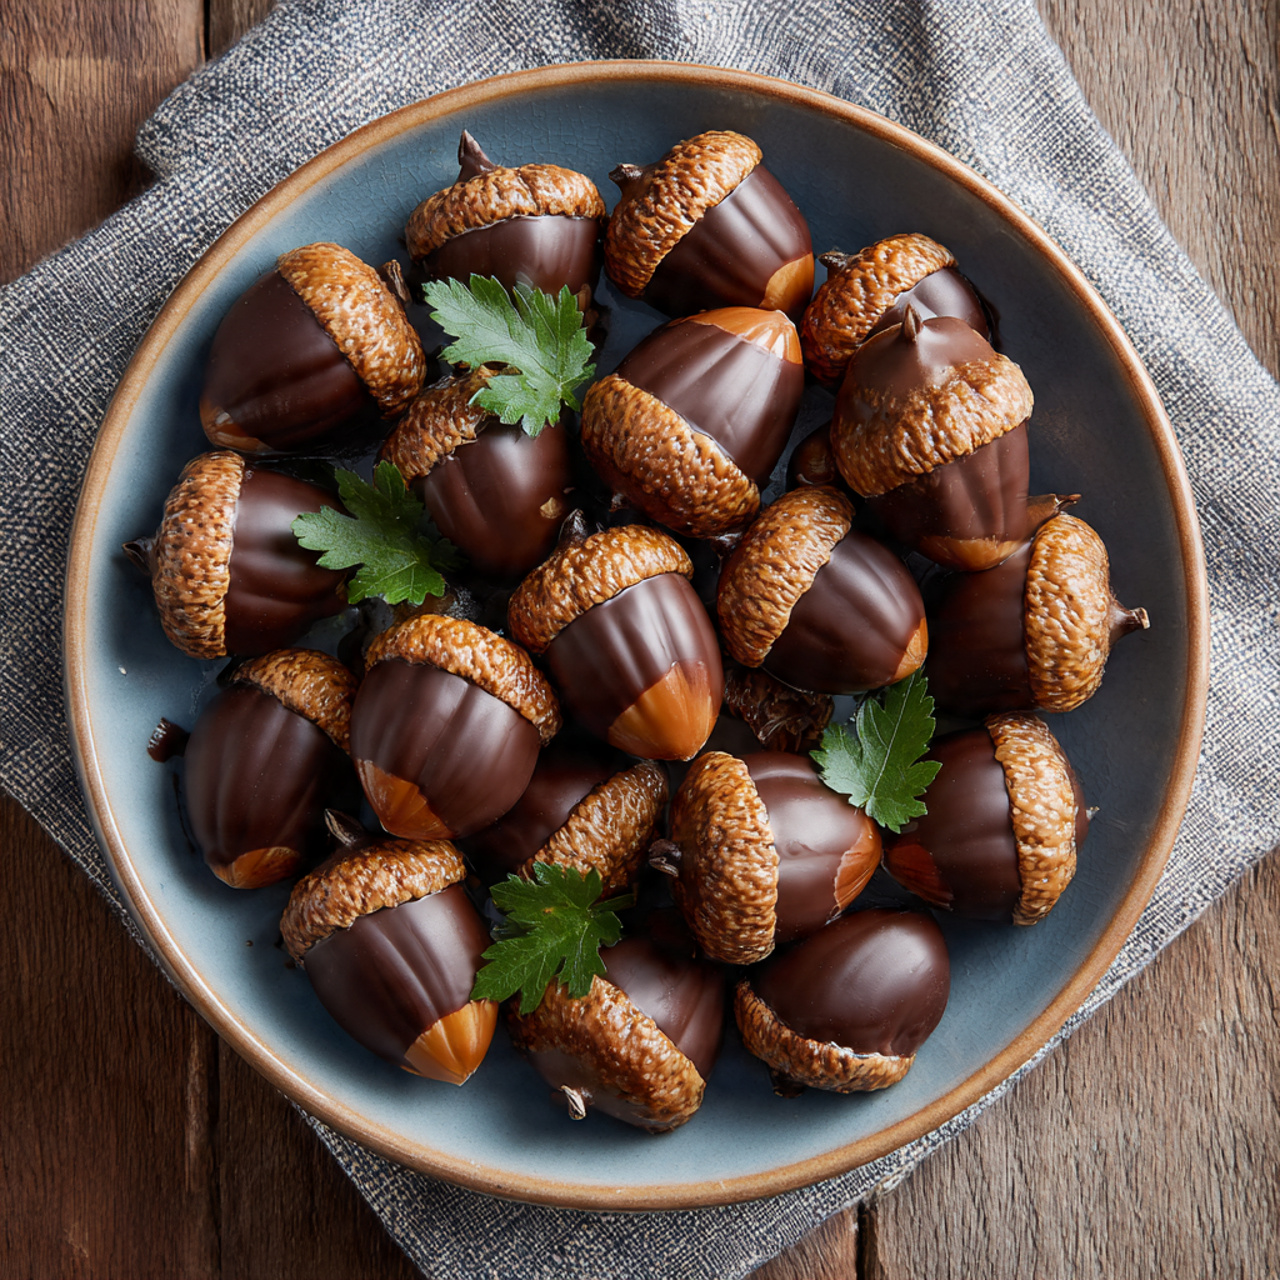
- Perfect for Parties and Gifting: This recipe makes a big batch of about 50 acorns, and they look beautiful scattered on a dessert platter or packaged in a clear bag as a thoughtful, homemade gift.
Recipe Snapshot
| Prep Time | 35 minutes |
| Cook Time | 0 minutes |
| Total Time | 35 minutes |
| Yield | 50 acorns |
| Calories | 43 kcal per acorn |
| Course | Dessert, Snack |
| Cuisine | American |
| Difficulty/Method | Easy / No-Bake |
Your Shopping List for These Adorable Treats
This fun recipe uses just a few simple, store-bought goodies. Here’s what you’ll need:
→ For the Chocolate Acorns
- 50 milk chocolate Hershey’s Kisses → Unwrapped and ready to go! These form the perfect acorn shape.
- 50 mini Nilla wafer cookies → These are the ideal size and shape for the acorn “caps.” Mini Nutter Butters also work great!
- 50 mini chocolate chips → The perfect, tiny little acorn “stems.”
- 12 ounce bag chocolate candy melts → This is our edible “glue.” Using candy melts is highly recommended as they set up quickly and firmly.
Let’s Get Crafting! Your Step-by-Step Acorn Guide
Ready to assemble the cutest treats on the planet? This no-bake process is so much fun and so easy.
Part 1: Assemble the Acorn Base
- Prepare Your Workspace: Get organized for this fun craft! Line a large baking sheet with parchment paper. Unwrap all your Hershey’s Kisses and have your Nilla wafers and mini chocolate chips ready in small bowls.
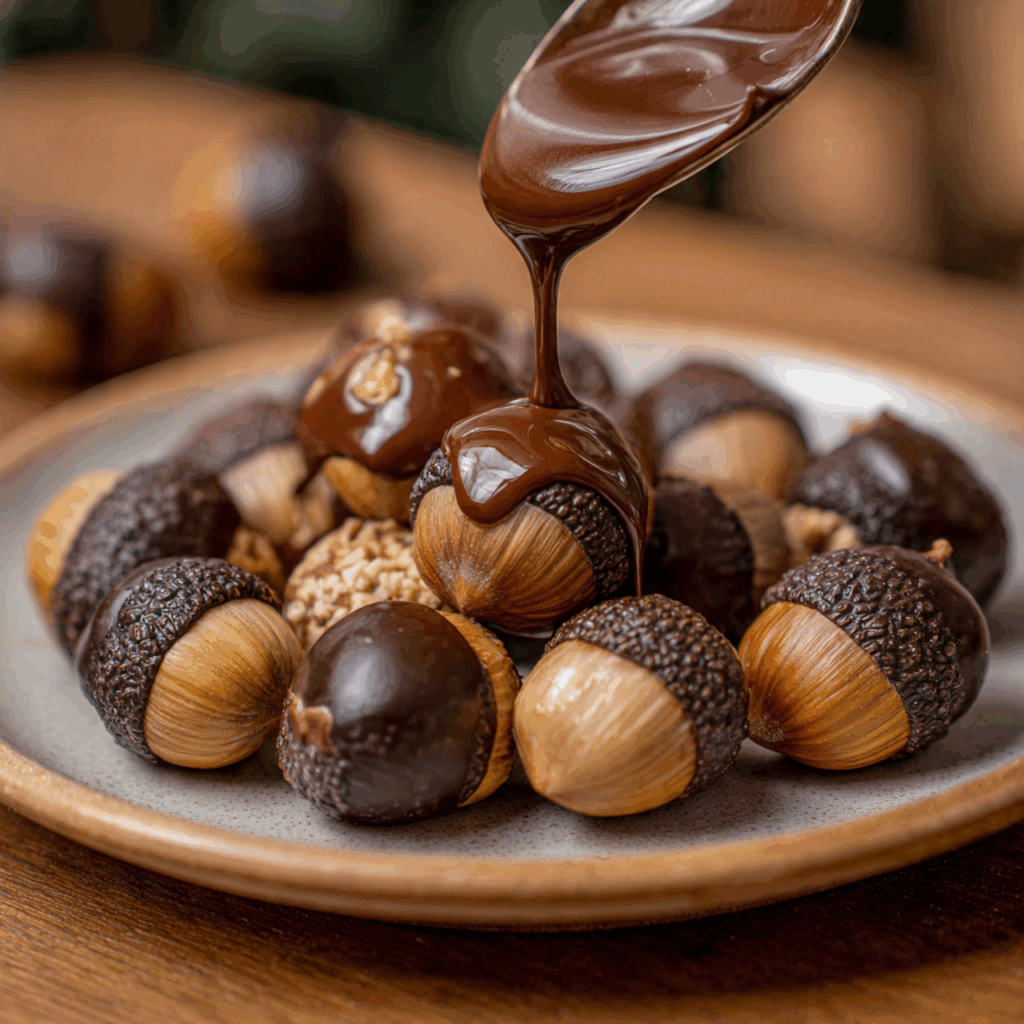
- Melt the Candy Melts: Place the chocolate candy melts in a microwave-safe bowl. Microwave in 30-second increments, stirring well between each one, until the chocolate is completely melted and smooth. Be careful not to overheat it.
- Attach the “Cap”: Take one unwrapped Hershey’s Kiss and very gently dip the flat, bottom part into the melted chocolate. You only need a very thin layer to act as glue.
- Combine and Set: Immediately press the chocolate-dipped base of the Kiss onto the flat side of a mini Nilla wafer cookie. Place the assembled acorn, cookie-side down, on your prepared baking sheet. Repeat this process with all the remaining cookies and kisses.
Part 2: Add the Stem and Finish!
- Prep for Piping: Carefully spoon the remaining melted chocolate into a small Ziploc bag. Push the chocolate down to one corner and snip off a very tiny piece of the tip to create a makeshift piping bag.
- Add the Stem: Take one of your assembled acorns. Pipe a tiny dot of the melted chocolate onto the center of the Nilla wafer “cap.” Immediately press the flat bottom of a mini chocolate chip onto the dot to create the acorn’s stem.
- Let Them Set: Let the finished acorns sit at room temperature until the chocolate has completely hardened. For a faster set, you can place the entire baking sheet in the refrigerator for about 5-10 minutes.
Easy No-Bake Chocolate Acorns
Ingredients
Equipment
Method
- Line a baking sheet with parchment paper. Melt the candy melts according to package directions until smooth.
- Gently dip the flat base of a Hershey’s Kiss into the melted chocolate to get a thin layer. Immediately place it on top of the flat side of a mini Nilla wafer cookie, pressing gently to attach it.
- Place the assembled acorn on the prepared baking sheet, cookie side down. Repeat with all the remaining cookies and Kisses.
- Transfer the remaining melted chocolate to a small Ziploc bag and snip off a very tiny corner.
- Pipe a small dot of the melted chocolate onto the center of the wafer ‘cap’ of an acorn. Immediately attach a mini chocolate chip (flat side down) to create the stem.
- Let the acorns set at room temperature until the chocolate is firm, or place the baking sheet in the fridge for about 5-10 minutes to speed up the process.
Notes
WiseRecipes’ Top Tips for Perfect Chocolate Acorns
These simple tricks will ensure your festive treats are flawless and fun to make.
- Use Candy Melts for the “Glue.” While you can use regular chocolate chips (as noted in the recipe), candy melts are specifically designed to set up quickly and firmly at room temperature. This makes them the superior choice for the edible “glue” in this project, ensuring your acorns are sturdy.
- Just a Dab Will Do. You need very little melted chocolate to act as glue. A thin layer on the base of the Kiss and a tiny dot for the stem is all it takes. Too much will cause it to ooze out the sides and create a messy look.
- Set Up an Assembly Line. The easiest way to make these is to work in batches. First, attach all the Kisses to the cookies. Then, go back and add all the stems. This is especially helpful and fun when you have kids helping out!
- The Quick Chill is Your Friend. While they will set at room temperature, popping the finished acorns in the fridge for just 5 minutes is the fastest way to ensure all the chocolate is completely firm before you handle or store them.
- Get Creative with the “Cap”! While mini Nilla wafers are perfect, you can absolutely use the round mini Nutter Butter cookies as suggested. The textured top of the Nutter Butter actually looks very similar to a real acorn cap!
Keep Them Fresh! Storing Your Adorable Acorns
These are a fantastic make-ahead treat for the busy holiday season!
- Storage: Once the chocolate has fully hardened, you can store the Chocolate Acorns in a single layer in an airtight container at room temperature. They will stay fresh and delicious for up to two weeks, making them a perfect make-ahead party treat or gift.
FAQs: Your Chocolate Acorn Questions, Answered!
Can I use regular chocolate chips instead of candy melts for the glue?
You can, but as the recipe notes, they won’t set up as firmly on their own. To use regular chocolate chips, you’ll need to melt them with a little bit of coconut oil or paramount crystals (about 1 teaspoon per cup of chips) to help them harden properly at room temperature.
What other kinds of “Kisses” can I use?
This is a fun way to change things up! Hershey’s Hugs (the white and milk chocolate striped ones) look beautiful. You could also use caramel-filled or almond-filled Kisses for a surprise inside.
My acorns are falling apart. What did I do wrong?
This is usually because not enough “glue” was used or, more likely, the chocolate wasn’t given enough time to set completely. Be sure to let them rest until the chocolate is totally firm to the touch before you try to move them around.
What are some fun ways to serve these?
They are adorable scattered on a Thanksgiving dessert platter! They also make a fantastic and whimsical garnish for the top of cupcakes, cakes, or even a bowl of chocolate pudding. You can also package them in small cellophane bags tied with a ribbon for a cute party favor or holiday gift.
Final Thoughts: The Cutest Treat of the Season
There is so much joy in creating a treat that is as fun to make as it is to look at. These No-Bake Chocolate Acorns are a true celebration of simple, festive creativity. They are a delightful project, a delicious little bite, and a guaranteed way to bring a touch of autumn charm and a lot of smiles to your celebration. Happy crafting!