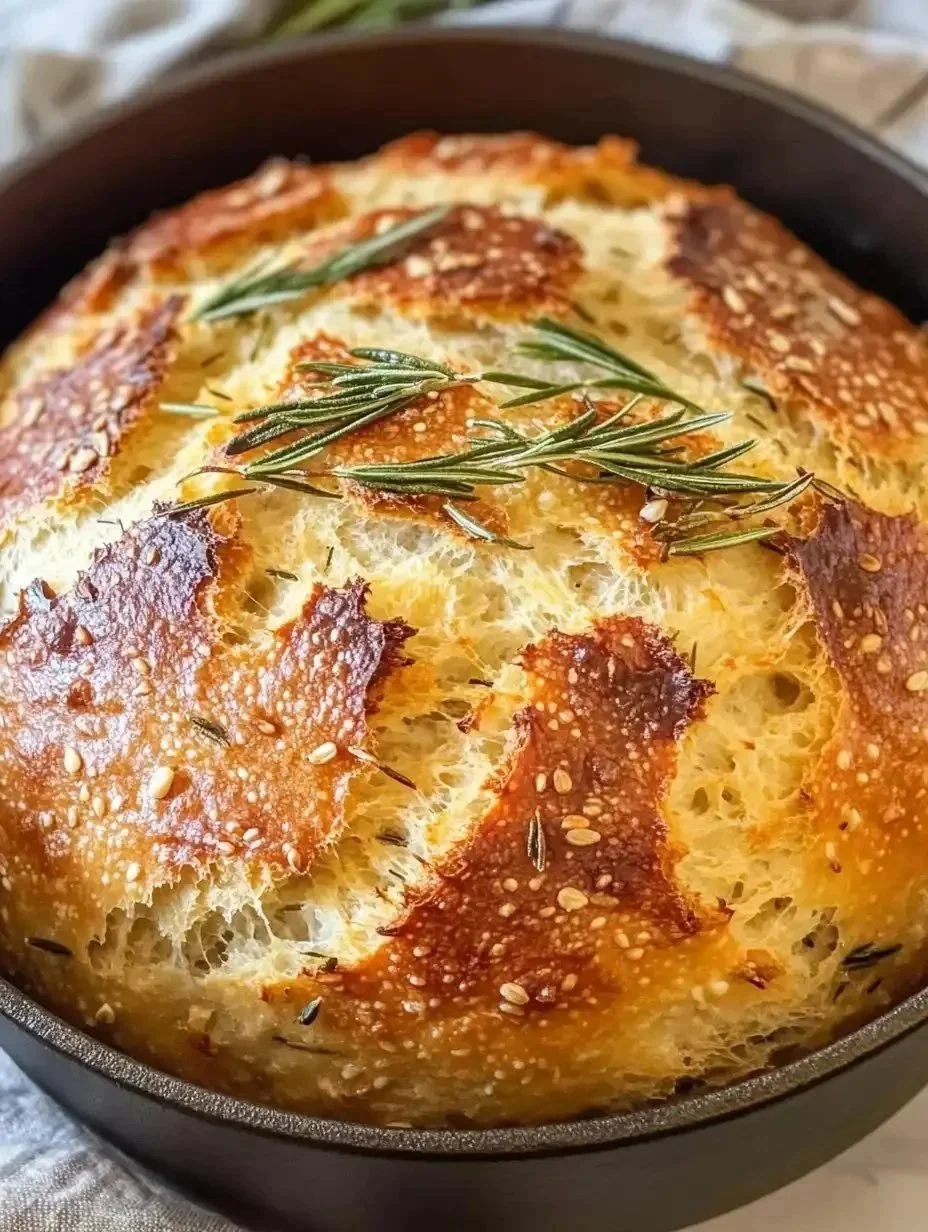
Dutch Oven Garlic Rosemary Bread
The Allure of Homemade Bread There’s something magical about the smell of freshly baked bread wafting through your home. It’s a scent that somehow wraps you in warmth and comfort, instantly making everything feel right with the world. Lately, I’ve been obsessed with making bread, and one recipe that has found a permanent place in…
The Allure of Homemade Bread
There’s something magical about the smell of freshly baked bread wafting through your home. It’s a scent that somehow wraps you in warmth and comfort, instantly making everything feel right with the world. Lately, I’ve been obsessed with making bread, and one recipe that has found a permanent place in my heart is Dutch Oven Garlic Rosemary Bread. This particular loaf is not just a side dish; it can steal the spotlight at any meal and become an experience in itself.
Ingredients That Speak to the Soul
Let’s talk about what makes this bread sing. First and foremost, we’ve got three cups of all-purpose flour, which forms the foundation of a great loaf. It’s essential for achieving that beautiful, chewy texture we all crave. Then there’s one and a half teaspoons of sugar, not so much to sweeten but to help the yeast work its magic. Speaking of yeast, we’ll be using two and a half teaspoons of quick yeast to help our dough rise with confidence!
Next up is two teaspoons of salt, a critical player that enhances every bite. Then we throw in a generous one and one-third cups of warm water to bring everything together in a lovely, gloppy mix. But the real stars of this loaf are the fresh ingredients: two large sprigs of rosemary and three cloves of garlic, both diced finely. They create a flavorful symphony that will make you dream of summertime dinners.
Getting Started with the Dough
The process is as simple as it is rewarding. I love starting this in the late morning or early afternoon, letting the dough rise while I go about my day. Grab a large mixing bowl and combine the flour, sugar, salt, and quick yeast. Once they’re all in, gently mix in the warm water along with the diced rosemary and garlic. You might notice that the dough will be quite sticky and shaggy—that’s okay! This texture is exactly what we want.
After everything is combined, cover the bowl with a towel and let it rise in a warm location for about sixty minutes. This is the hardest part for me; the anticipation builds as I eagerly check the dough. When it has nearly doubled in size, it’s time for the next stage.
Shaping the Dough
Dust a piece of parchment lightly with flour and then, oh-so-gently, turn the dough out of the bowl onto it. With careful hands, fold the dough to form a round shape and then gently mold it into a ball. It’s a little like giving the dough a loving hug—don’t be too rough; we want to preserve those air bubbles we just created.
Cover the ball with a towel and let it rest for about twenty more minutes. This helps it develop even more flavor, which is important because this bread is meant to be utterly spectacular.
The Dutch Oven Method
While your dough takes its second rise, preheat your oven to 450°F. Here’s where the real magic happens: Place your empty Dutch oven inside to get nice and hot. When the oven is ready, carefully pull out the Dutch oven (watch your fingers—I’m often too eager and do a little dance because it’s so hot!).
Slide your dough, still on the parchment, right into the pot. This can feel intimidating, but trust me, it will be worth it. Score the top of the dough with a sharp knife; this helps control how the bread expands while baking. Place the lid on the Dutch oven and pop it back into the oven.
After thirty minutes, when I open the lid, the delightfully crisp aroma fills my kitchen. It’s hard to resist the urge to dig in right away, but wait just a little longer. Remove the lid and let it bake for an additional ten minutes until the crust showcases a glorious golden brown. This is the moment when you realize that homemade bread is the best kind of magic.
Knowing When It’s Done
When I pull the Dutch oven out, I let the bread cool for at least thirty minutes before slicing. It’s crucial to resist the temptation to slice too soon; the steam needs time to escape for perfect texture. You’ll know your bread is ready when the crust is a deep, inviting golden brown and it makes a hollow sound when you tap on the bottom. That sound? It’s the anthem of a successful loaf!
A Few Variations to Consider
What I absolutely love about this recipe is its versatility. If you’re feeling adventurous, you can swap out the rosemary for other herbs like thyme or oregano, or even add cheese for an indulgent twist. Imagine a cheddar rosemary loaf—talk about a game changer! You can also experiment with adding olives or sun-dried tomatoes for flavor that transports you to the Mediterranean, or make it sweet with a touch of honey and some cinnamon. The world is your oyster (well, your loaf!).
The Perfect Table Companion
This Dutch Oven Garlic Rosemary Bread is not only fantastic on its own; it pairs beautifully with almost anything. I love serving it alongside a hearty soup or a fresh salad. The garlic and rosemary flavors complement roasted meats splendidly, and nothing beats a piece of this warm, crusty bread smeared with butter or a dollop of olive oil for dipping. Trust me; people will come back for seconds—maybe even thirds!
Storing the Leftovers (If There Are Any)
Should you be lucky enough to have leftovers, storing them is simple. Wrap your slice tightly in foil or keep it in an airtight container at room temperature for a couple of days. If you find yourself with more bread than you can eat, slice it up and freeze it. Just pop a slice in the toaster when you’re ready for a quick treat!
Conclusion
Homemade bread can feel intimidating, but this Dutch Oven Garlic Rosemary Bread breaks it down into a straightforward and enjoyable experience. With just a few ingredients and a little patience, you’ll impress everyone at your table. If you’d like to dive into further variations, check out the Easy Artisan Garlic Rosemary Bread or if you want to experiment with a different method, try the Rosemary Garlic No-Knead Bread. Remember, great bread is not only about the end product but also the love and care you put into its creation. Happy baking!
Dutch Oven Garlic Rosemary Bread
Ingredients
Method
- In a large mixing bowl, combine flour, sugar, salt, and quick yeast.
- Gently mix in warm water, diced rosemary, and garlic until everything combines.
- Cover the bowl with a towel and let it rise in a warm location for about 60 minutes.
- Dust a piece of parchment lightly with flour and turn the dough out onto it.
- Fold the dough gently to form a round shape and mold it into a ball.
- Cover the ball with a towel and let it rest for about 20 minutes.
- Preheat the oven to 450°F and place the empty Dutch oven inside to heat.
- Carefully pull out the Dutch oven and slide the dough on the parchment into the pot.
- Score the top of the dough with a sharp knife and cover with the lid.
- Bake for 30 minutes, then remove the lid and bake for an additional 10 minutes until golden brown.
- Let the bread cool for at least 30 minutes before slicing.