Sourdough Bread
A Love Letter to Sourdough Bread There’s something simply magical about the process of making sourdough bread. I vividly remember the first time I got hooked. It wasn’t just the earthy aroma wafting through my kitchen; it was the way the dough transformed over hours, from a few simple ingredients into something that felt both…
A Love Letter to Sourdough Bread
There’s something simply magical about the process of making sourdough bread. I vividly remember the first time I got hooked. It wasn’t just the earthy aroma wafting through my kitchen; it was the way the dough transformed over hours, from a few simple ingredients into something that felt both rustic and gourmet. So here it is, my favorite recipe, one I’ve perfected after countless loaves: Sourdough Bread.
Now, before we dive into the details, I want to emphasize that sourdough isn’t intimidating once you get the hang of it. The key lies in patience and a little bit of love. And yes, the ingredients are quite humble—just flour, water, a bit of salt, and an active sourdough starter. You’ll need 4 cups (500 grams) of bread flour or all-purpose flour, 1⅔ cups (375 grams) of warm water, 1 cup (200 grams) of that bubbly star performer, your active sourdough starter, and finally, 2 teaspoons (10 grams) of salt.
The Heart of the Bread: Autolyse Magic
Let’s get started! I usually grab a large mixing bowl and combine those 4 cups of flour with the 1⅔ cups of warm water. Don’t fret; you don’t need a fancy mixer for this. Just stir it all together until you see a shaggy dough form. There’s something so satisfying about that initial mix; it feels like you’re simply inviting the ingredients to come together. This is where I let the dough rest for about 30 minutes—a little process called autolyse. During this time, the flour hydrates, and the gluten begins to develop, setting the stage for that delightful chew we all love in sourdough.
Getting Down to Business
After the autolyse, it’s time to introduce your lively sourdough starter and the salt. Just add your 1 cup of starter and the 2 teaspoons of salt to the dough and mix until everything is well combined. You’ll notice it starts to come alive as you work it. Cover the bowl and let it sit at room temperature for the next few hours. Here’s a little tip: If you’re busy or just feeling a little lazy, embrace this resting period.
Now comes the fun part called stretch and folds. Every 30 minutes for the next two hours, you’ll perform this action. It’s as simple as grabbing the edge of the dough, stretching it upward, and folding it over itself. This technique not only helps develop gluten, but it also gives the bread a beautiful structure. After your last fold of the day, cover the bowl again and wait patiently as the dough rises for 6 to 8 hours—until it doubles in size.
The Shaping Game
You’ll know it’s ready when it has that lovely domed shape. Once it’s risen, turn that dough out onto a lightly floured surface and shape it gently into a round or oval loaf, whichever you prefer. Place your beautiful creation seam-side up into a floured proofing basket or towel-lined bowl and cover it. Now, here’s another internal timer moment: refrigerate your dough for 8 to 12 hours—overnight works perfectly!
Baking: The Final Countdown
The next morning, it’s time to wake up that sourdough from its chilled slumber. Preheat your Dutch oven to a roaring 450°F (232°C). Meanwhile, I often use this time to meditate on how I’ll score the top of the loaf. That little cut makes all the difference, allowing the bread to expand beautifully in the oven while giving it that artisanal flair.
Once it’s hot enough, turn the dough out onto a piece of parchment paper and score the top with a sharp knife. Art is subjective, so have fun with it! Lower the dough into the hot Dutch oven and cover it with the lid. You’ll bake it like this for 20 minutes, and trust me, your kitchen will smell divine.
After that, remove the lid and let the bread bake uncovered for an additional 25 minutes to achieve that golden crust. Finally, pull the bread out and let it cool completely on a wire rack before slicing into it. This is the hardest part—waiting. But trust me, it’s worth it.
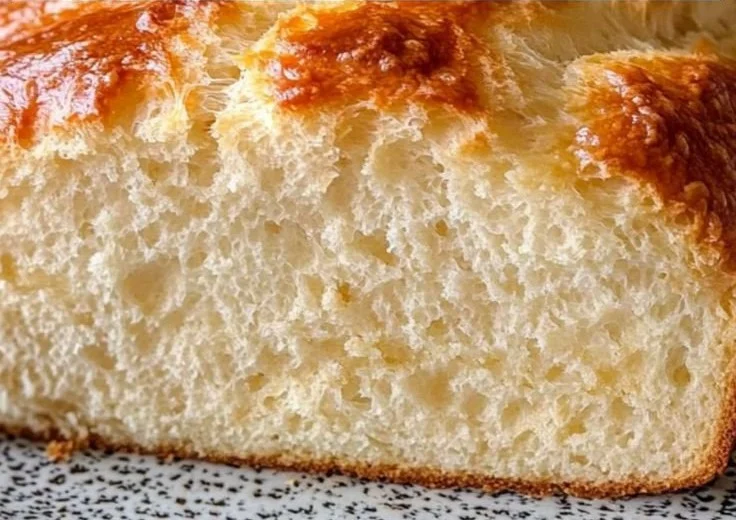
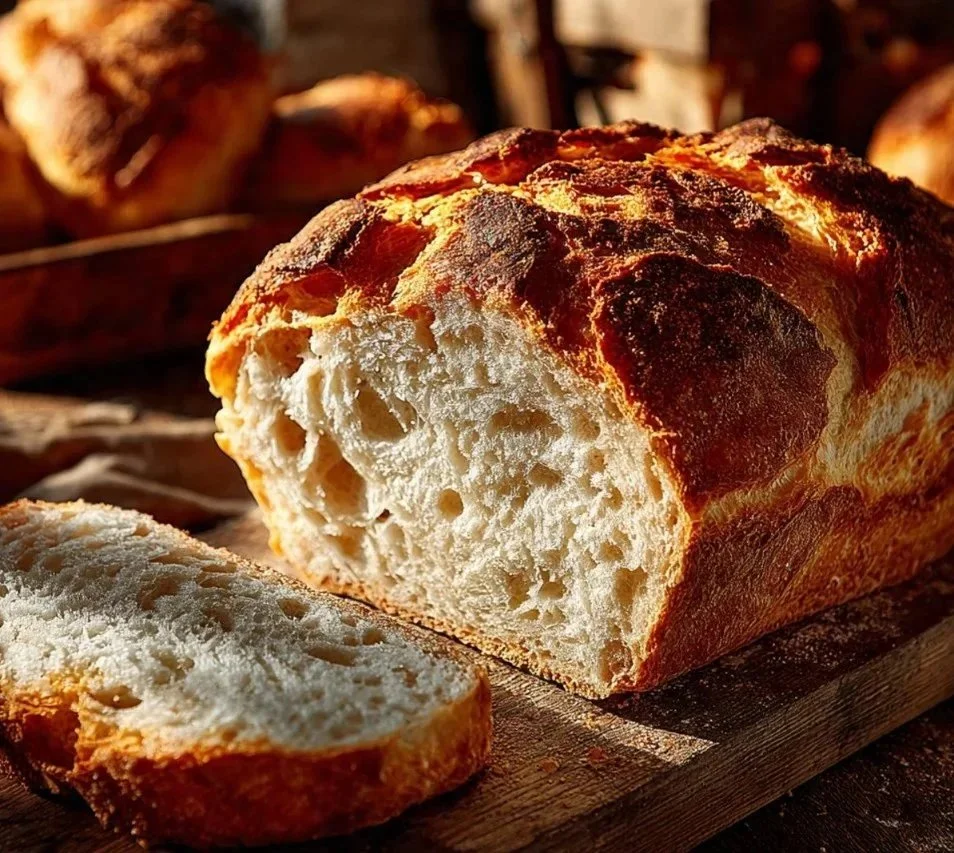
The Texture You Crave
If all goes well, you’ll end up with a loaf that has a crunchy crust and a soft, airy crumb. You’ll know it’s done right when you can tap the bottom, and it sounds hollow. The first slice is always the best, slathered with a generous portion of butter. I like to enjoy it alongside my morning coffee or with some homemade jam.
If you’re feeling a bit adventurous, why not throw in some flavors? Consider adding herbs or cheese into the dough for a twist. Or perhaps some toasted walnuts and dried fruit? Each variation brings a new story into your kitchen.
Storing Your Masterpiece
Should you manage to have leftovers (which, let’s be honest, is often a rare occurrence), make sure to store your sourdough in a bread bag or wrapped in a cloth to keep that delightful crust intact. It should stay fresh for a few days, though I find the flavor tends to evolve beautifully over time, making great toast or croutons.
My Sourdough Journey
What keeps me coming back to this recipe is not just the end result but the entire process. The fiddling with dough, watching it rise and transform—it’s almost therapeutic. Sometimes I think about how many generations of bakers before me have stood at the same stage, shaping, waiting, and savoring.
Sourdough is more than just a loaf of bread; it’s a journey of creating something with your hands. So whether you’re a seasoned baker or a curious novice, I hope you find joy in making this sourdough bread. It’s more than just a meal; it’s an experience waiting to happen.
Conclusion
If you’re keen on diving deeper into the world of sourdough, check out this excellent beginner’s guide or take a look at this approachable recipe for homemade sourdough bread. Happy baking!
Sourdough Bread
Ingredients
Method
- In a large mixing bowl, combine 4 cups of flour with 1⅔ cups of warm water. Stir until shaggy dough forms.
- Let the dough rest for 30 minutes to allow autolyse and gluten development.
- Add 1 cup of active sourdough starter and 2 teaspoons of salt to the dough, mixing until well combined.
- Cover and let it rest at room temperature for a few hours.
- Perform stretch and folds every 30 minutes for the next two hours.
- Cover and let the dough rise for 6 to 8 hours until it doubles in size.
- Turn the risen dough onto a lightly floured surface and shape it into a round or oval loaf.
- Place seam-side up in a floured proofing basket or towel-lined bowl and cover.
- Refrigerate for 8 to 12 hours, preferably overnight.
- Preheat your Dutch oven to 450°F (232°C).
- Turn the dough out onto parchment paper and score the top with a sharp knife.
- Lower the dough into the hot Dutch oven, cover with a lid, and bake for 20 minutes.
- Remove the lid and bake uncovered for an additional 25 minutes until golden brown.
- Let the bread cool completely on a wire rack before slicing.